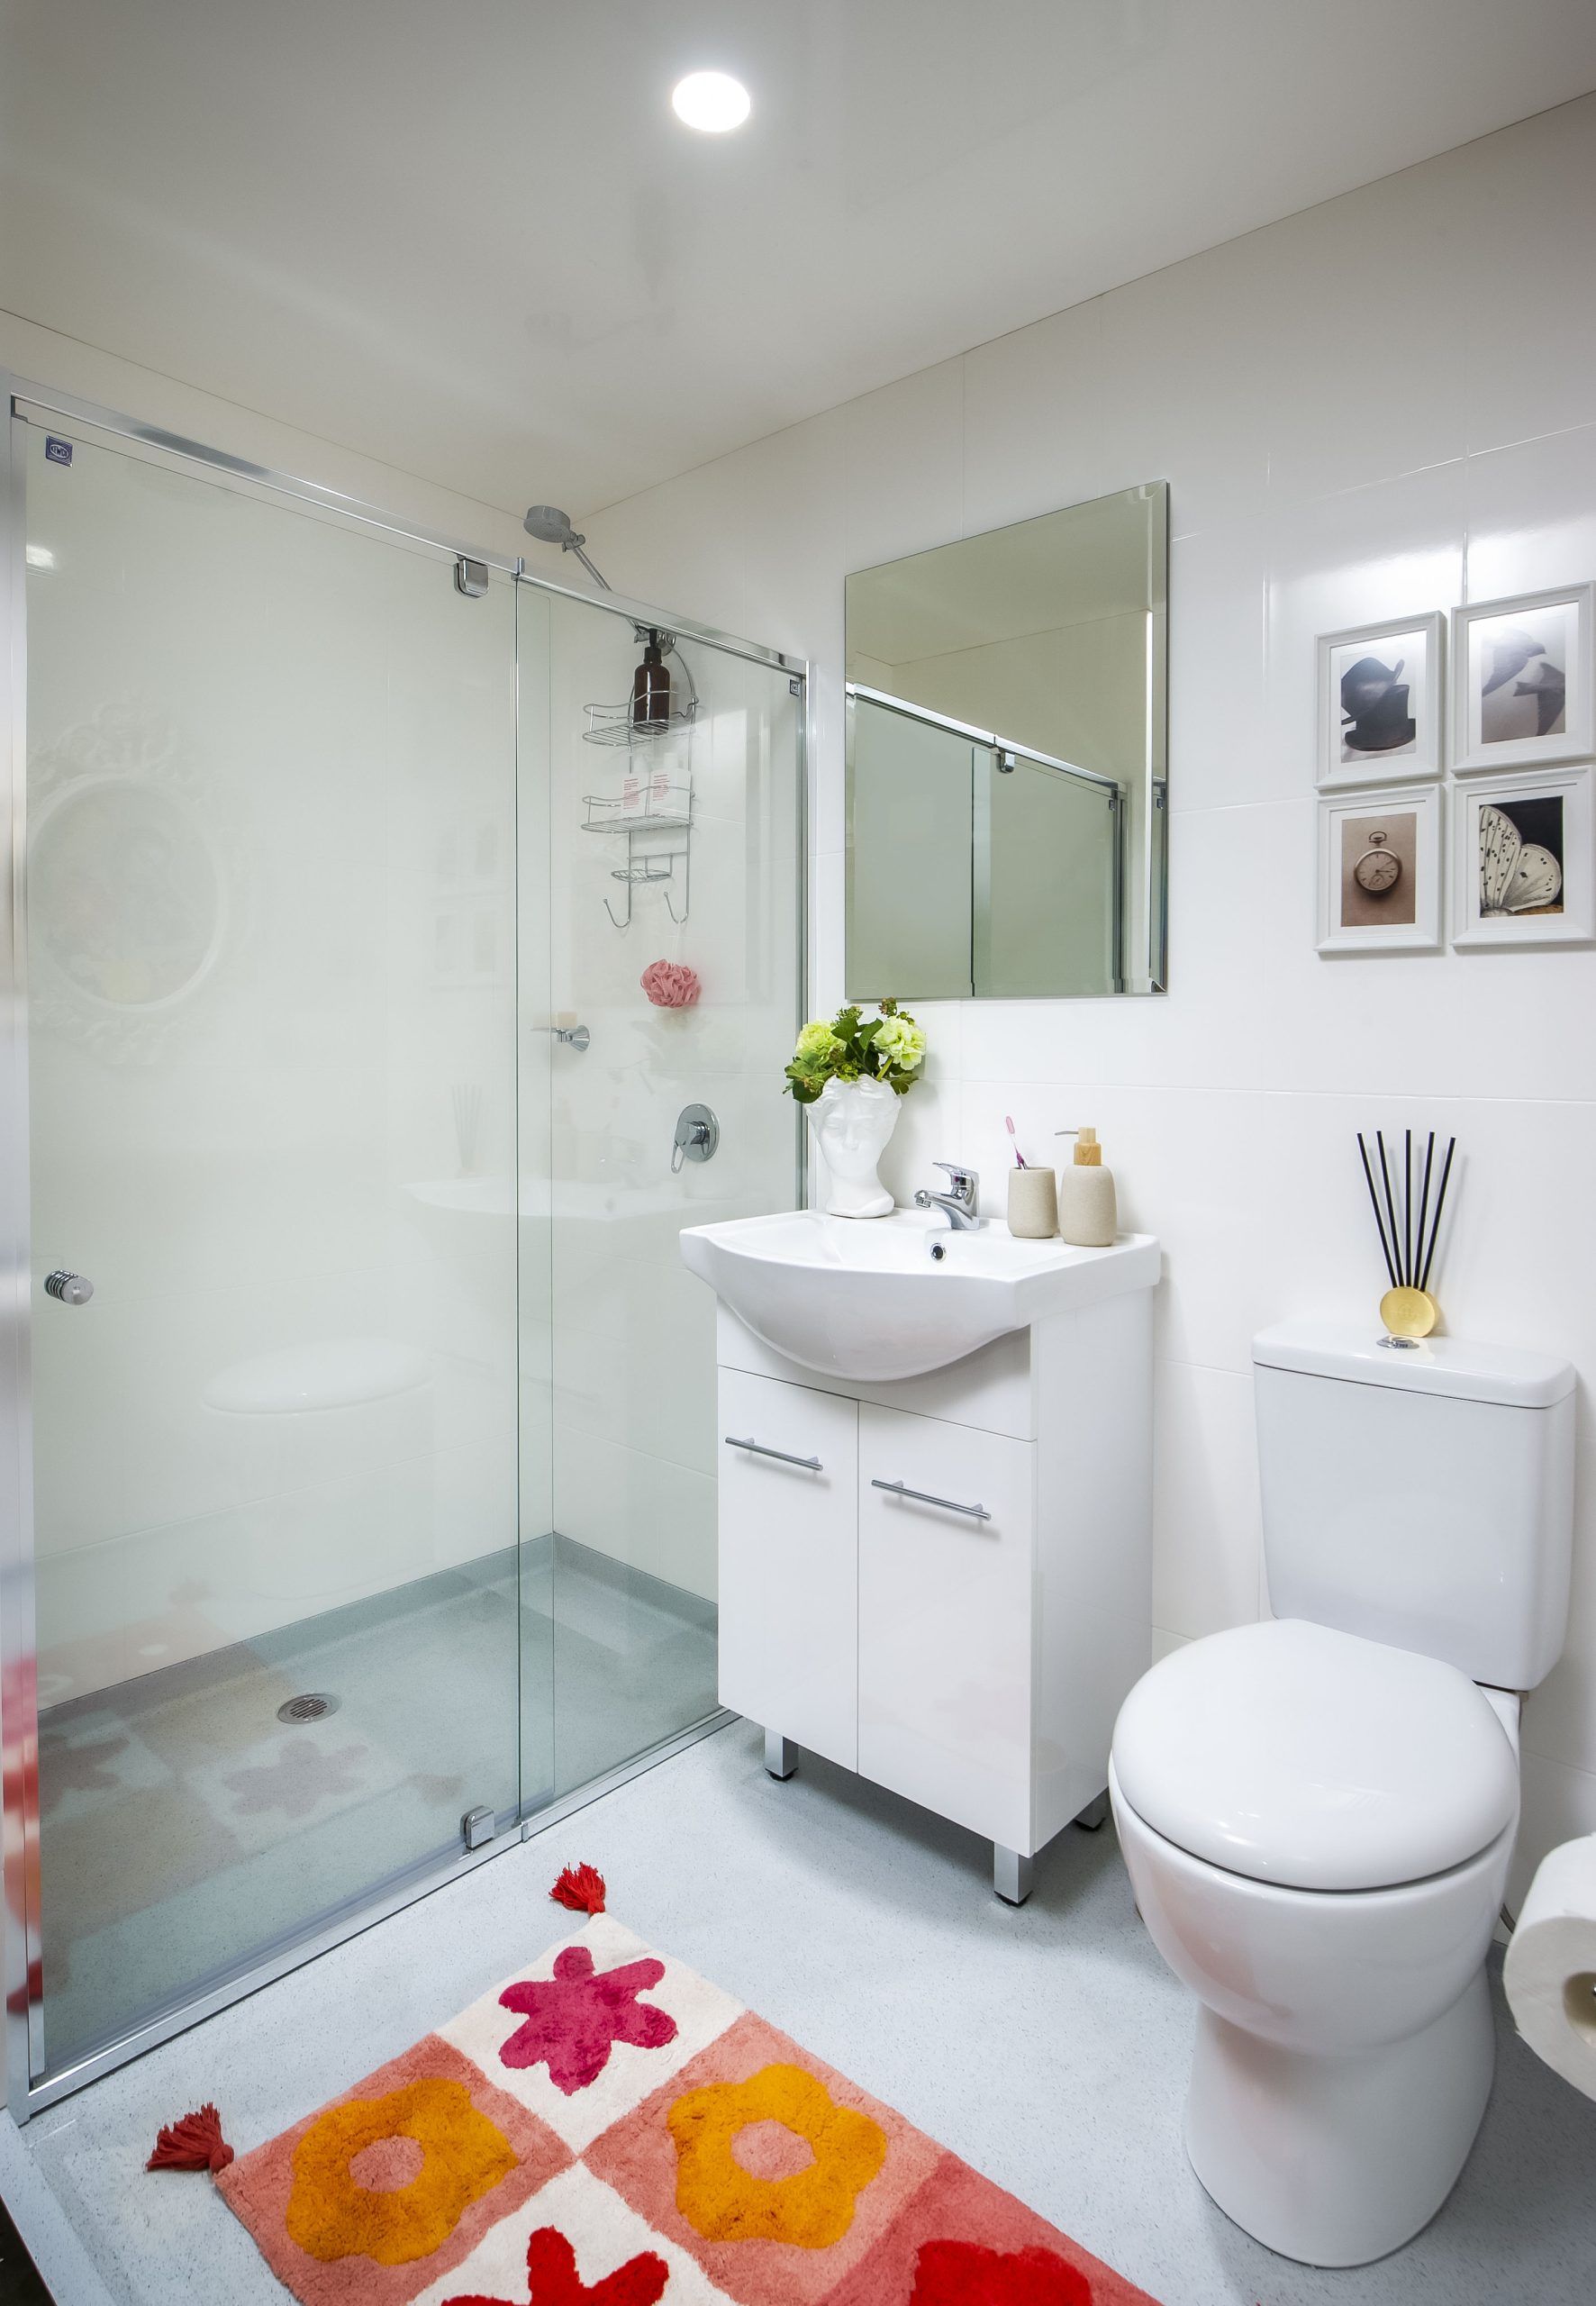
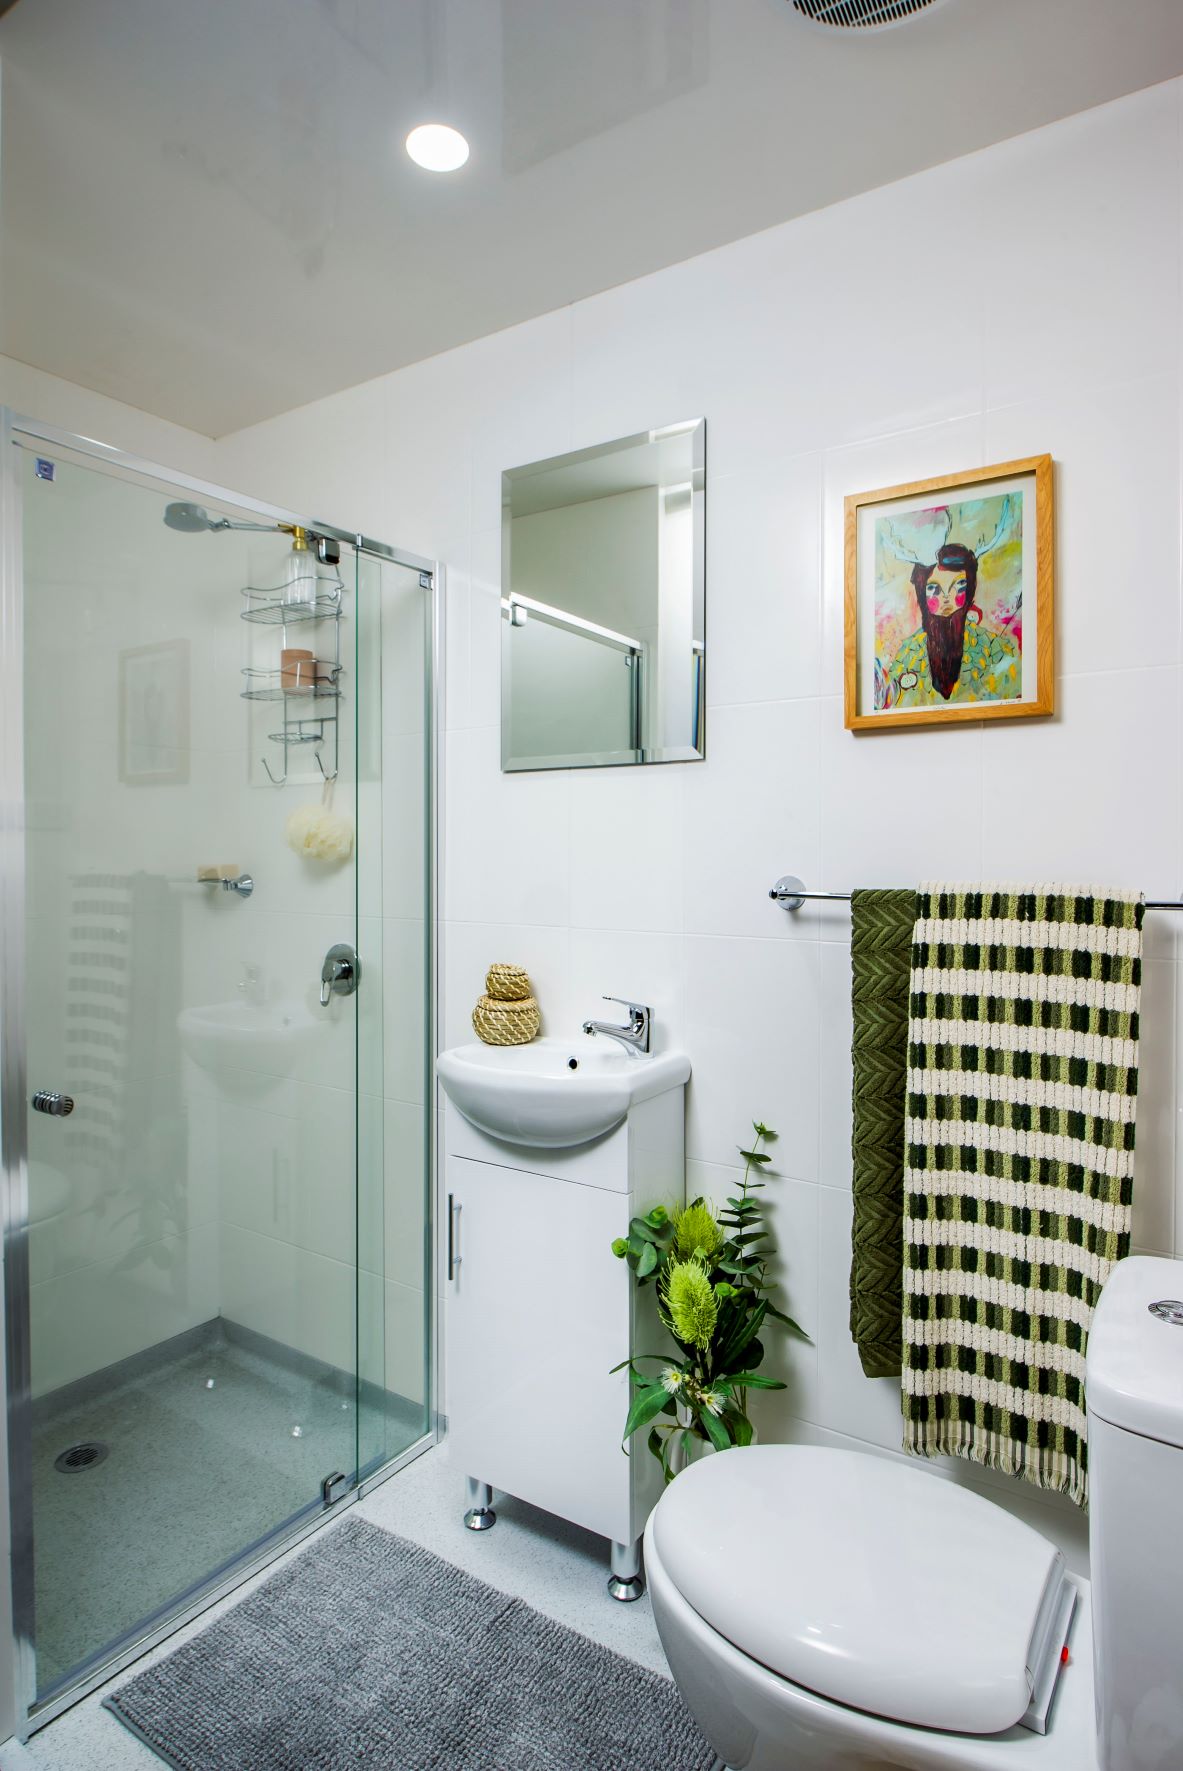
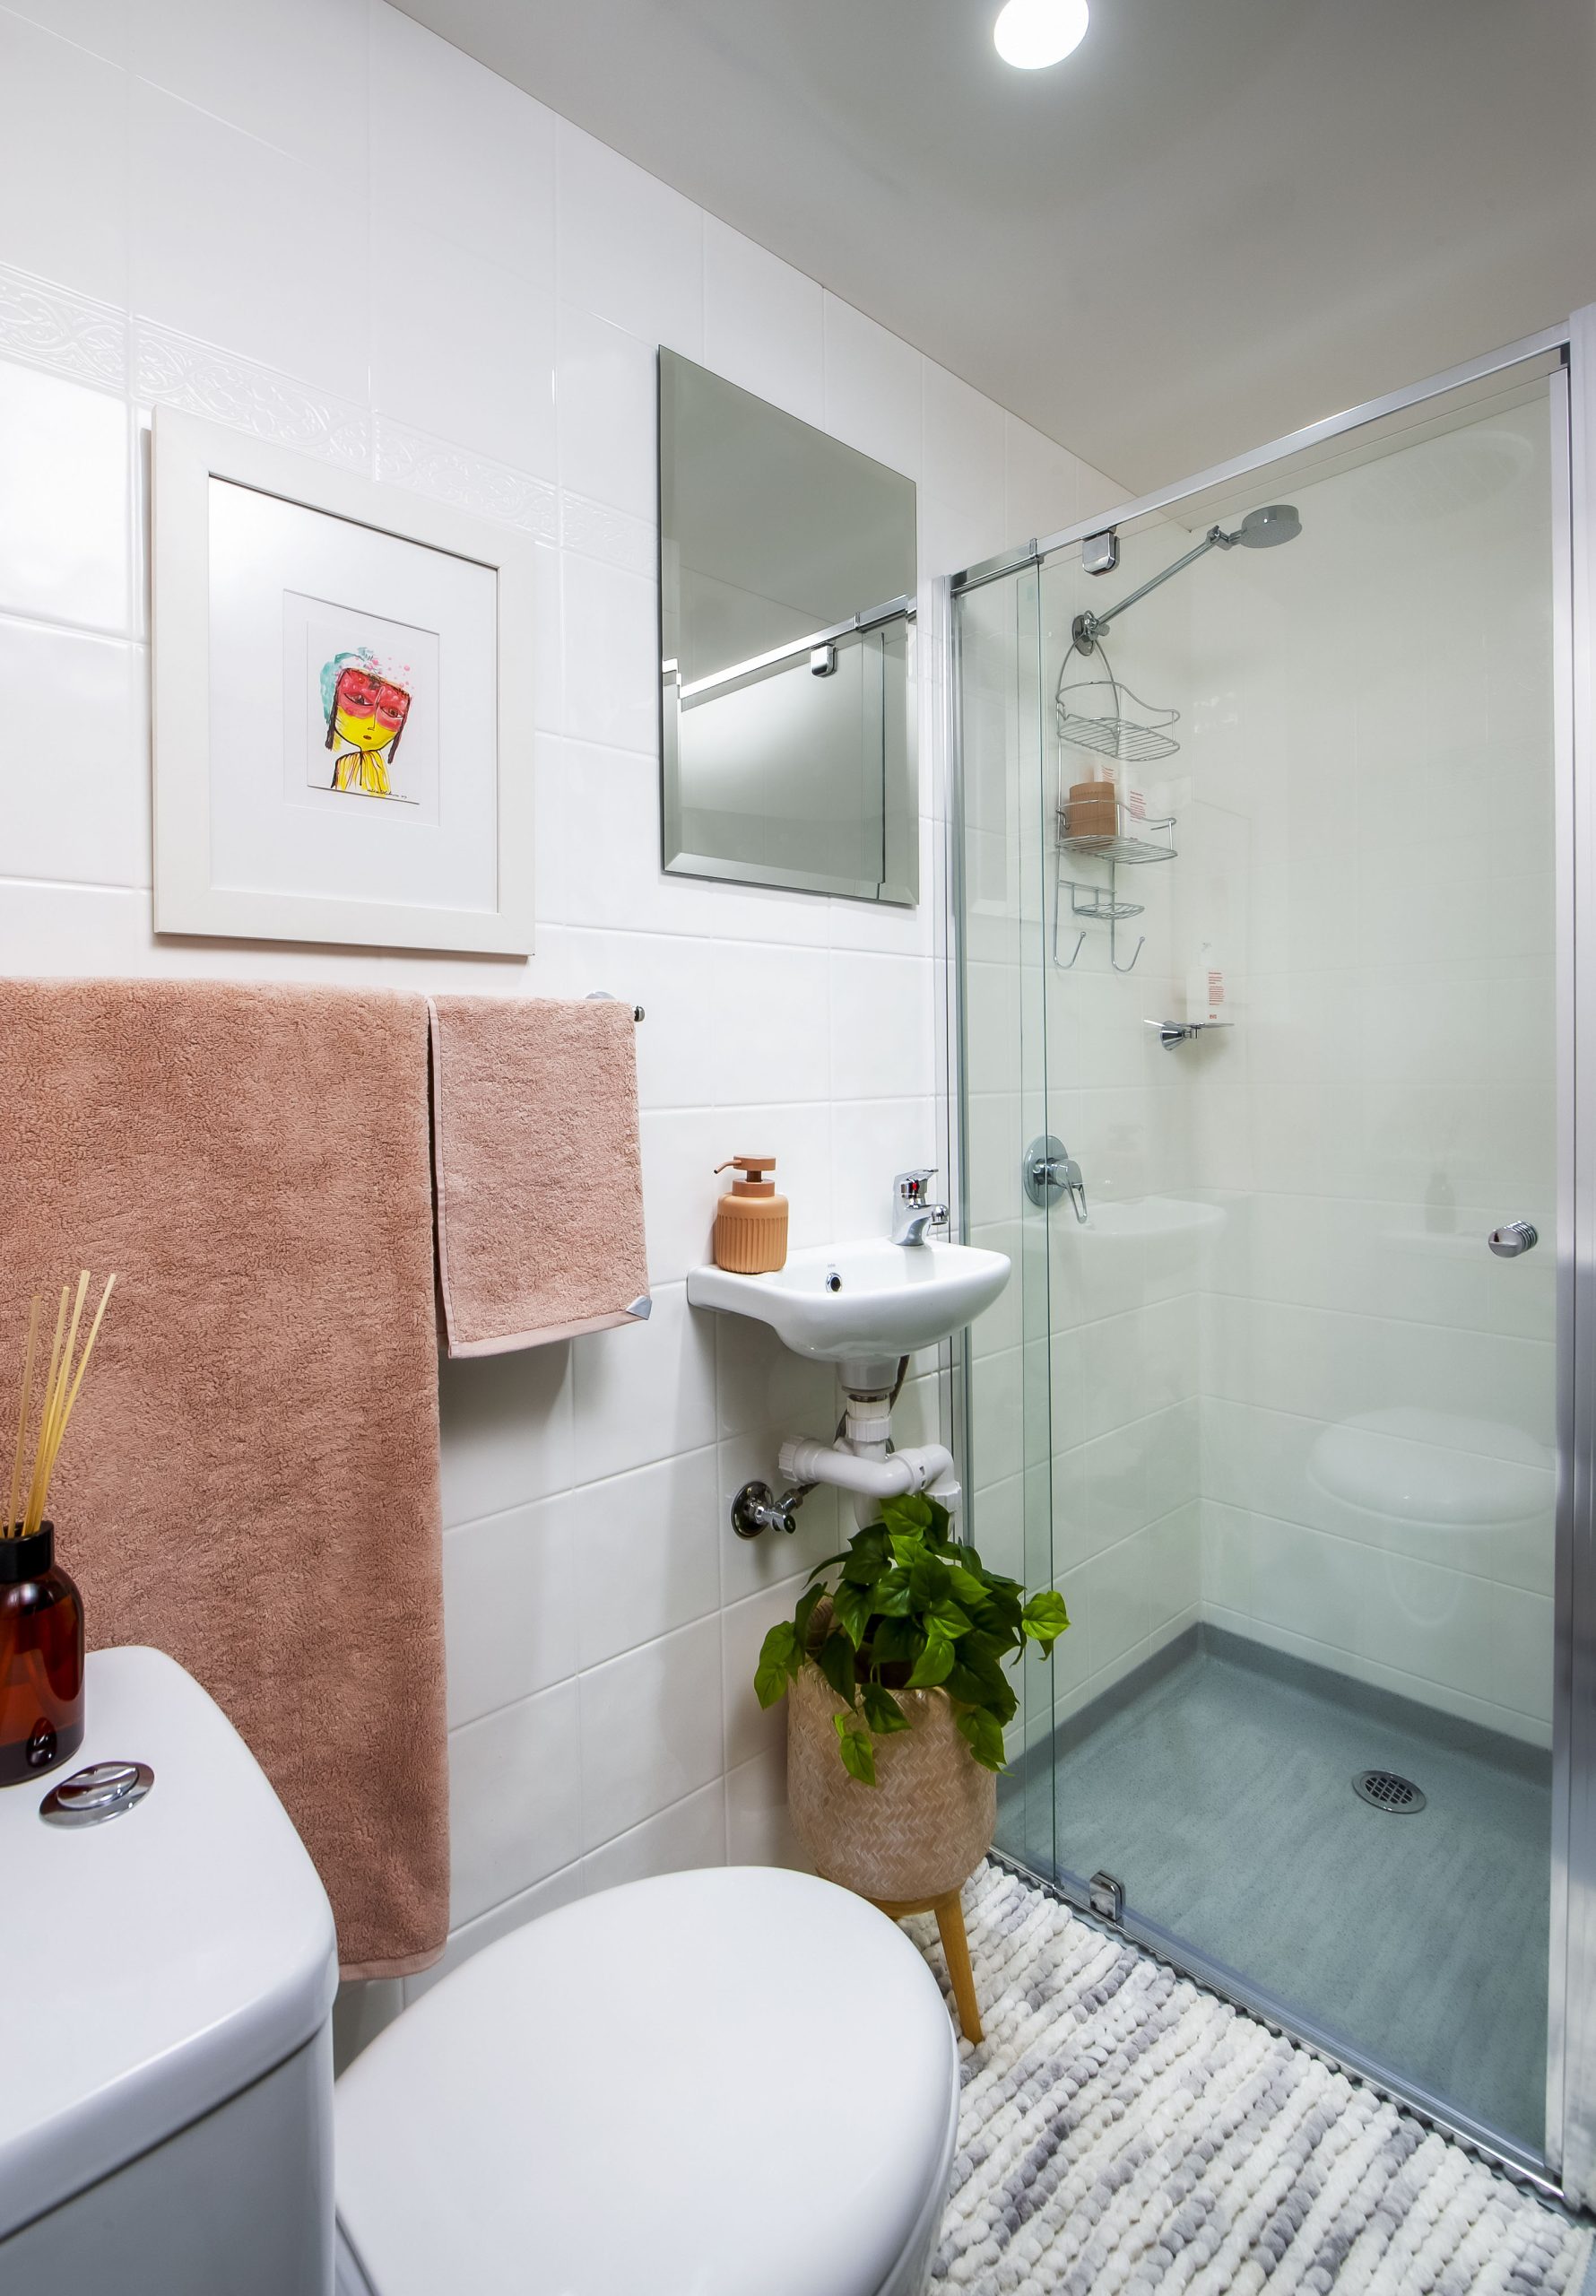
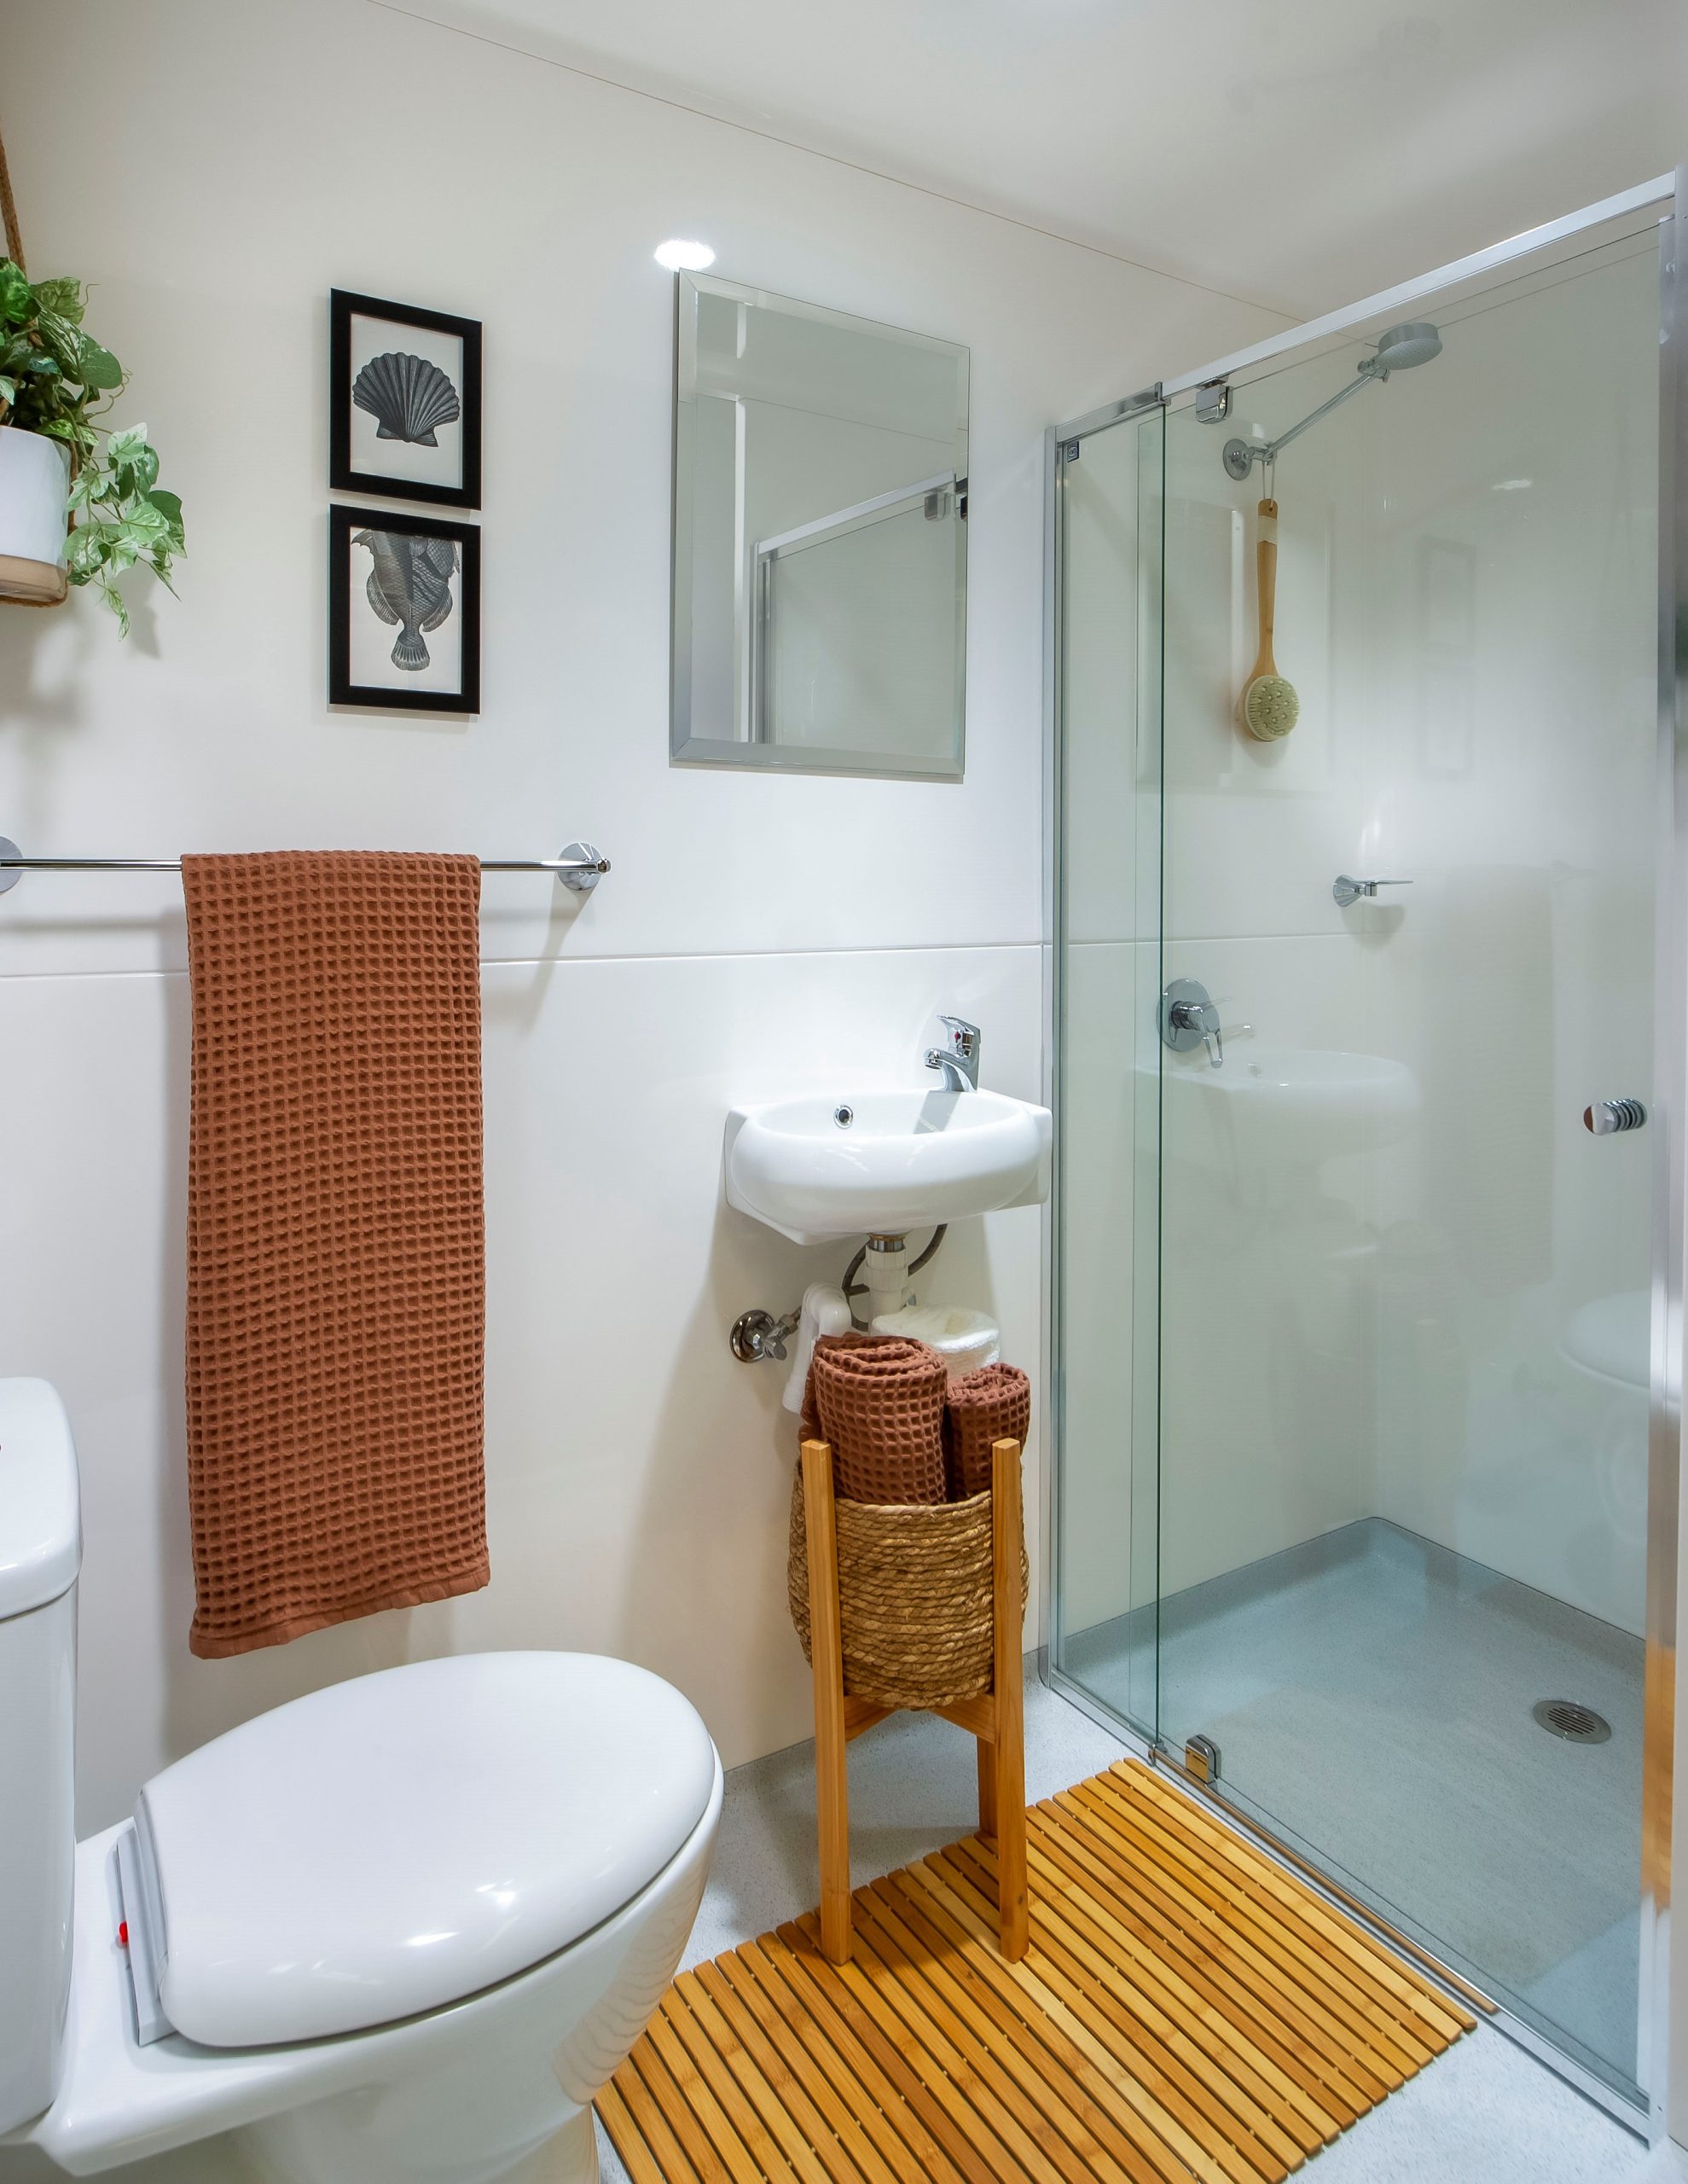
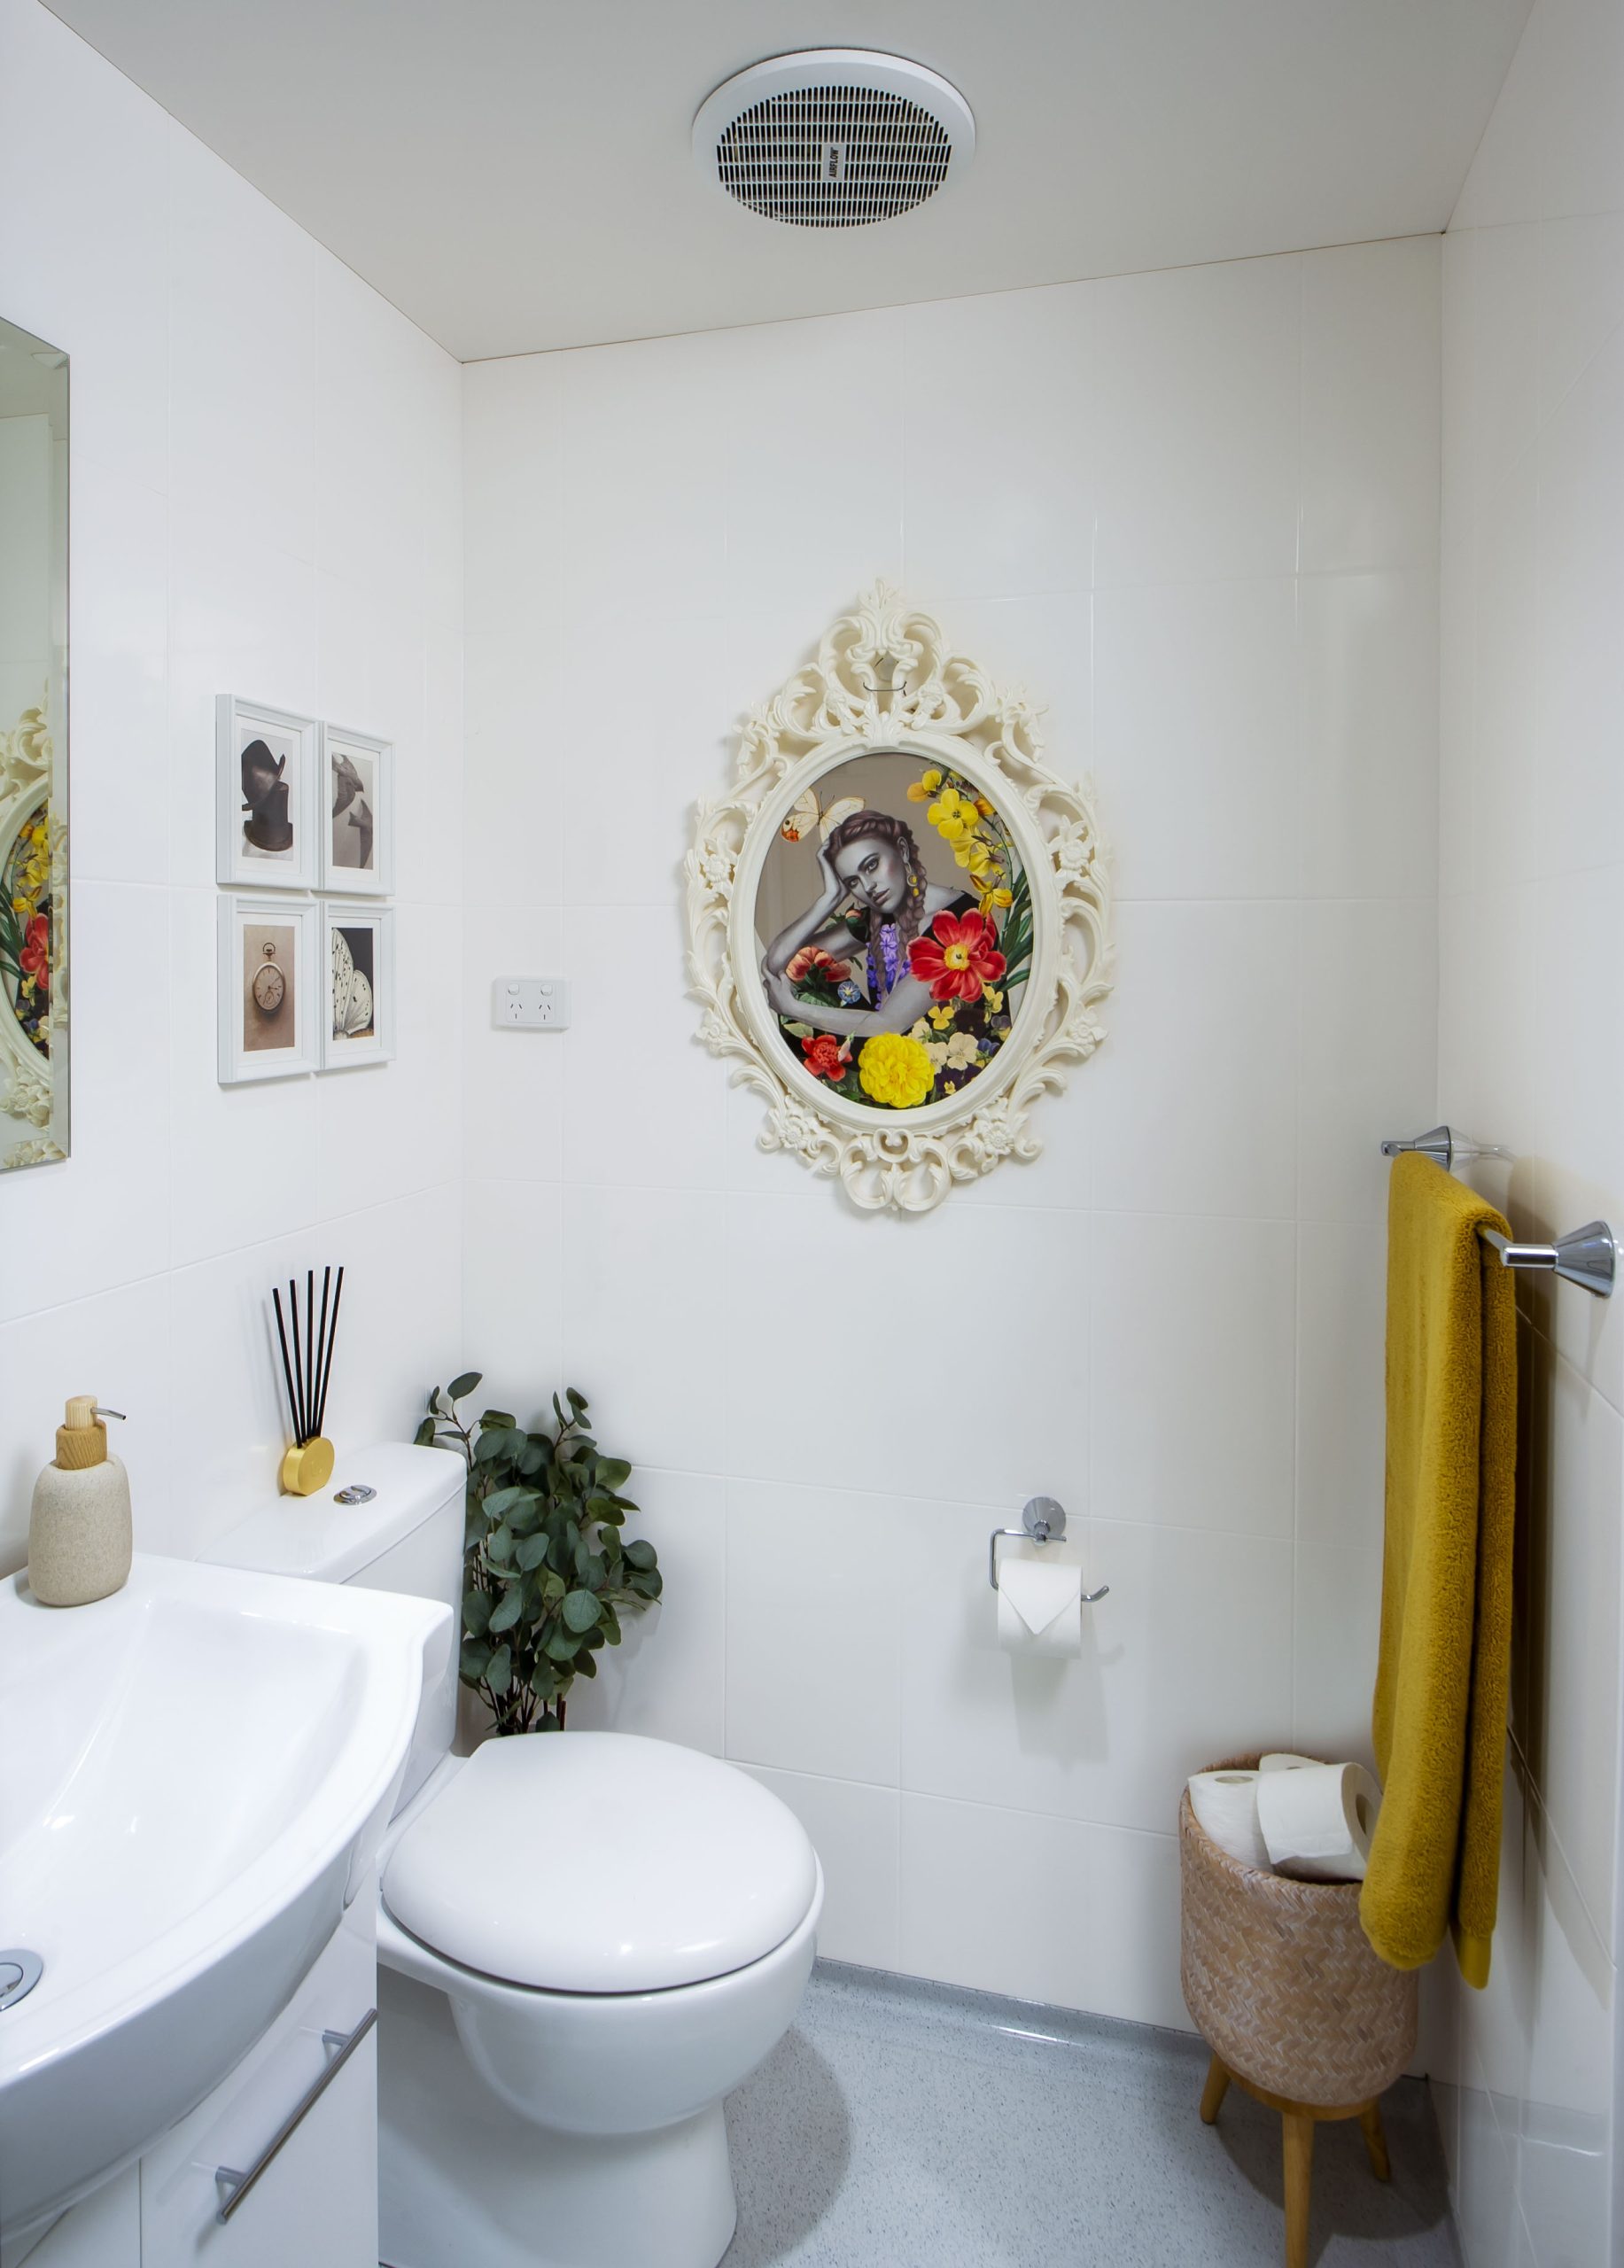
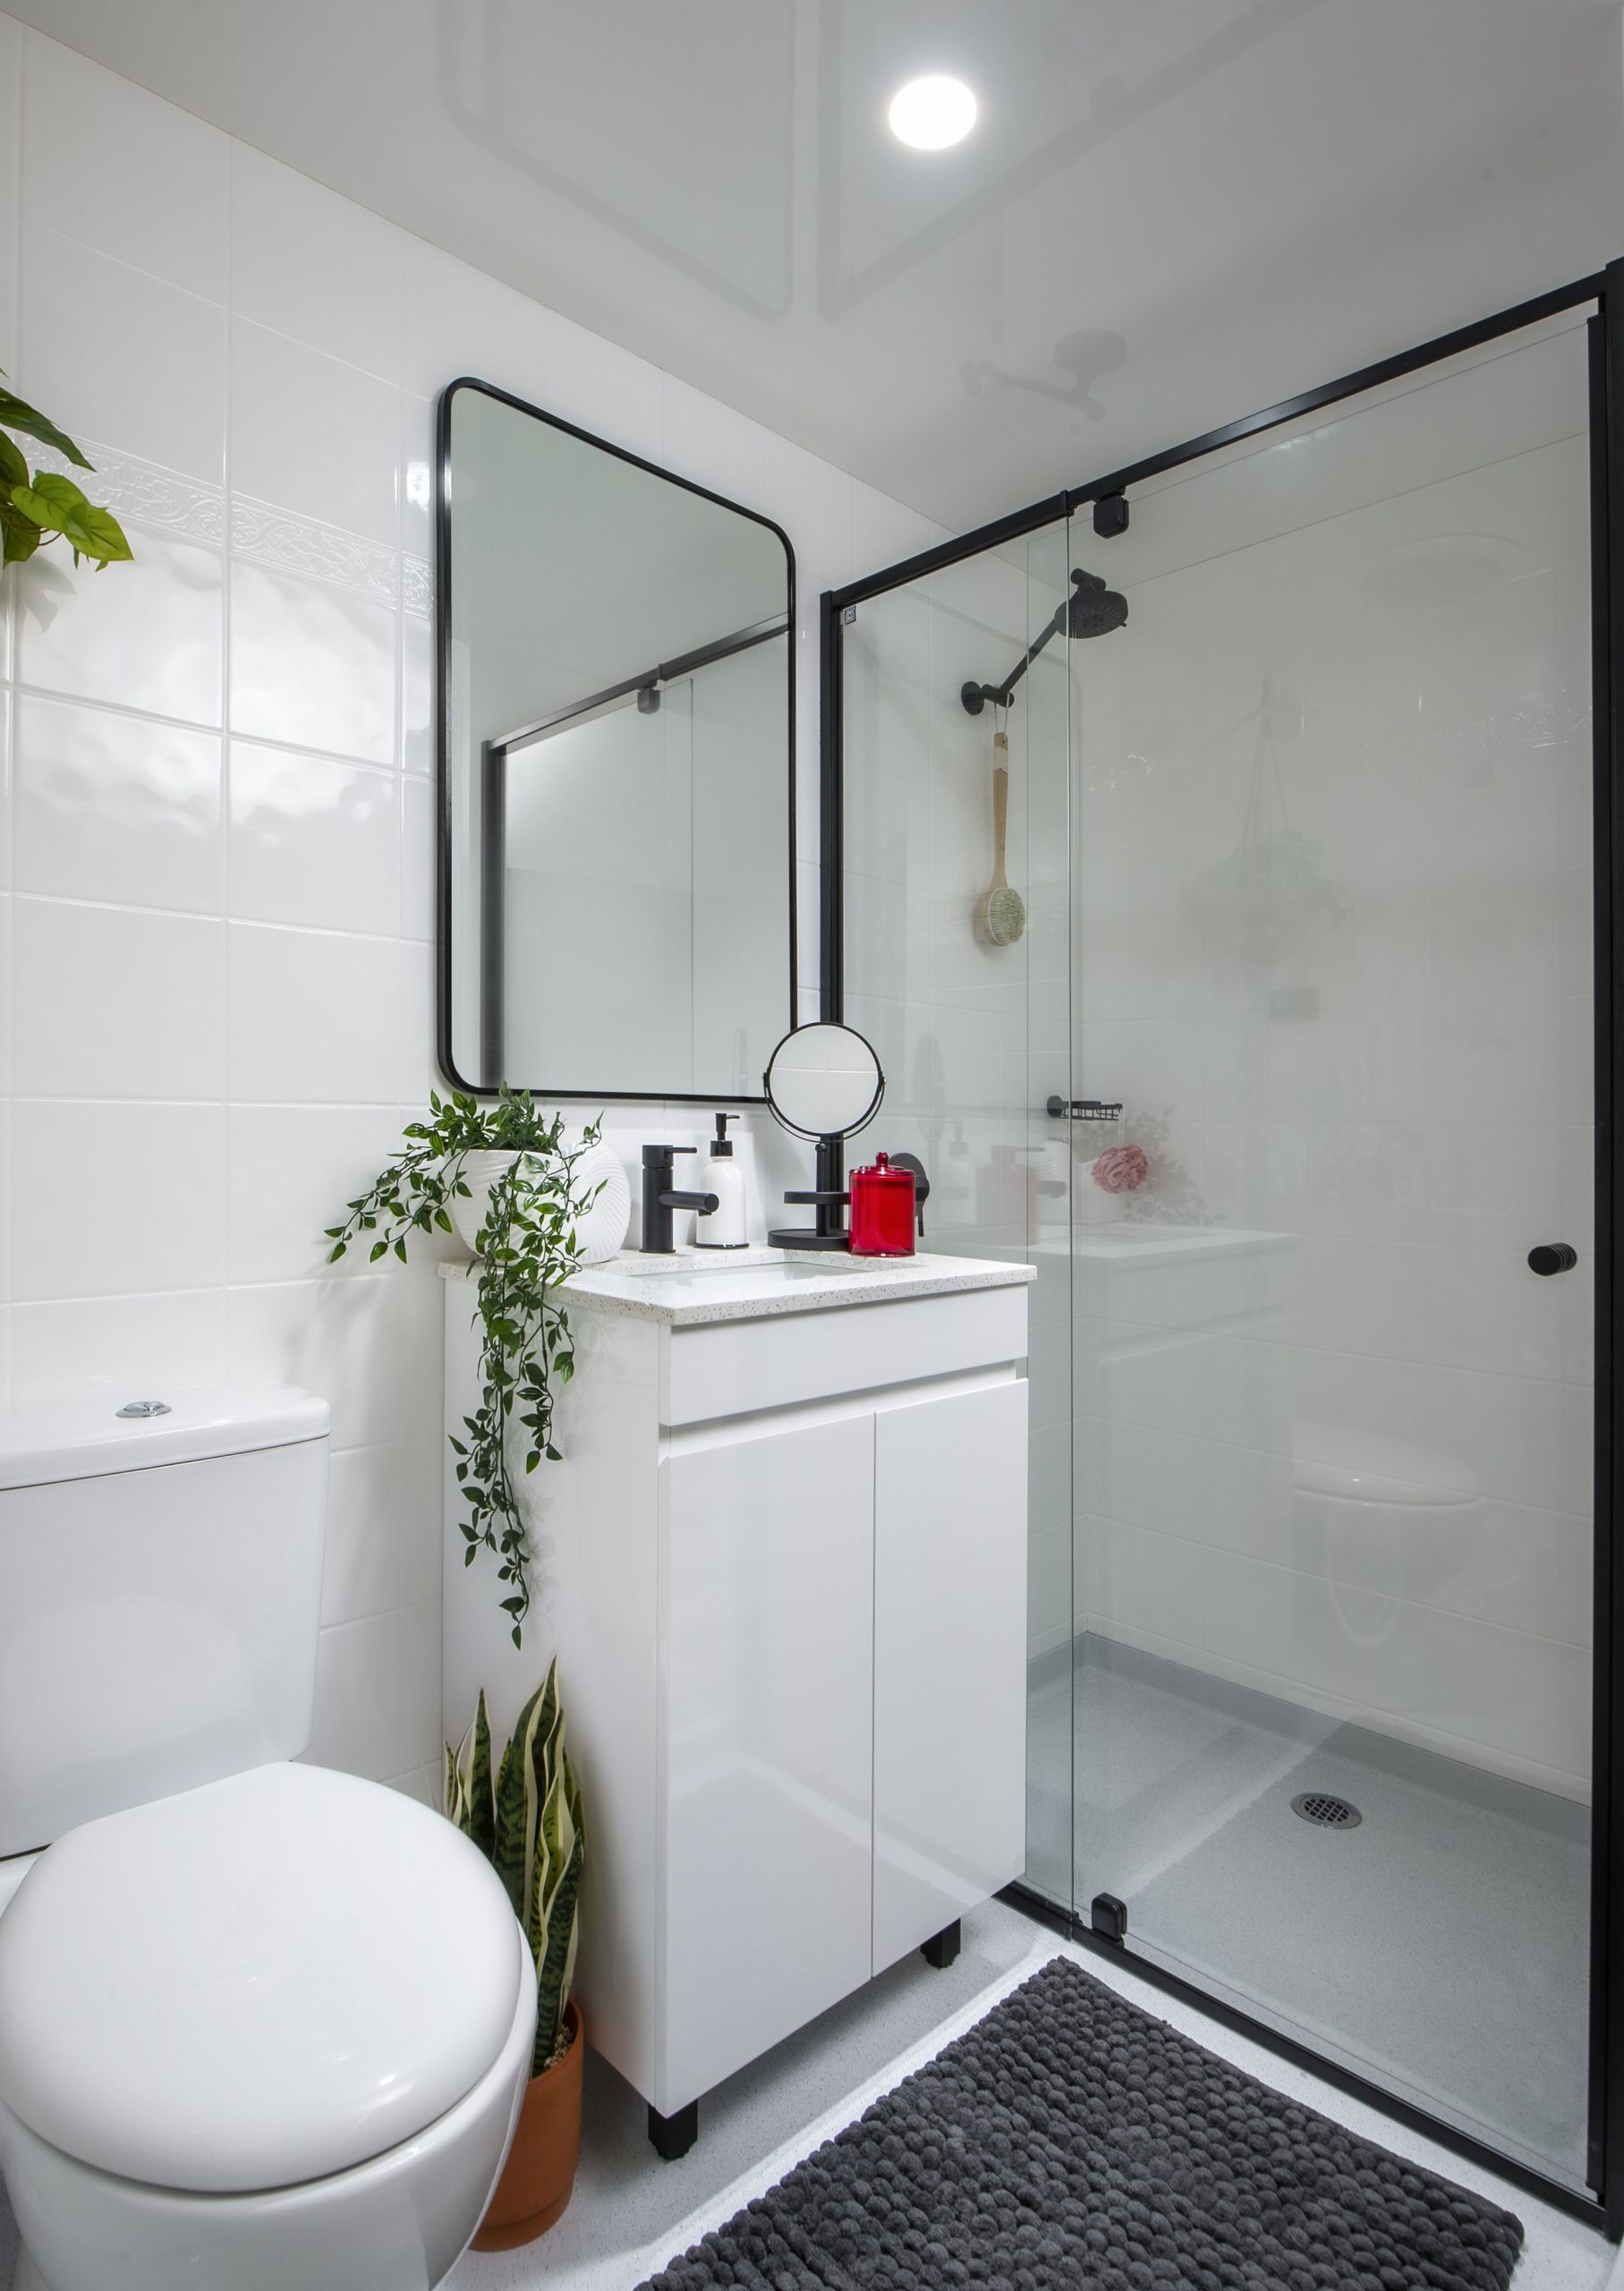
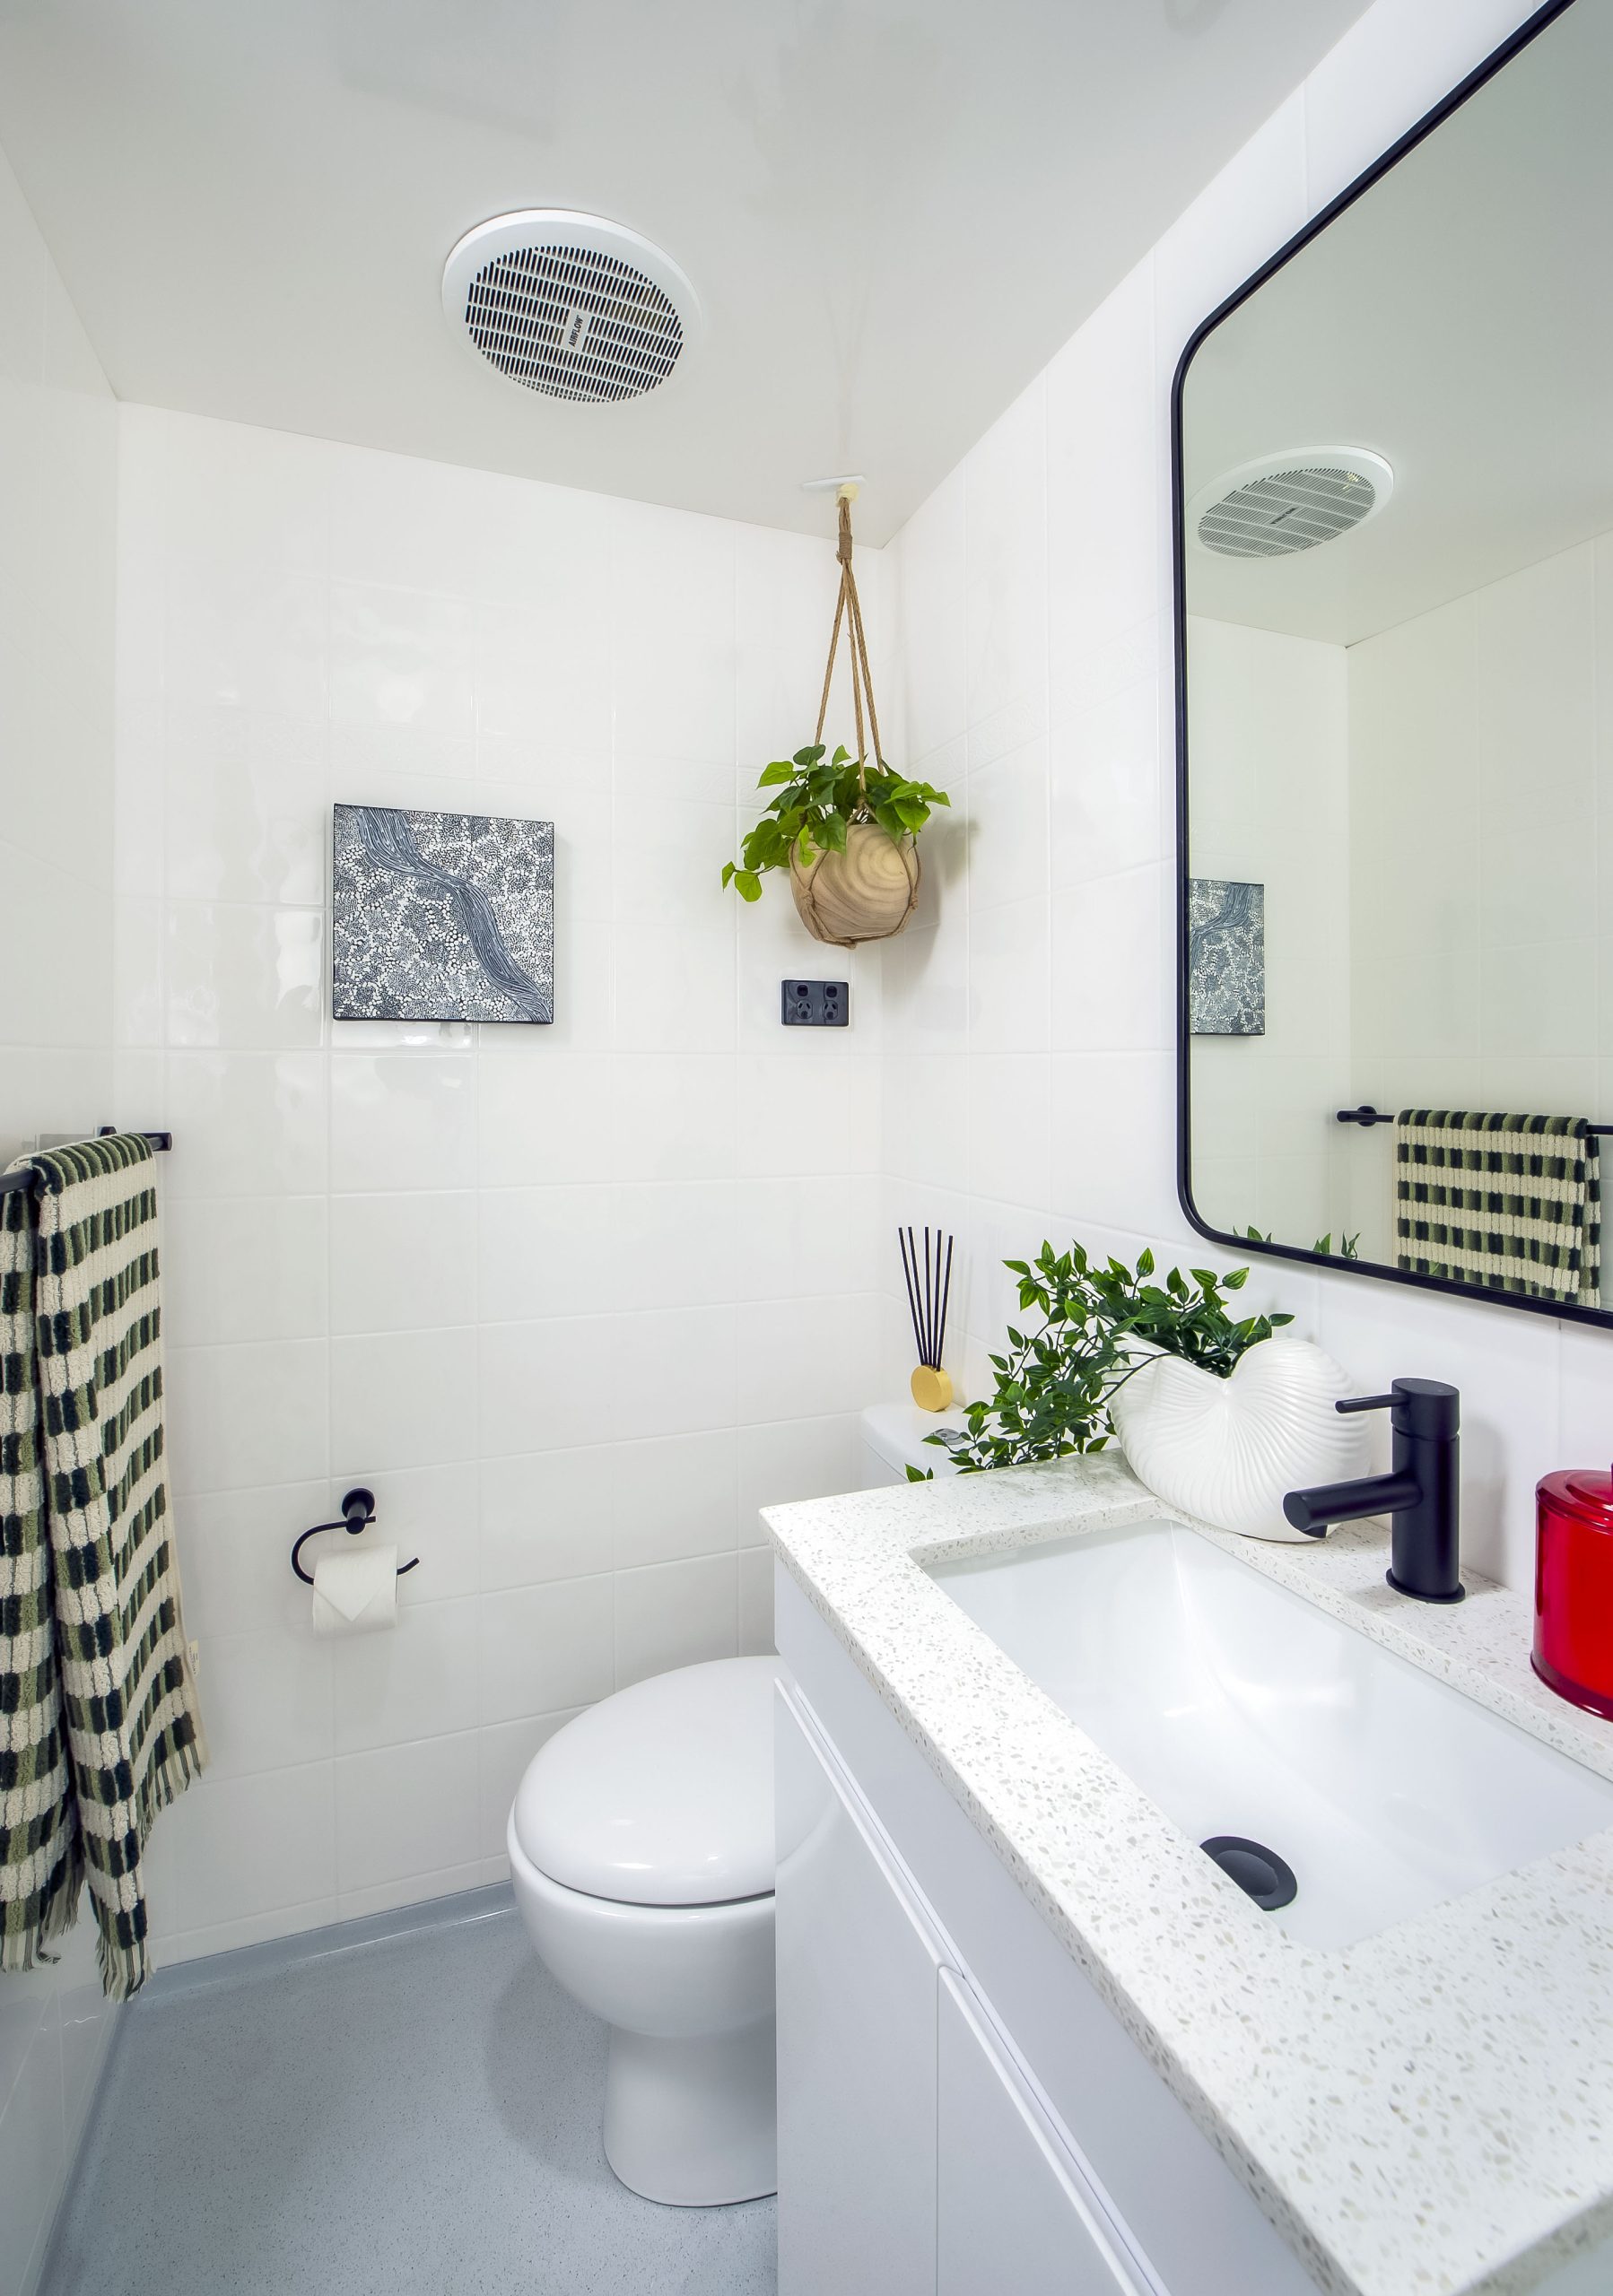
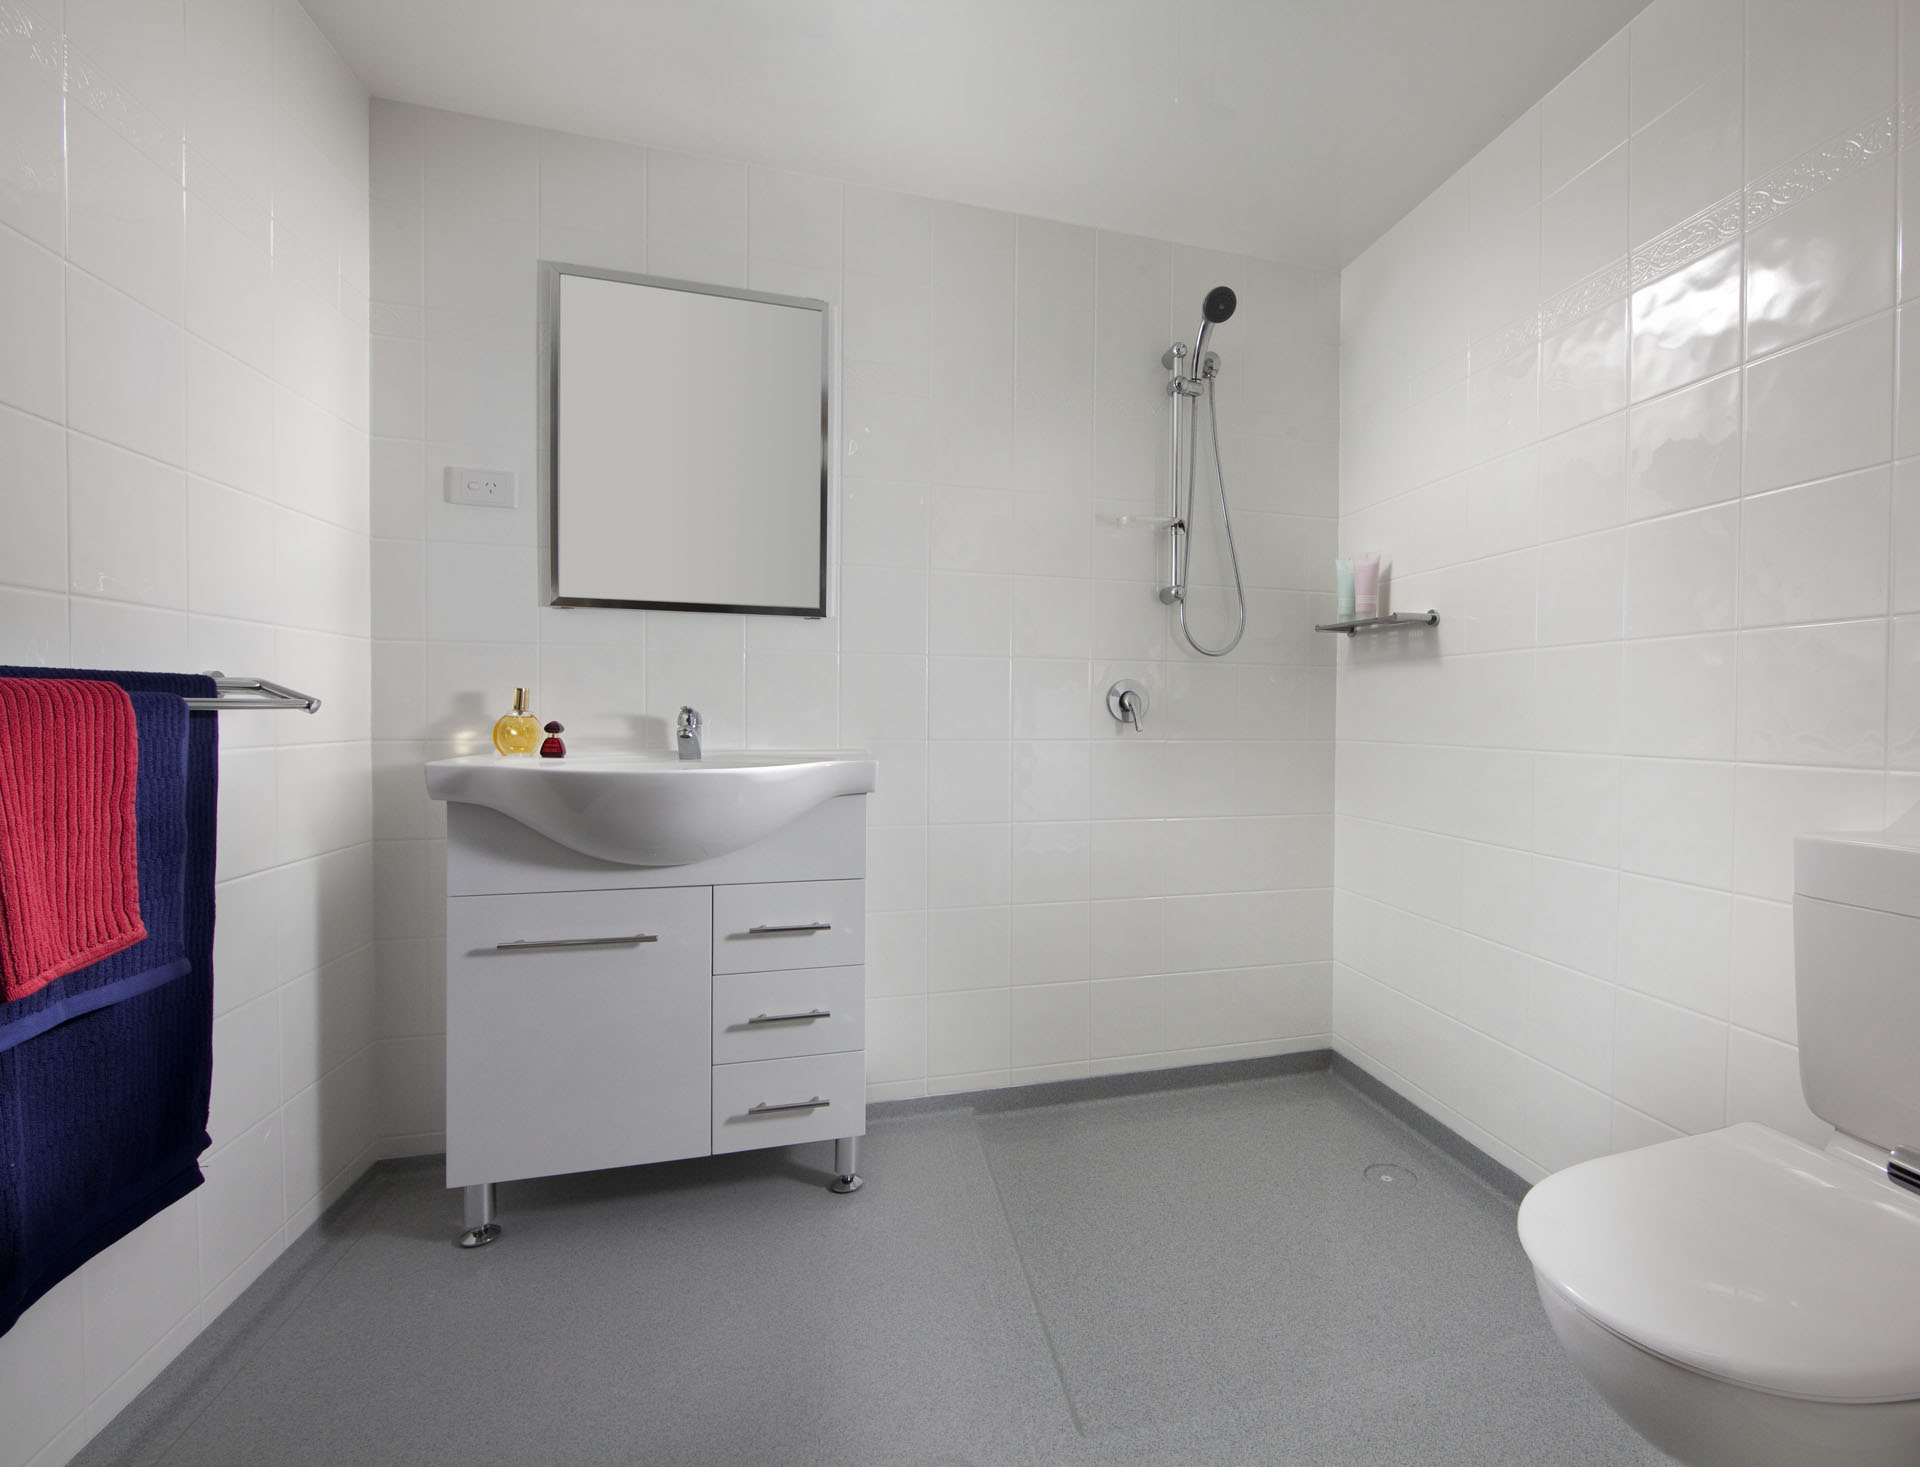
If you’re looking for a bathroom option inside your King Dome, we have some options here for you.
Modular Bathrooms
Multiple Bathroom Sizes to Choose From
We have partnered with AddaBathroom to bring you several options of bathrooms to cater for the size and use of your King Dome
The TP900-1000 Range
The Perfect size for our 5 and 6m King Dome Range. The FP900 is 2080mm x 880mm and is the perfect bathroom addition for our 5m Range and 6m if you want to maximise interior space inside your King Dome. This size allows you to push a queen-size bed up to the back of the unit with space either side for small bedside tables.
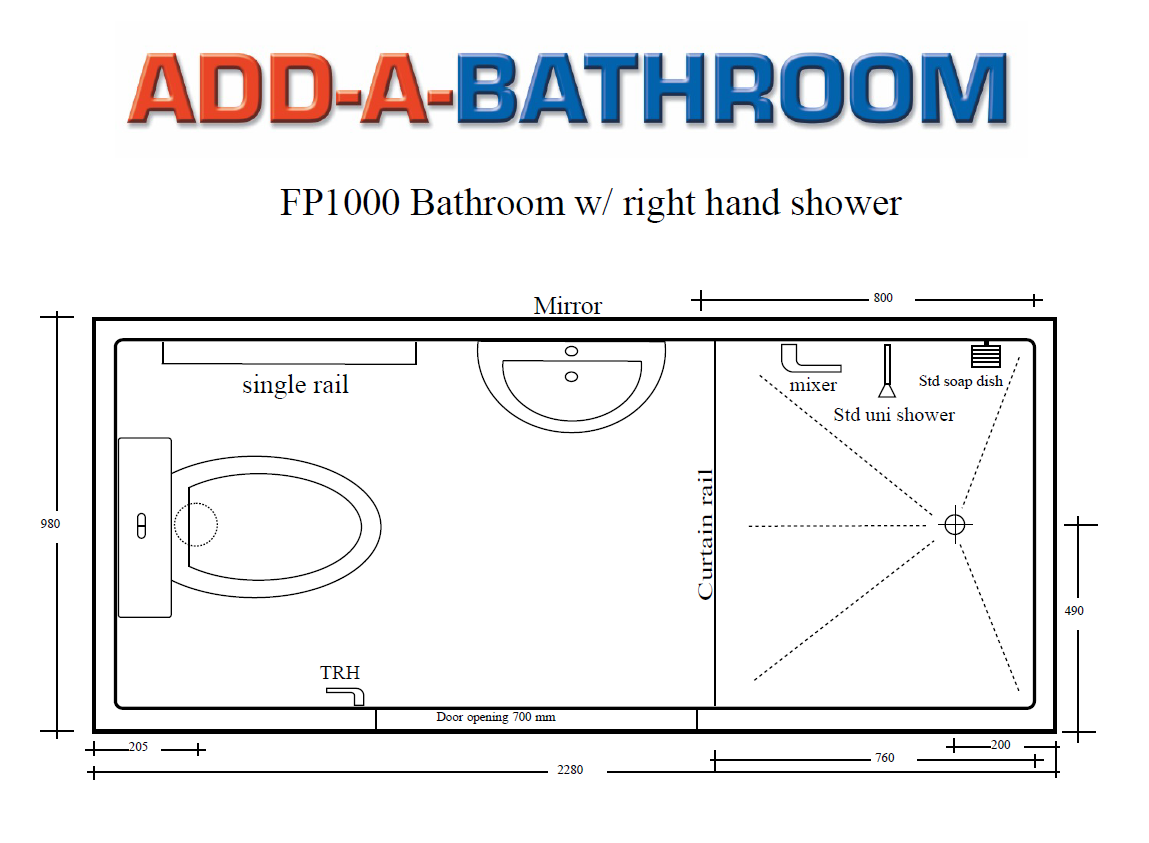
The FP1000 is a slightly more spacious unit at 2280mm x 980mm which is the more ideal size for a 6m King Dome. This size allows up to a King Bed to back up onto this unit.
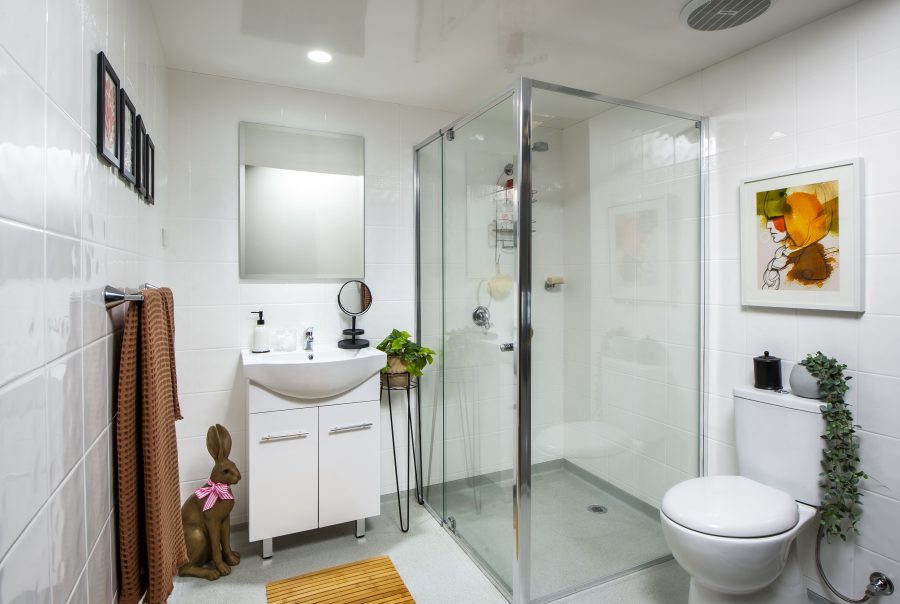
Both options have a shower, basin and toilet included.
The TP1200-14000 Range
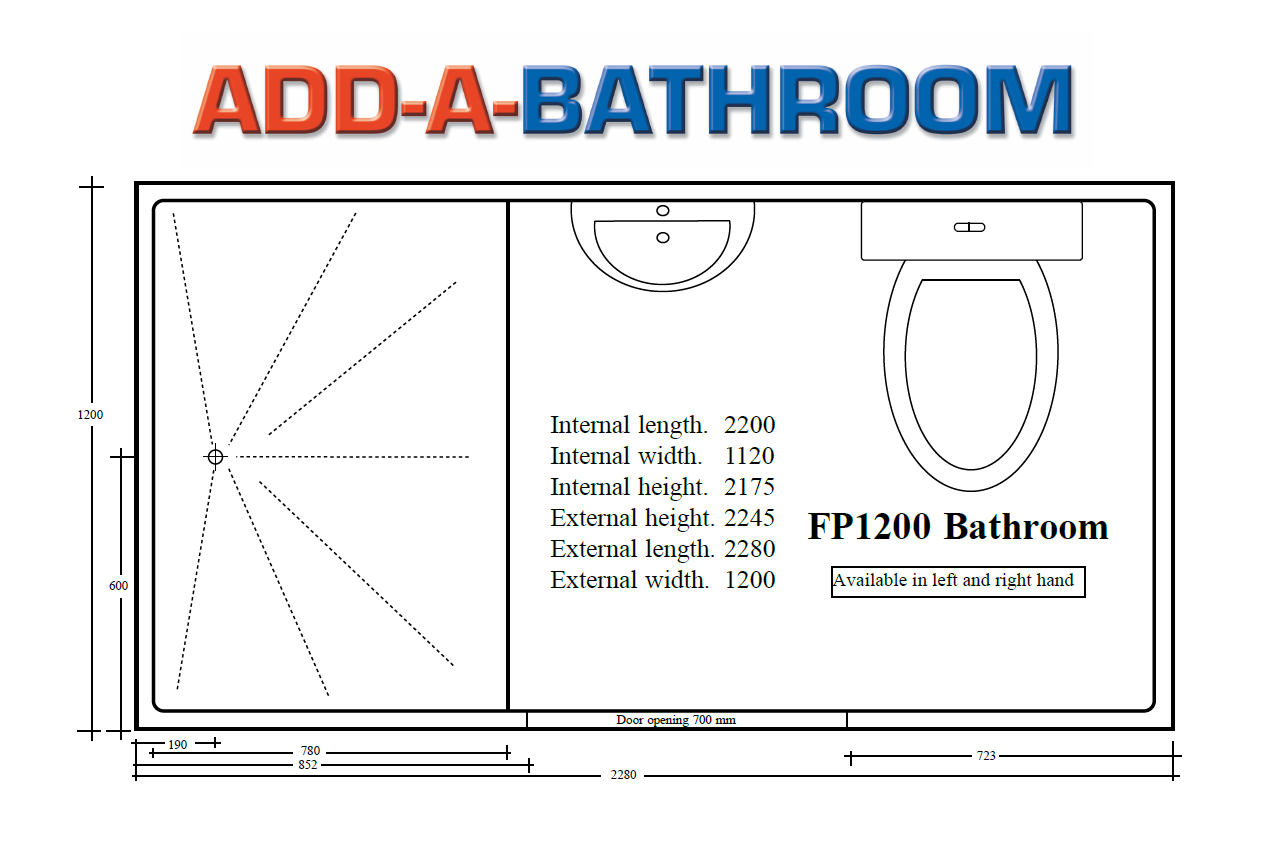
The Perfect size for our 7 and 8m King Dome Range. The FP1200 is 2280mm x 1200mm and is the perfect bathroom addition for our 7m Range and 8m if you want to maximise interior space inside your King Dome. This size allows you to push up to a King Size bed, to the back of the unit with space either side for small bedside tables.
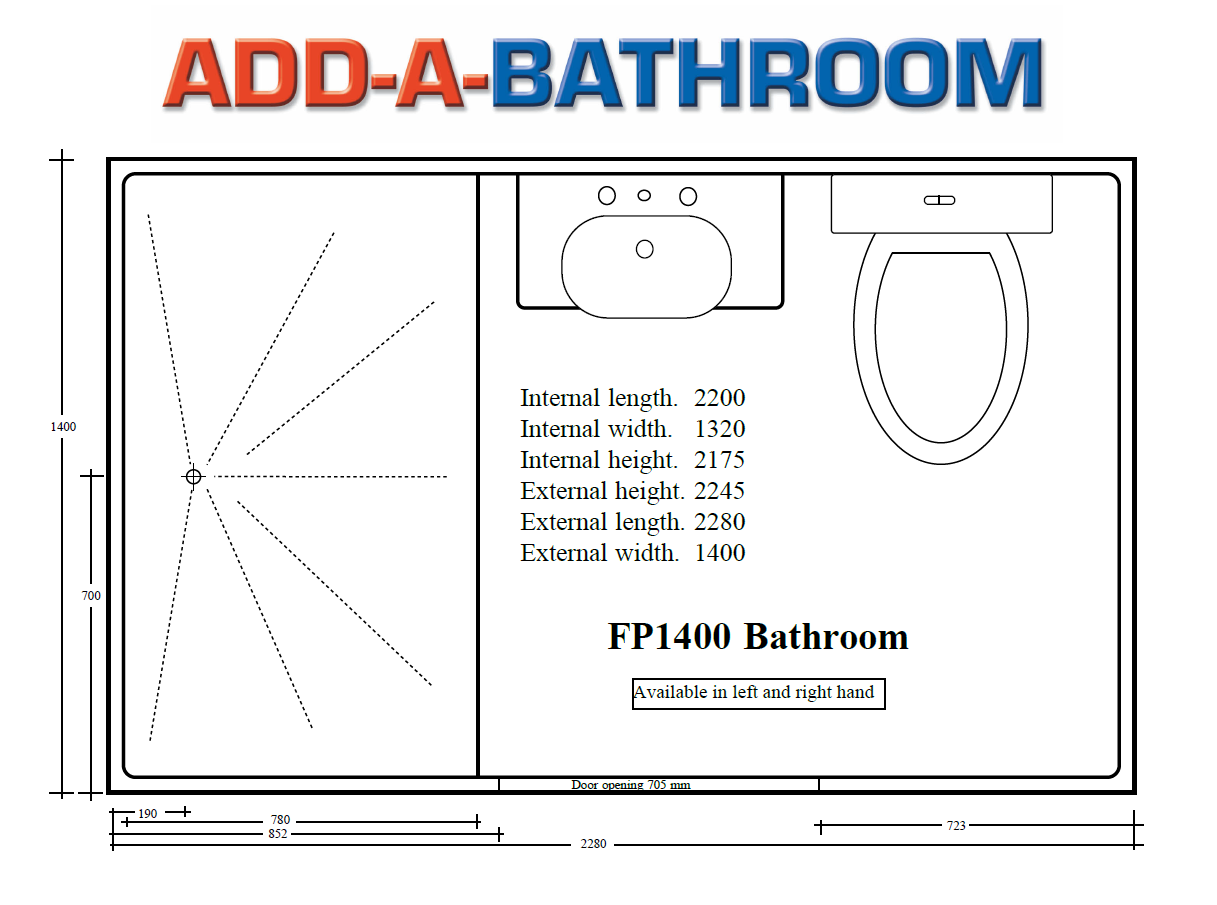
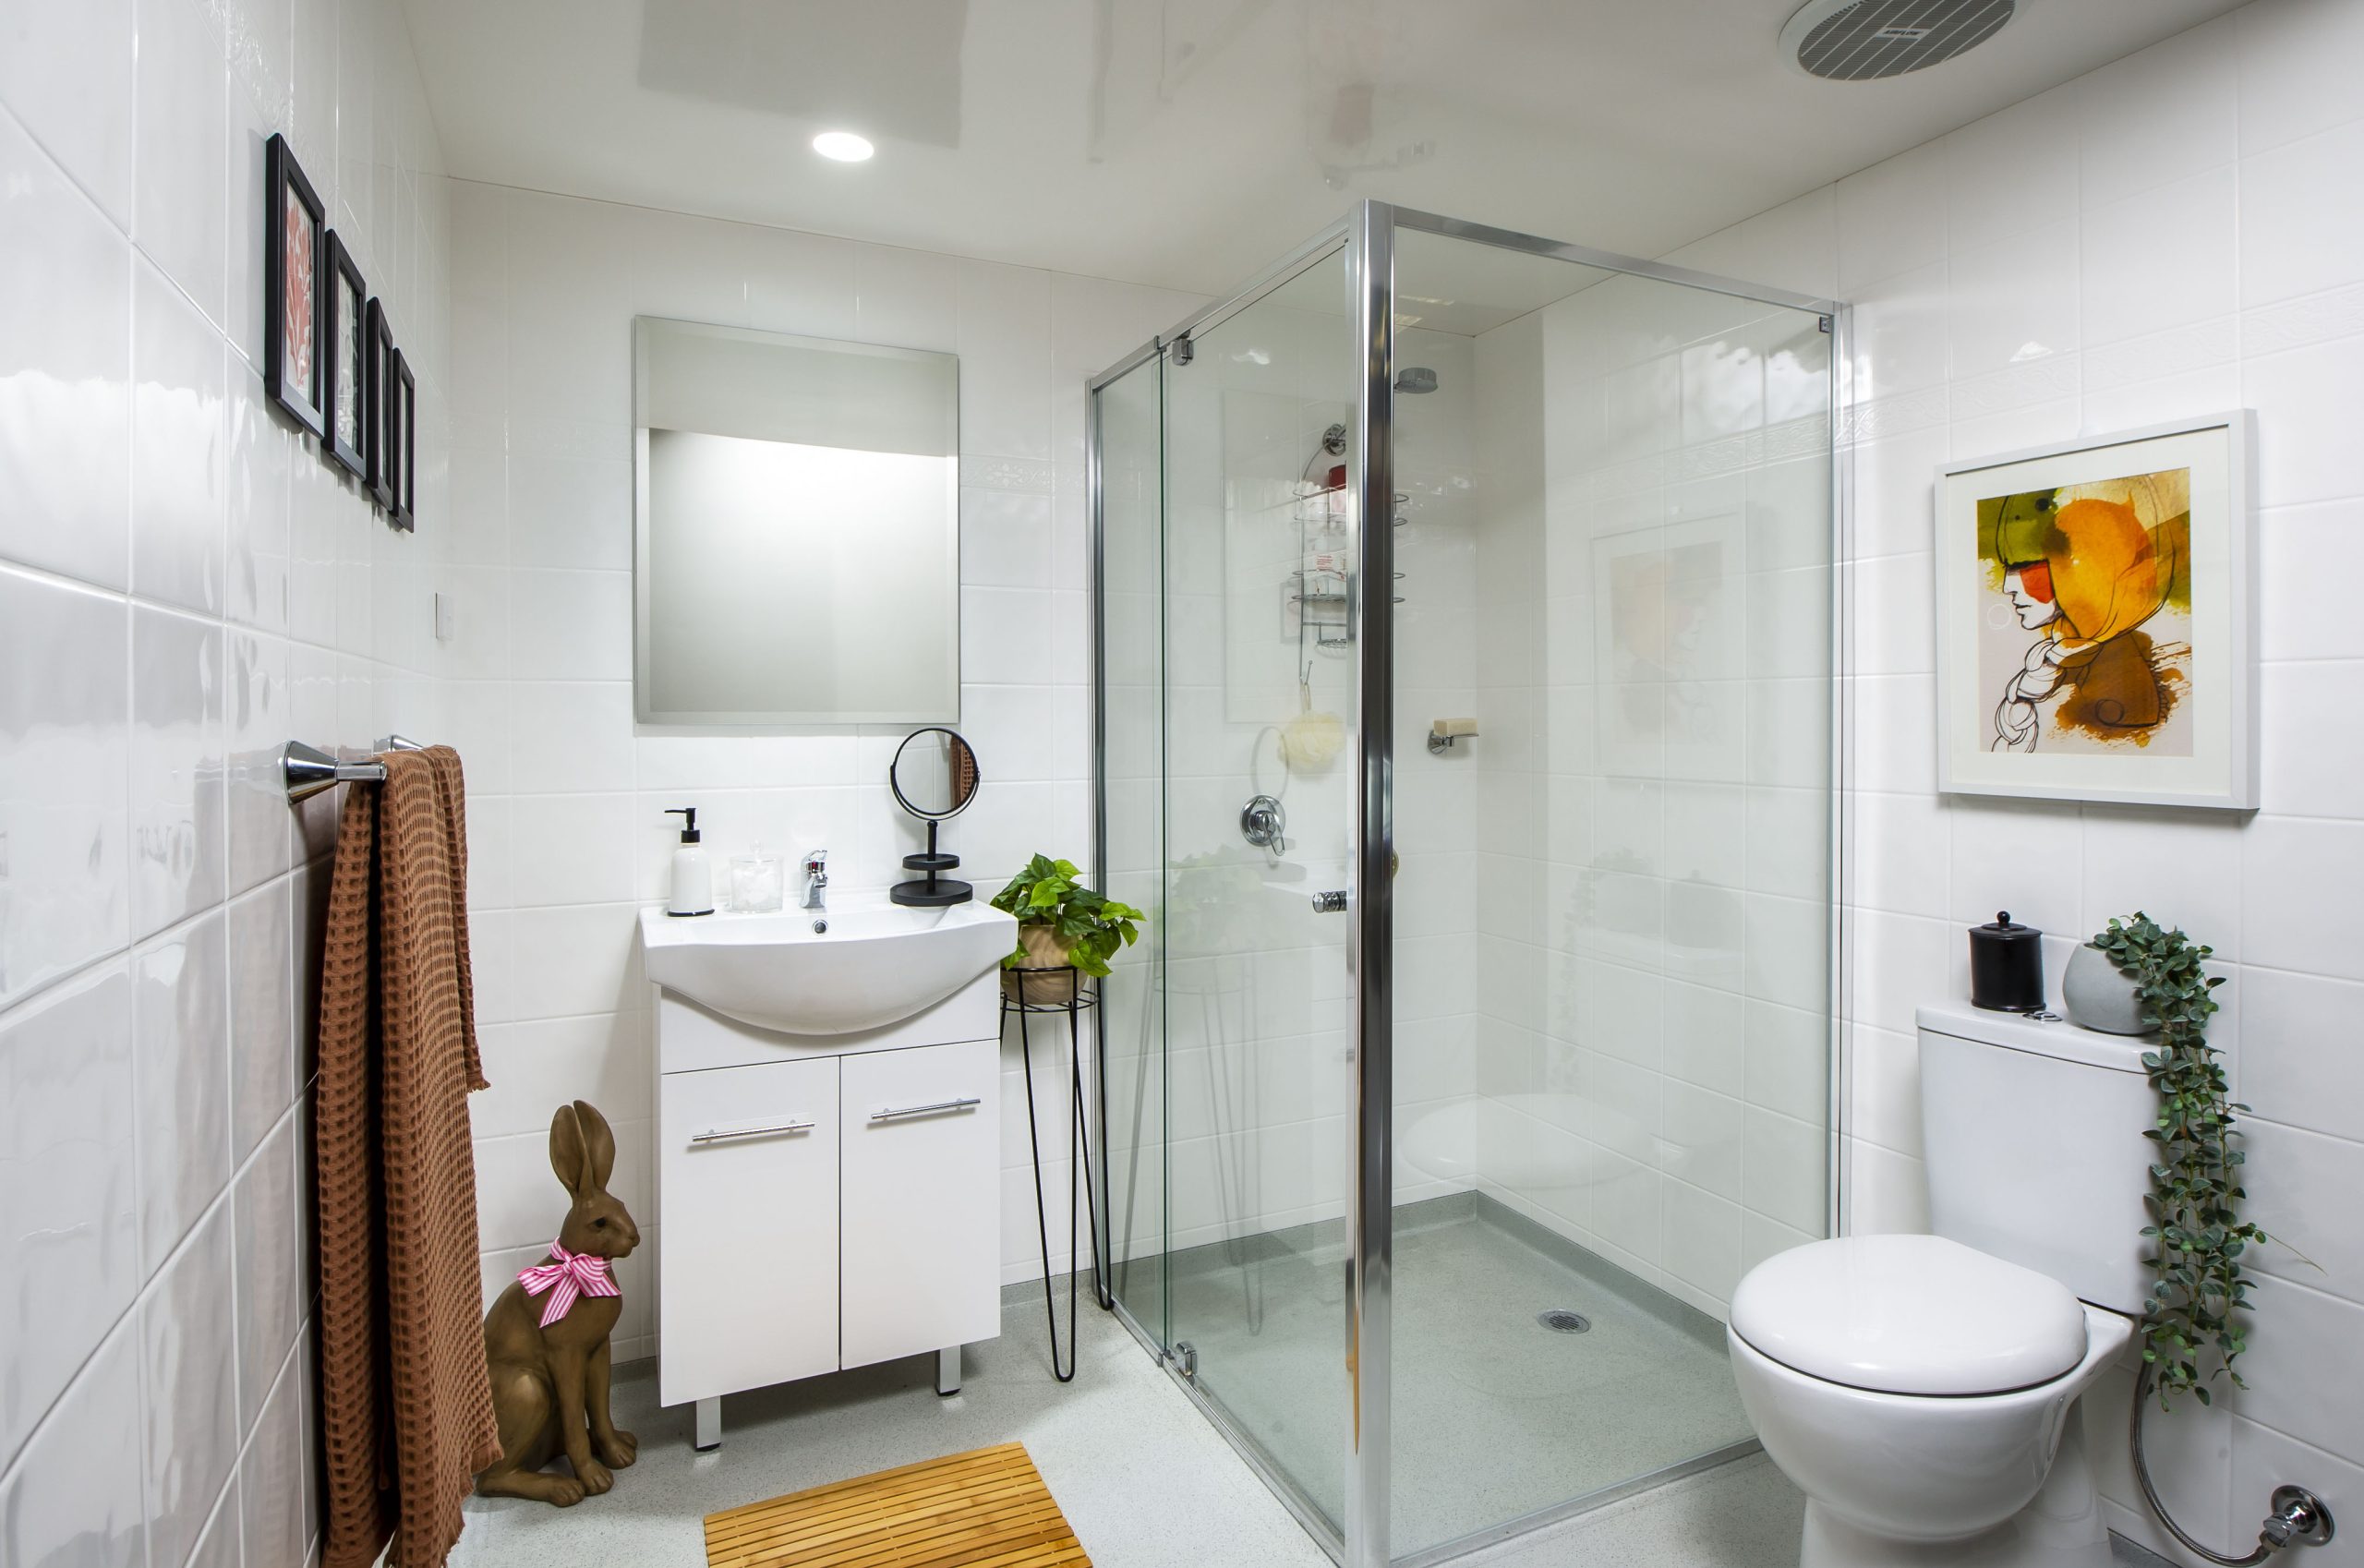
The FP1400 is a slightly more spacious unit at 2280mm x 1400mm and is our personal recommendation when it comes to a comfortable, self-contained glamping dome. This size unit did not feel cramped inside and gives your guests sufficient space to dry yourself out of the shower.
200mm difference in width may not sound like much but can be huge difference in deciding whether a larger bathroom space or lounge area is of higher importance to you (especially for the 7m).
Both options have a shower, basin and toilet included.
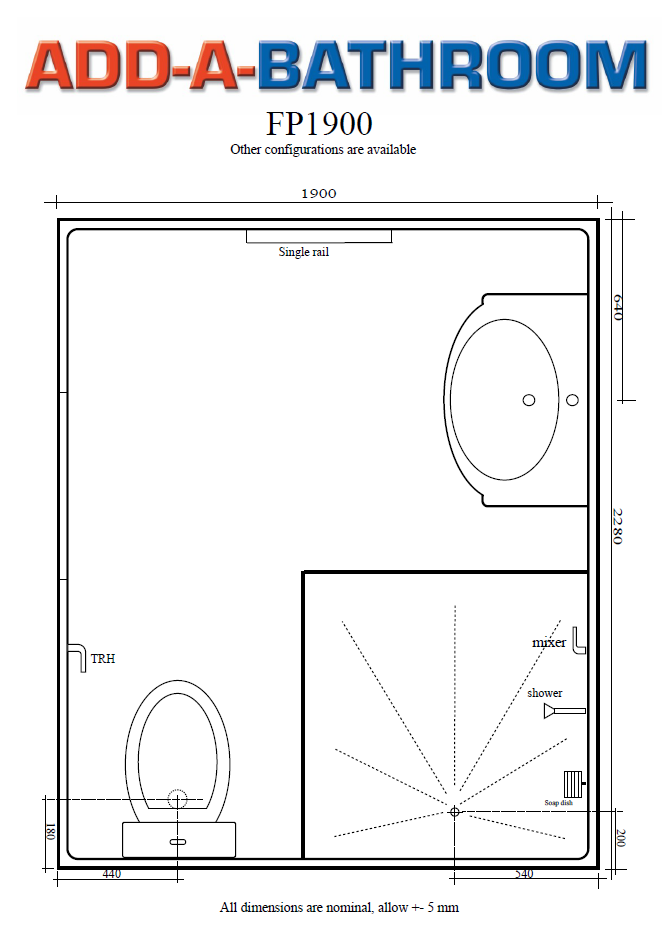
The TP1900 Range
The TP1900 is the recommended size for our larger domes. We have labelled it as a living dome bathroom option, simply because you can fit a washer/dryer inside. If, however, you don’t want a washer/dryer, then consider the extra space for ease of movement or potentially go down to the TP1400.
The TP1900 is 2280mm x 1900mm and comes with a toilet, basin, and shower.
The TP2700 Range
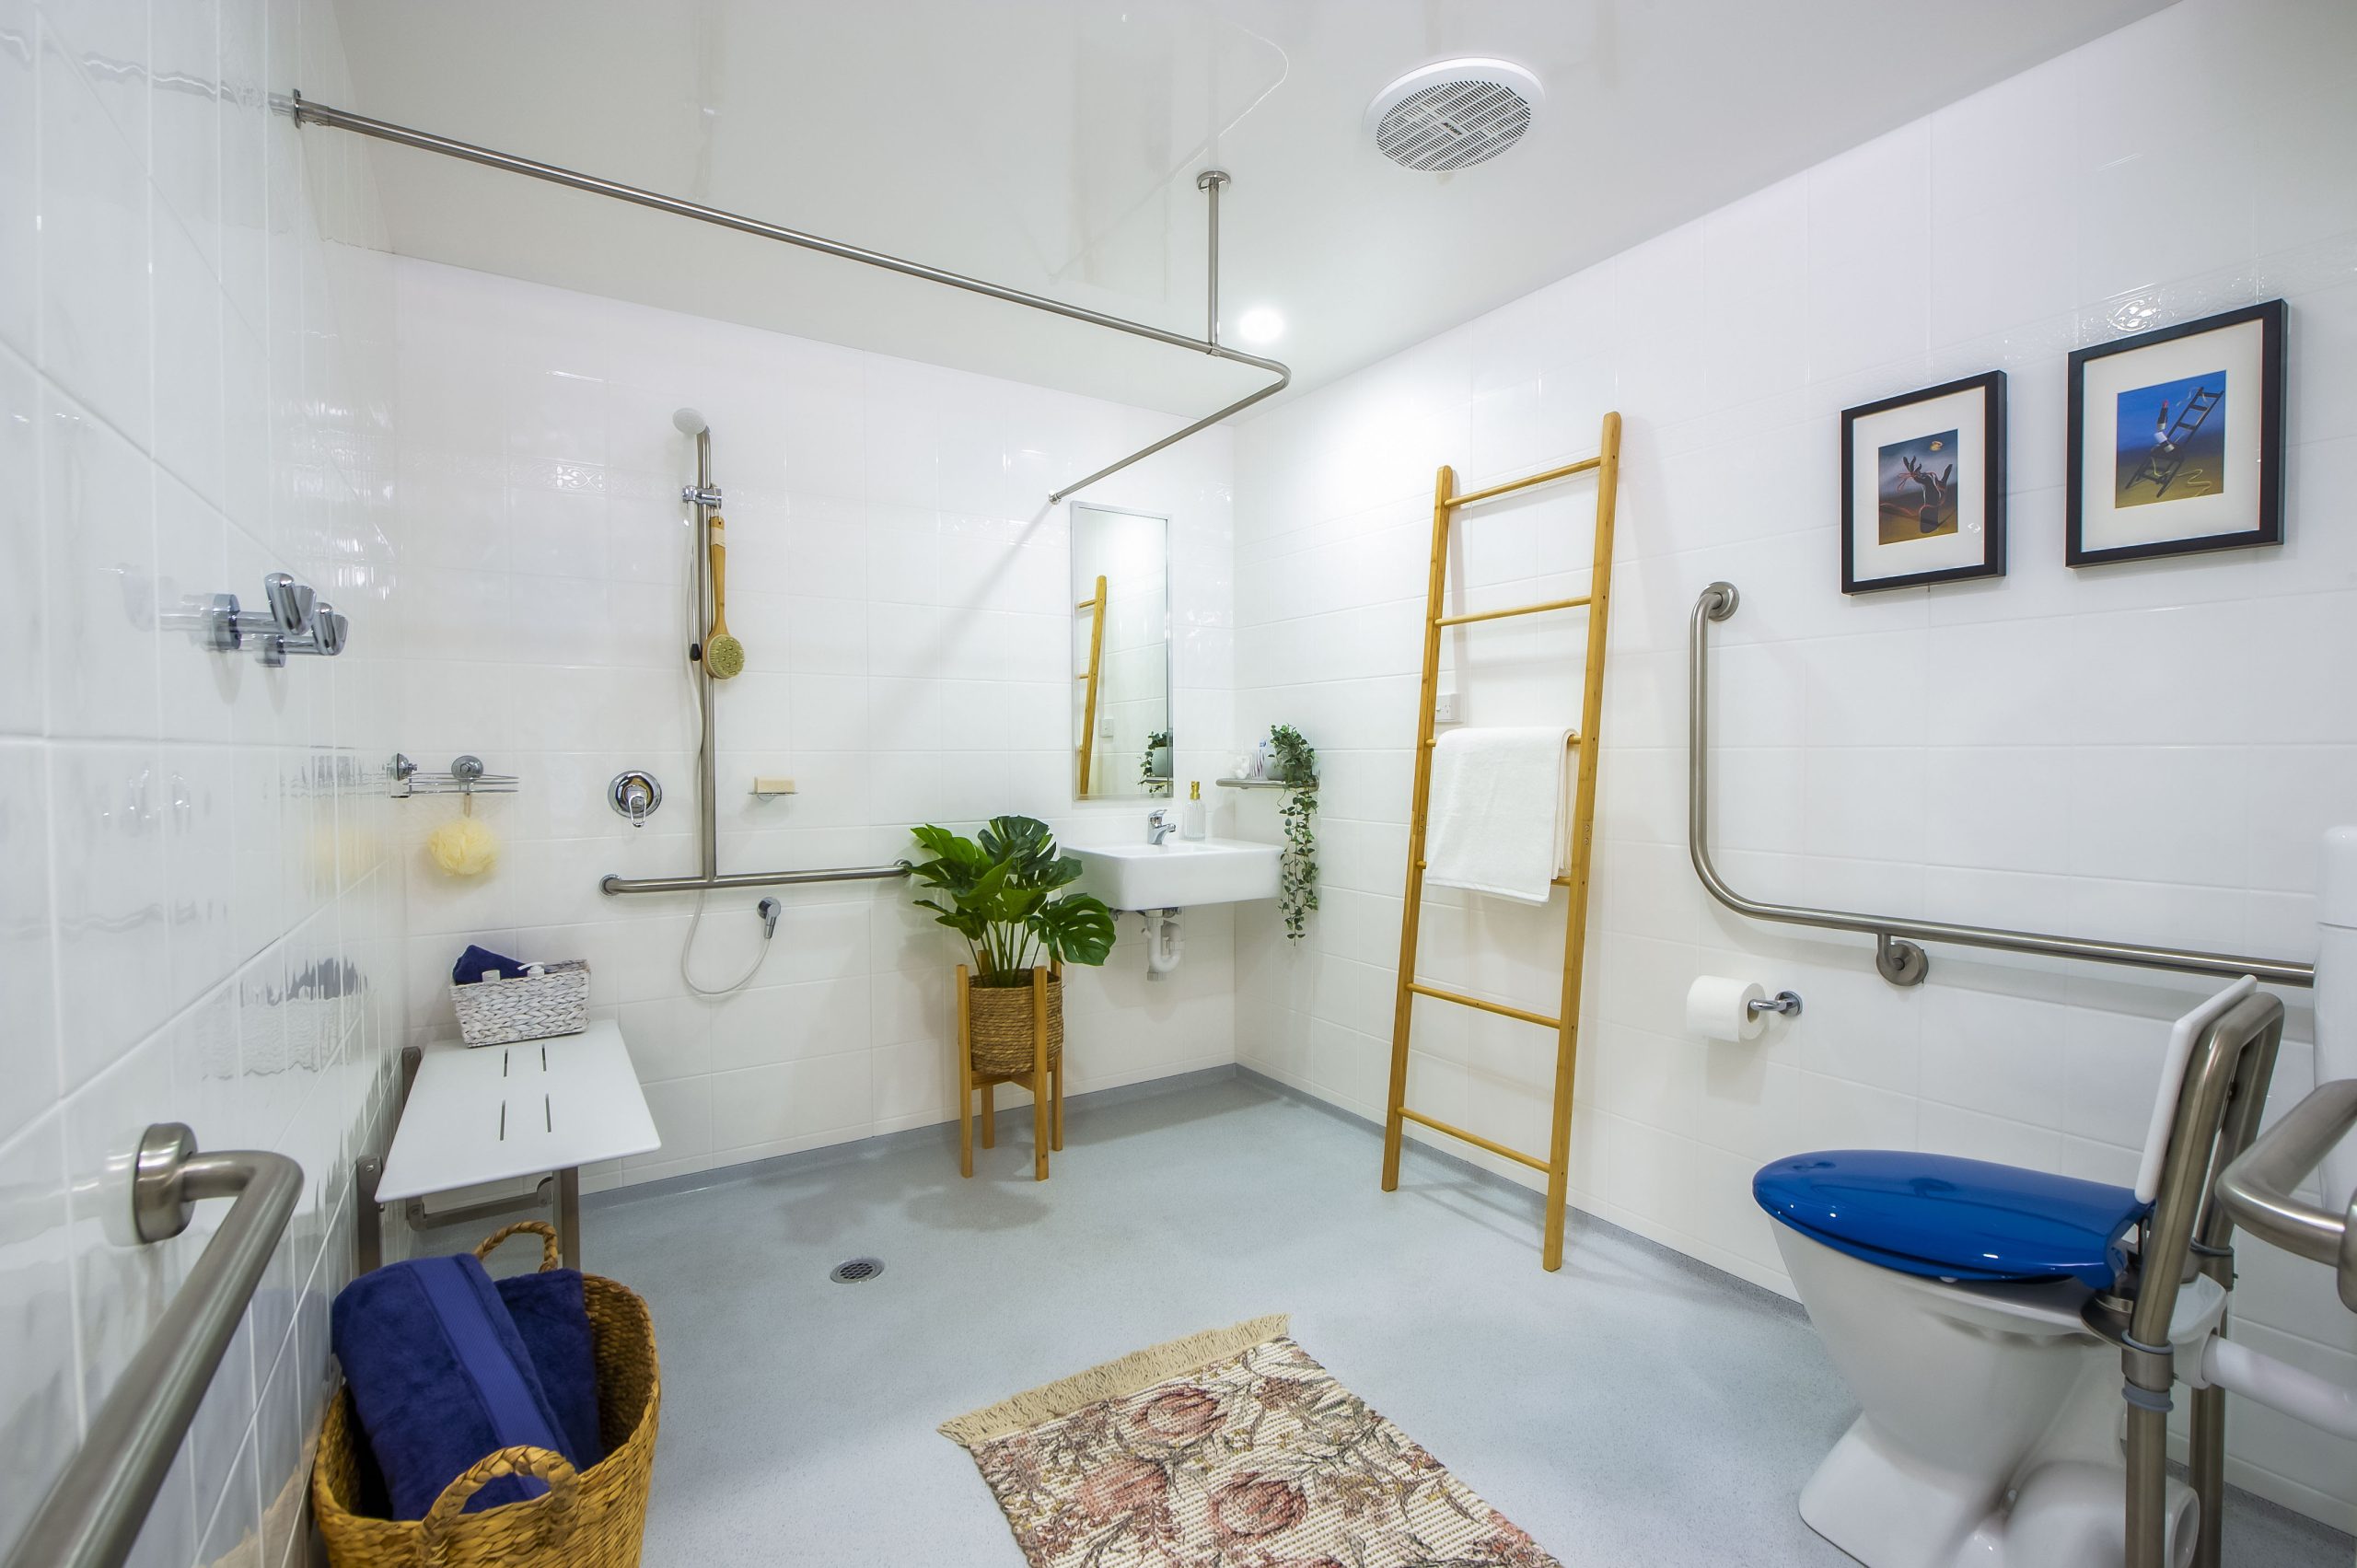
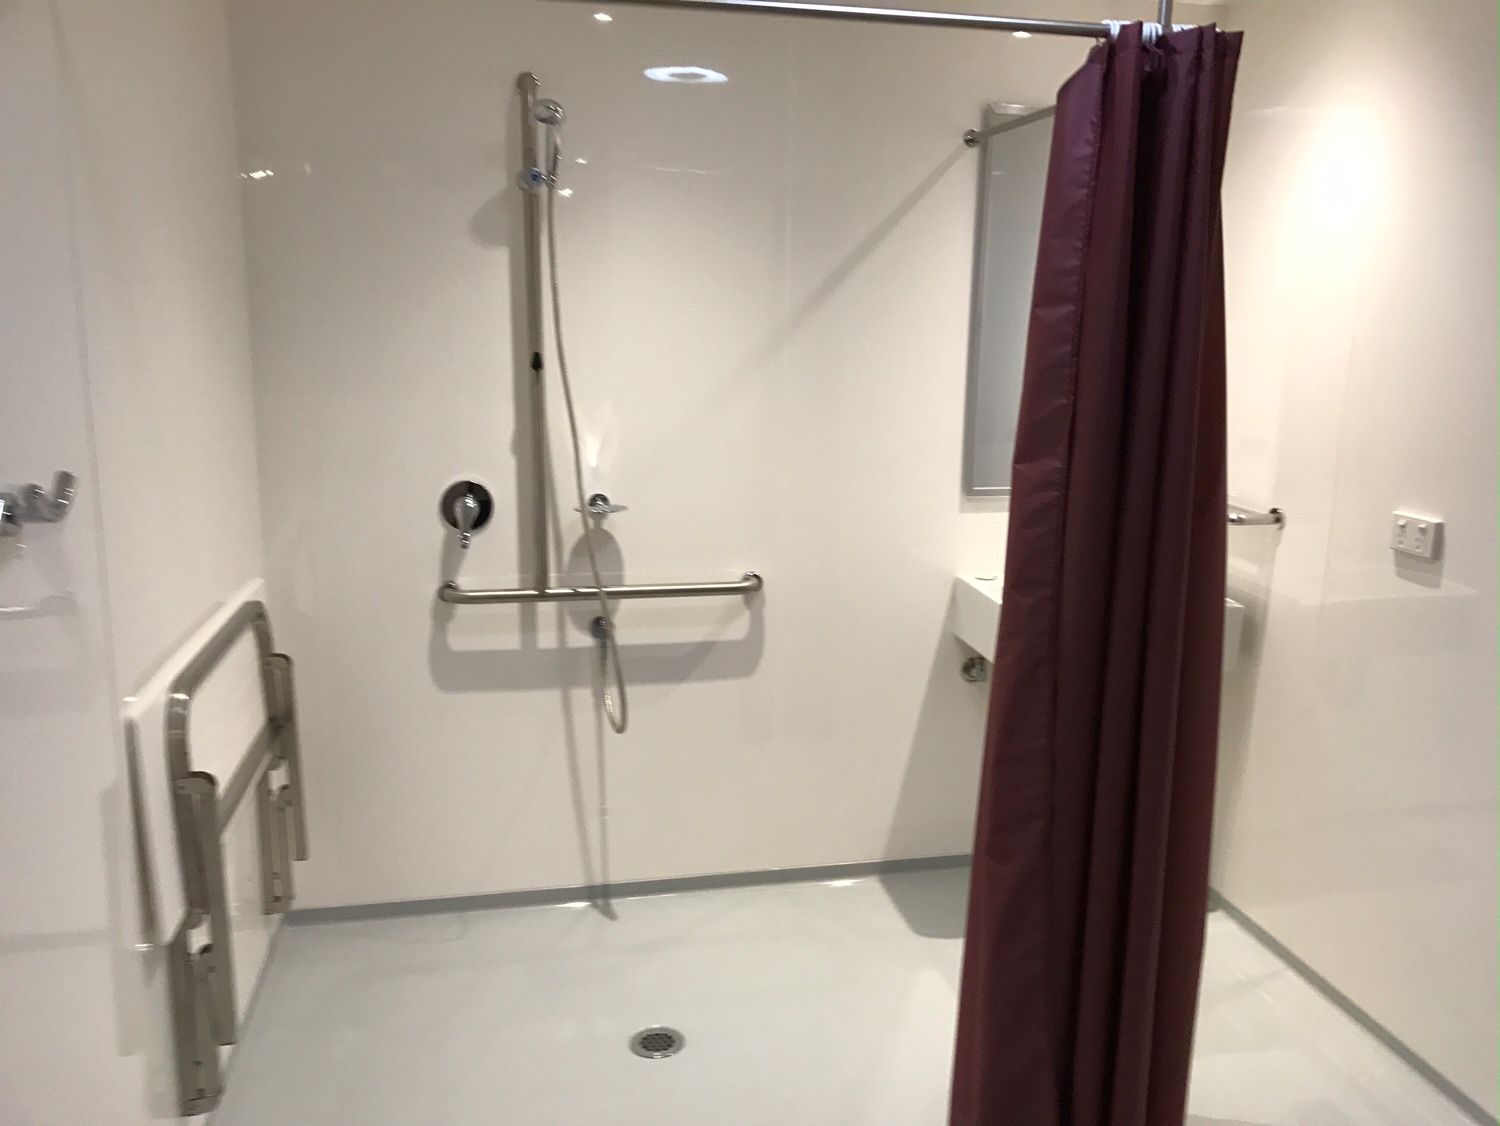
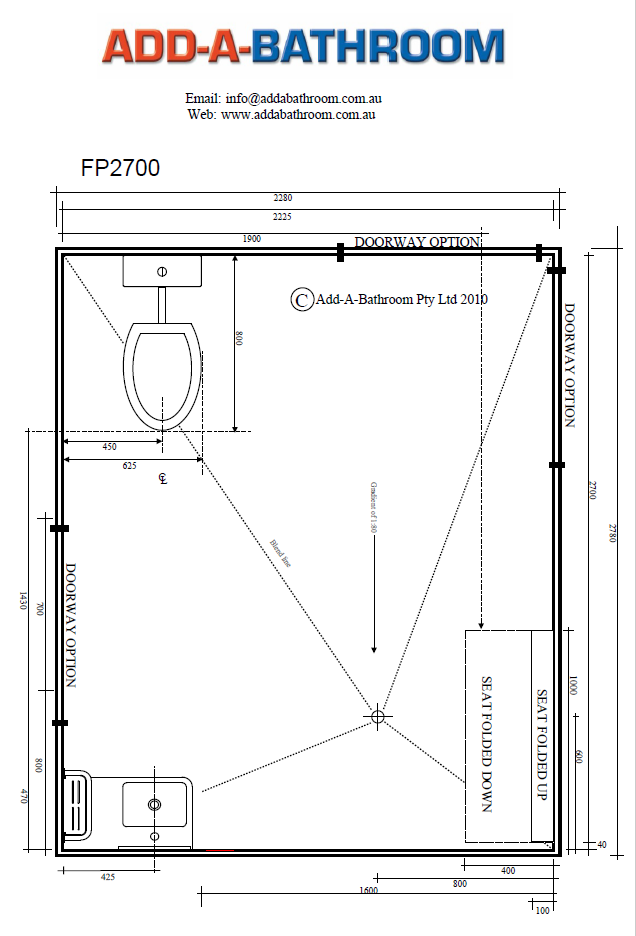
The TP2700 is our wheelchair-compliant bathroom size. With everything required to meet wheelchair standards, this toilet is the perfect option for those wanting to cater for wheelchairs.
The TP2700 is 2780mm x 2280mm and comes with a shower, basin, and toilet.
If you like the size of this model, but aren’t using it for wheelchair access, a standard option is available for this size.
Quick Installation Times
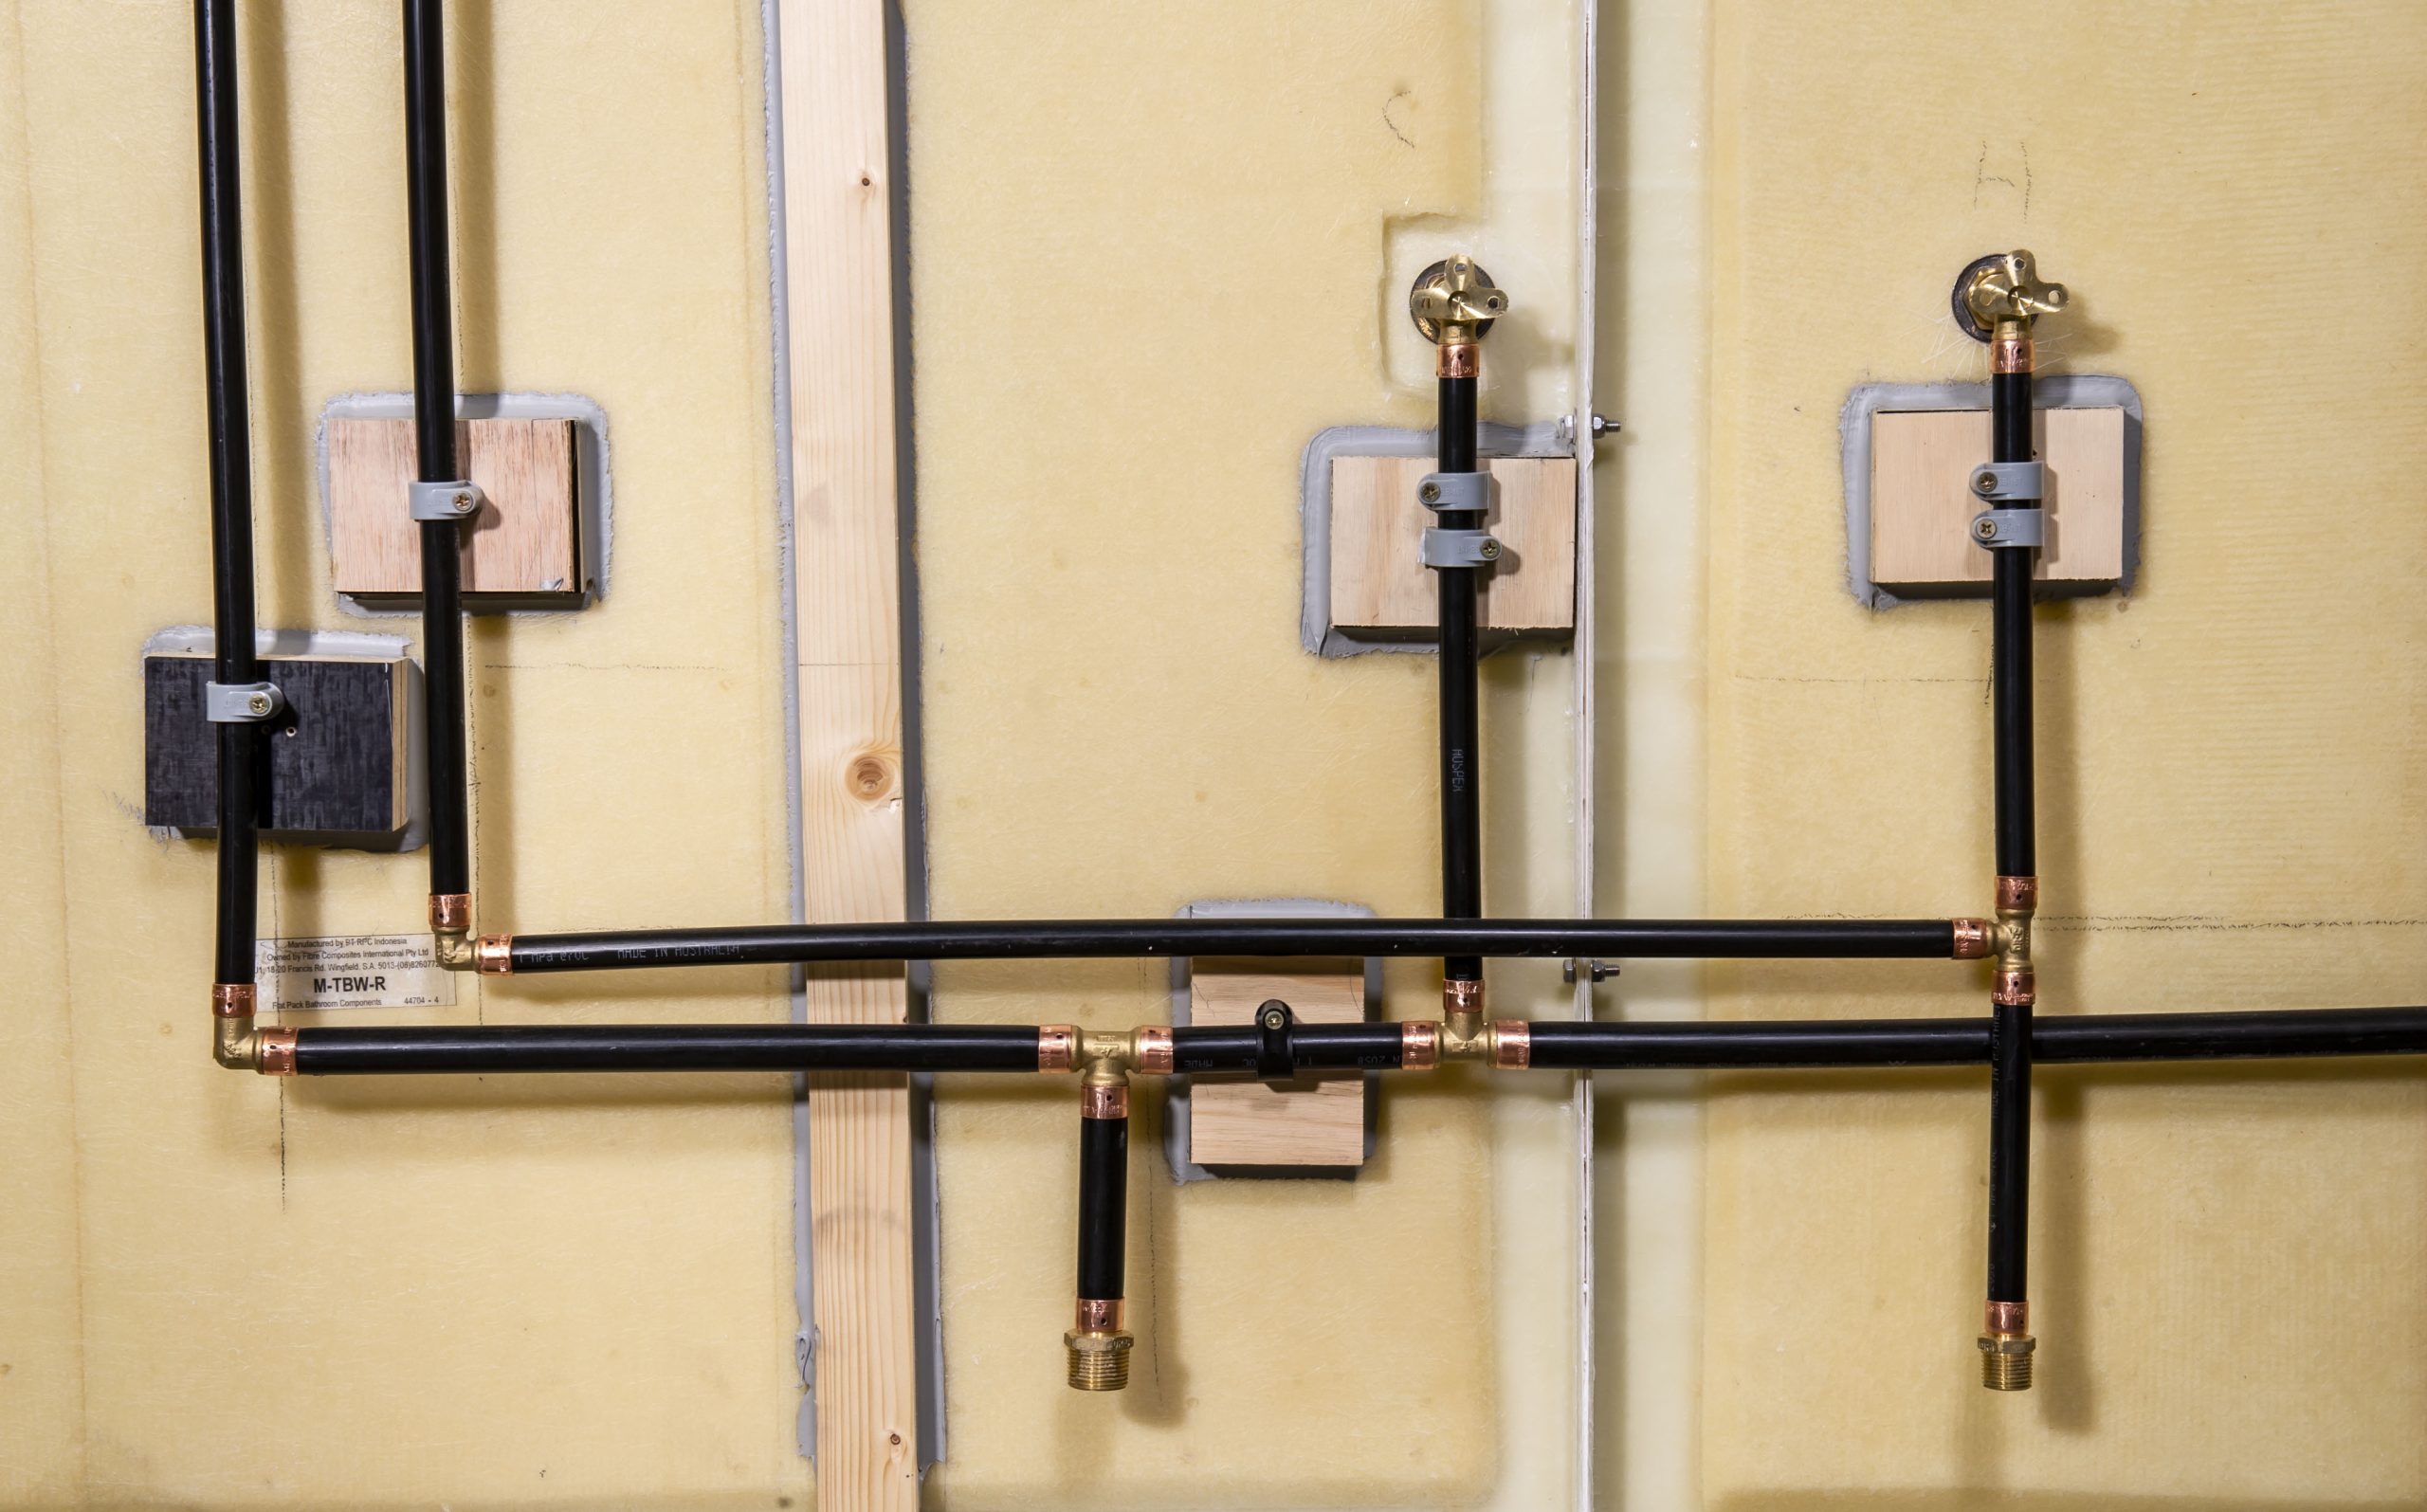
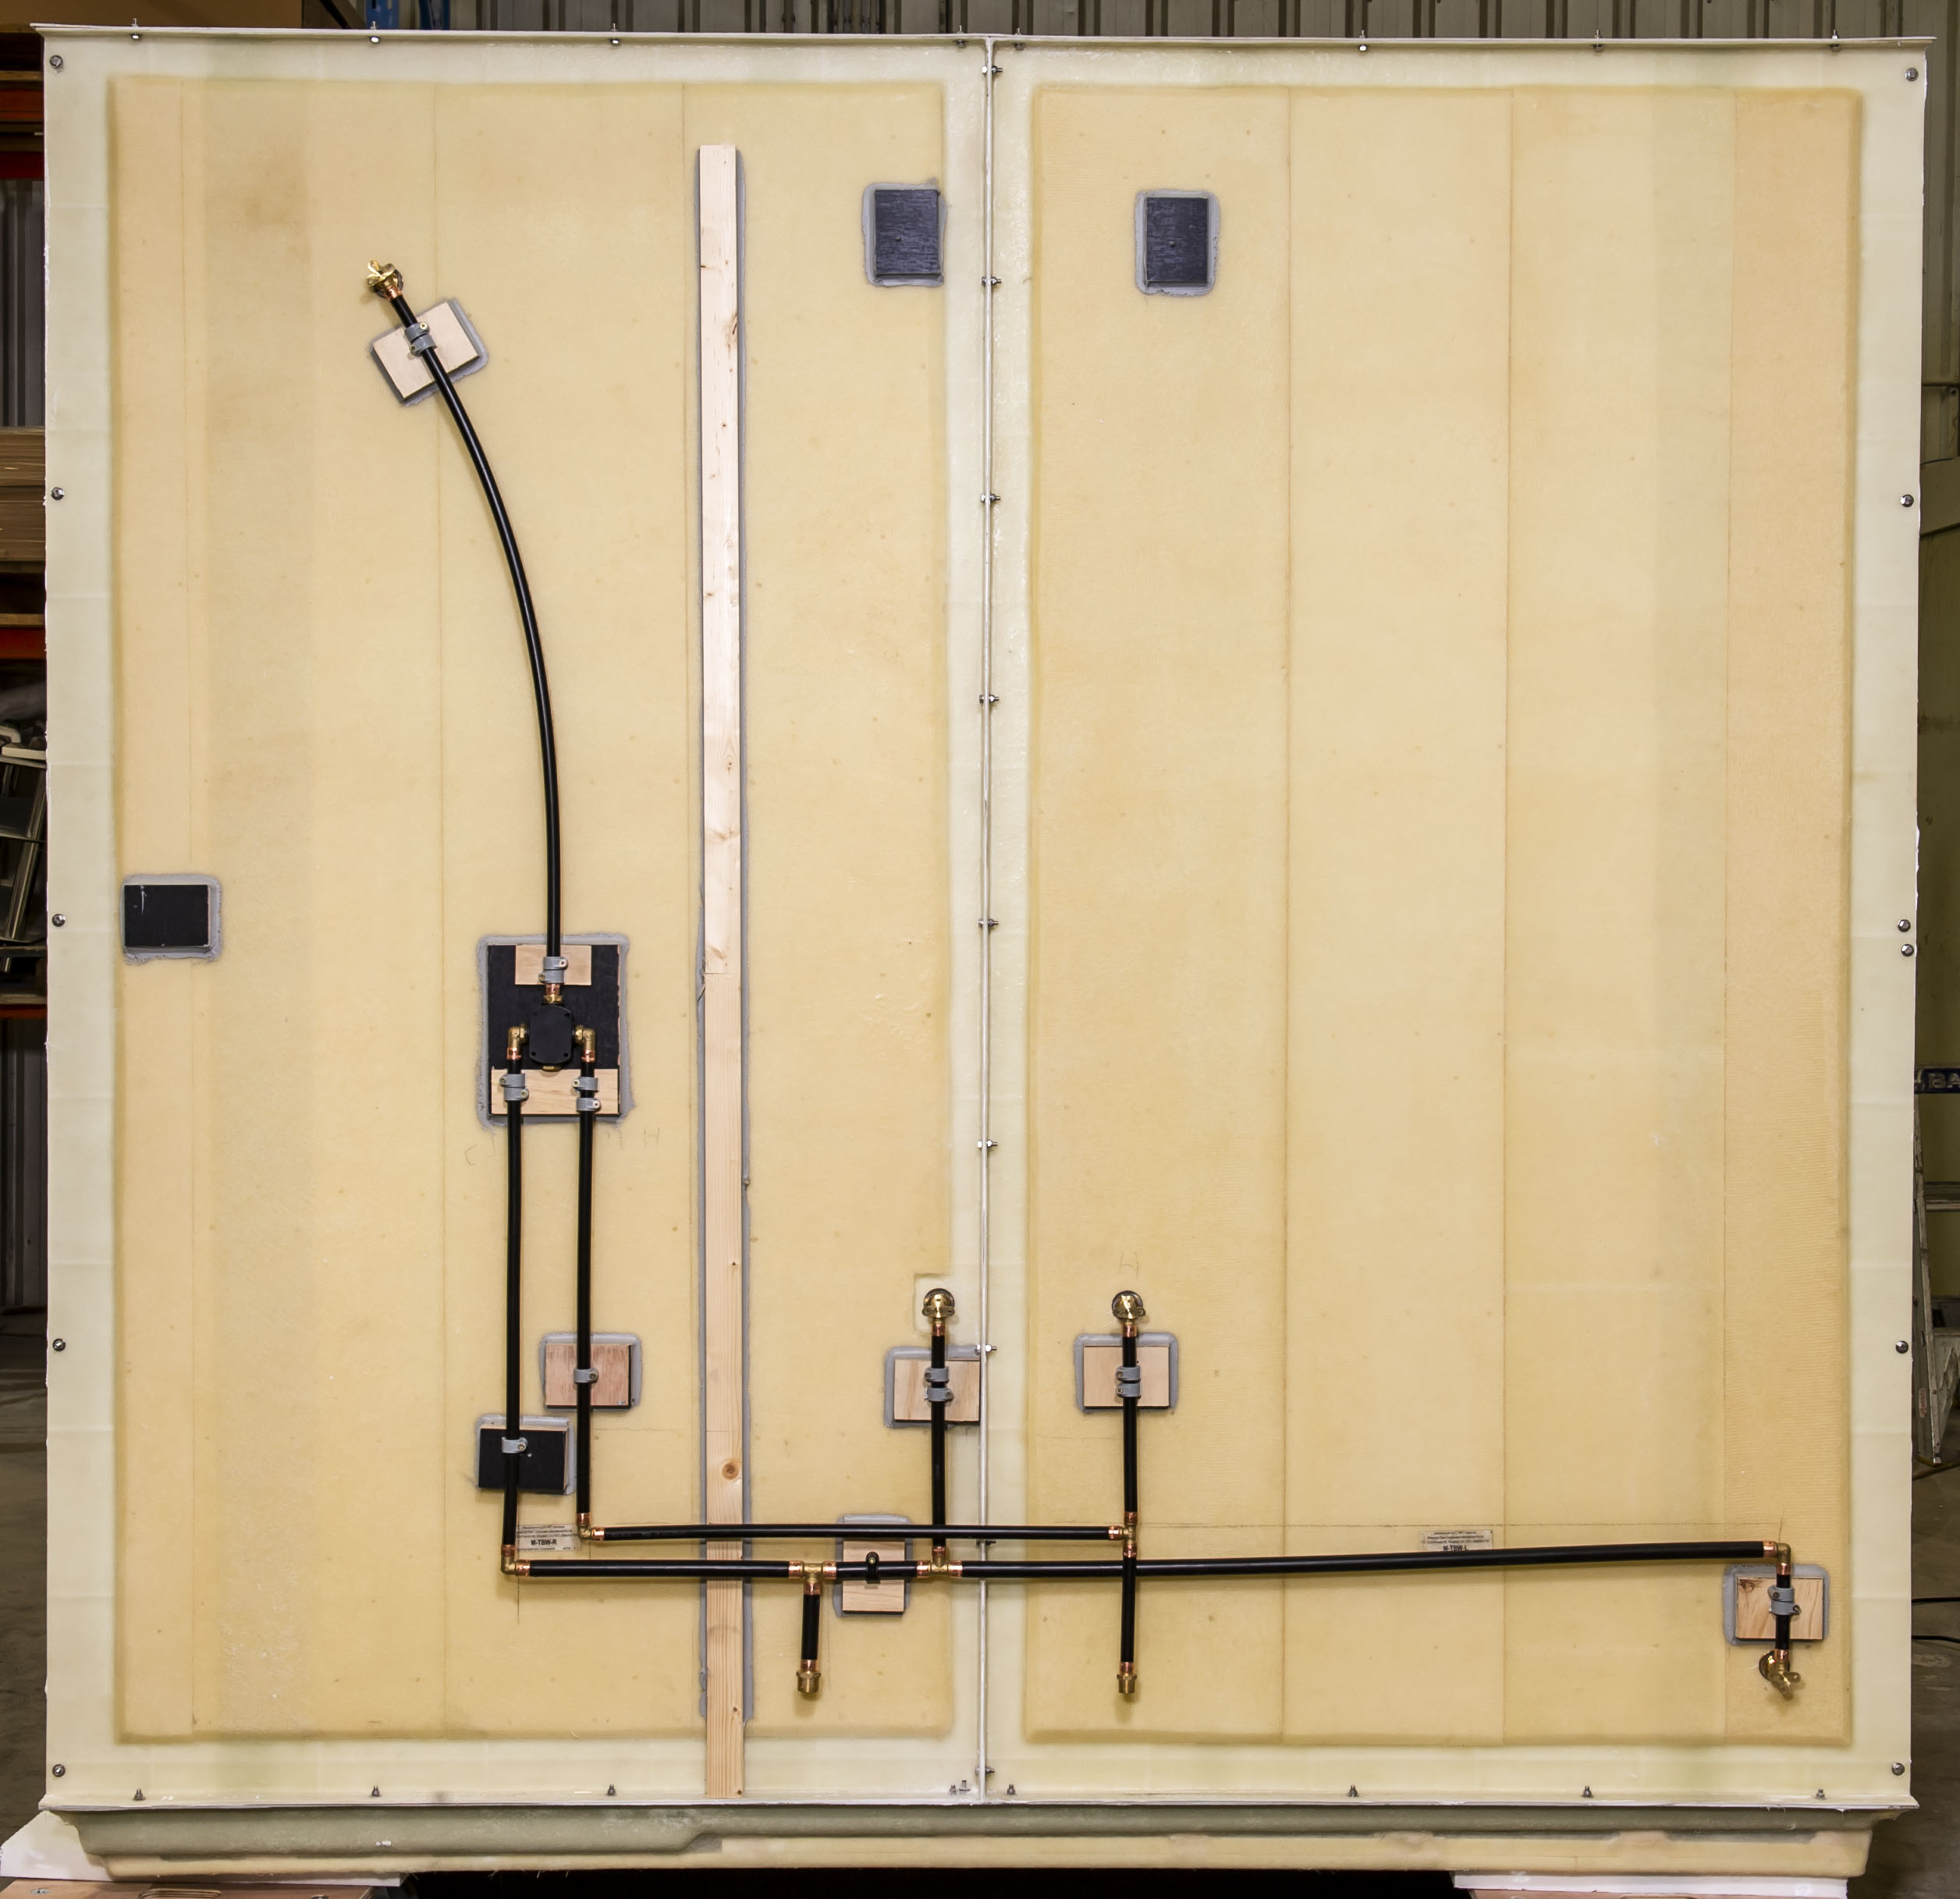
What we love about these bathroom pods are that they are all flat packed with most (if not all) the holes, penetrations and plumbing fittings all ready to go.
This means less time on the tools (or paying a tradie) to get yourself a fully functioning bathroom inside your King Dome.
Whether you want to tackle the project yourself or want to hire a tradie to install for you, this straight-forward solution help you get your glamping (or private) Dome up and running quicker.
5 connections to pod
The 5 connections you will need to connect to the pods are:
- Water inlet (cold): This was either placed before pouring the concrete slab or, if you can access underneath the deck, can be placed afterward.
- Water inlet (hot): Same as above.
- waste pipe (outlet, for greywater): This will be for the shower and basin’s waste. If you are using a composting toilet then no further wastewater management is necessary. If you are using a flushing toilet however, blackwater systems such as septic will need to be used.
- electrical connection: To power the lights, fans, and outlets.
- exhaust outlet: To remove condensation from the bathroom pod. This can be plumbed into the wall and down through the chosen foundation.

What else needs to be done?
Essentially, once the bathroom pod is up, all that is left is:
- build a basic frame around the bathroom pod for cladding.
- connect the services listed above.
- clad the walls around your bathroom pod.
Depending on what amenities, and partitions you are installing inside your Dome, it may be more convenient for the cladding to be installed after all the services have been installed through the walls frame, foundation, and bathroom pod. Examples can include, running the feeds over to the kitchenette, installing, Air-conditioning, and testing the service connections (last thing you want is for the cladding to be installed and find out you have a leak in a pipe somewhere in the wall).

Customisation
There are several ways these bathroom pods can be customised:
- shower on left or right of entrance: Our standard option for the door position is in the centre of the longer wall. This means when you walk into the bathroom, the shower position is either on the left or right hand side.
- door positioning (on larger models): On some of the larger models, the door can be positioned on an end wall or on one side of the longer wall. This can open up the interior space of your Dome by pushing the bathroom to one side.
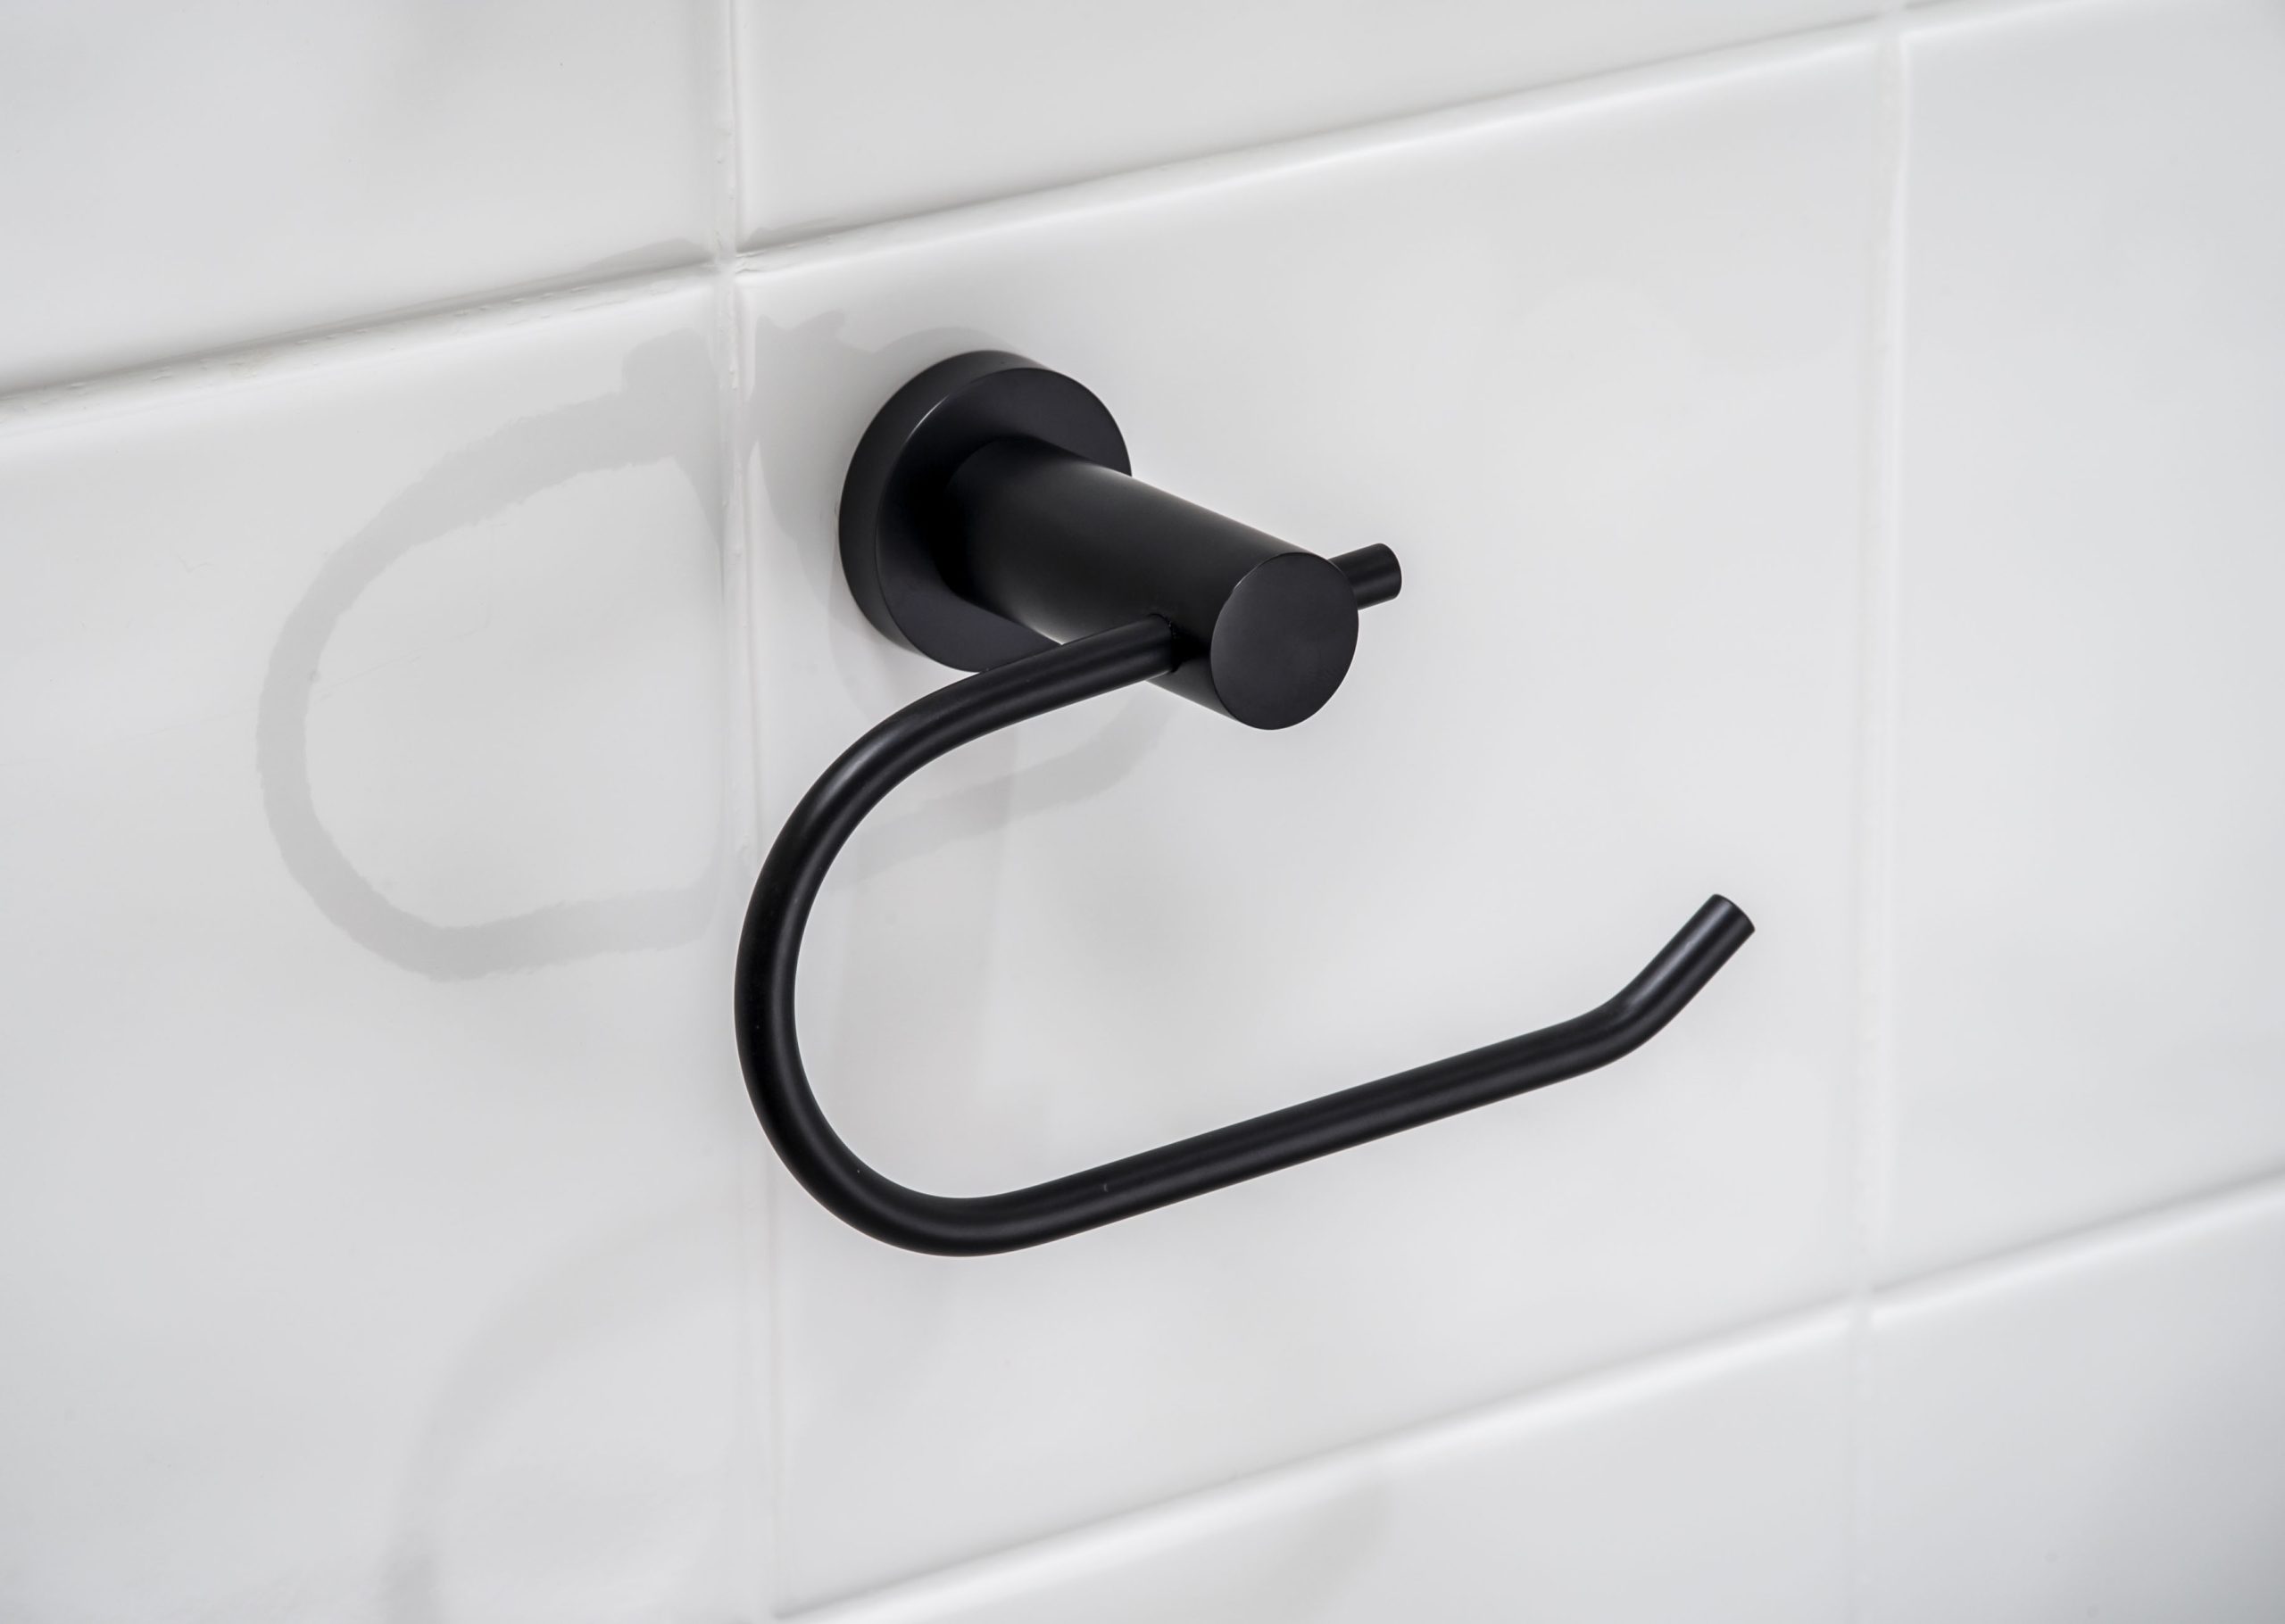
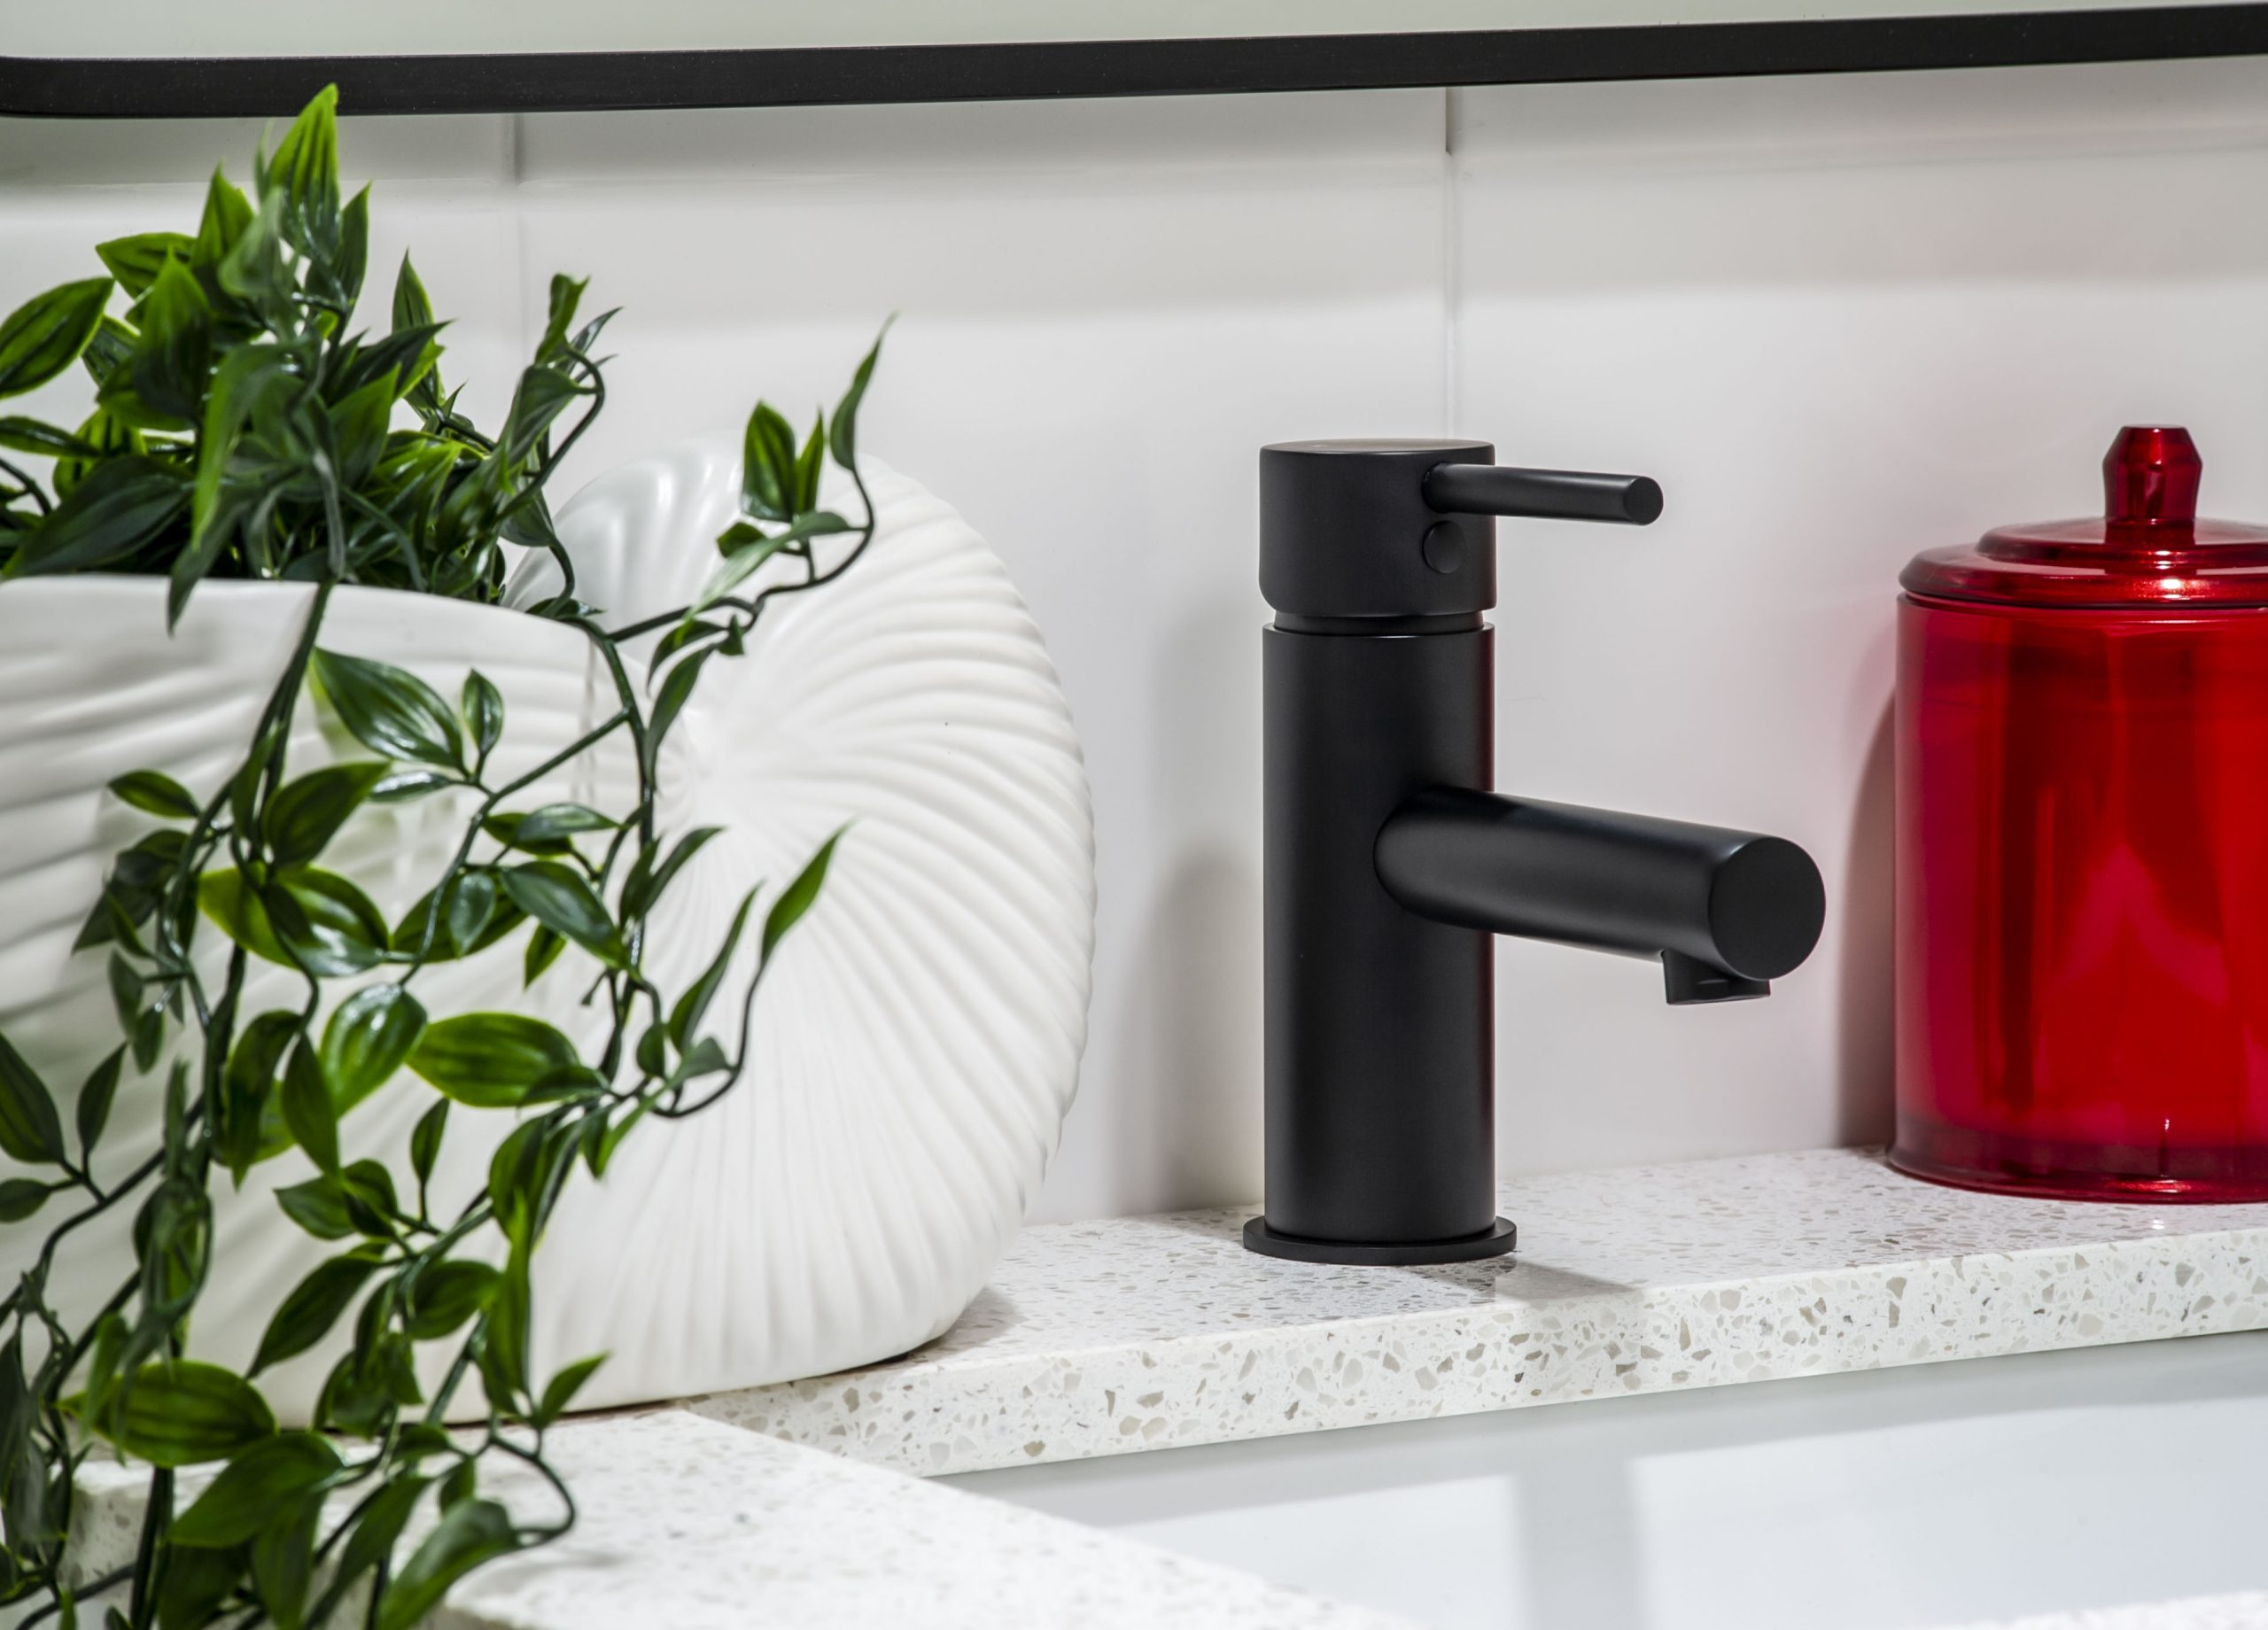
- fitting colours (chrome, black, rose gold, copper): These include taps, showerhead, handles, TP holder etc.
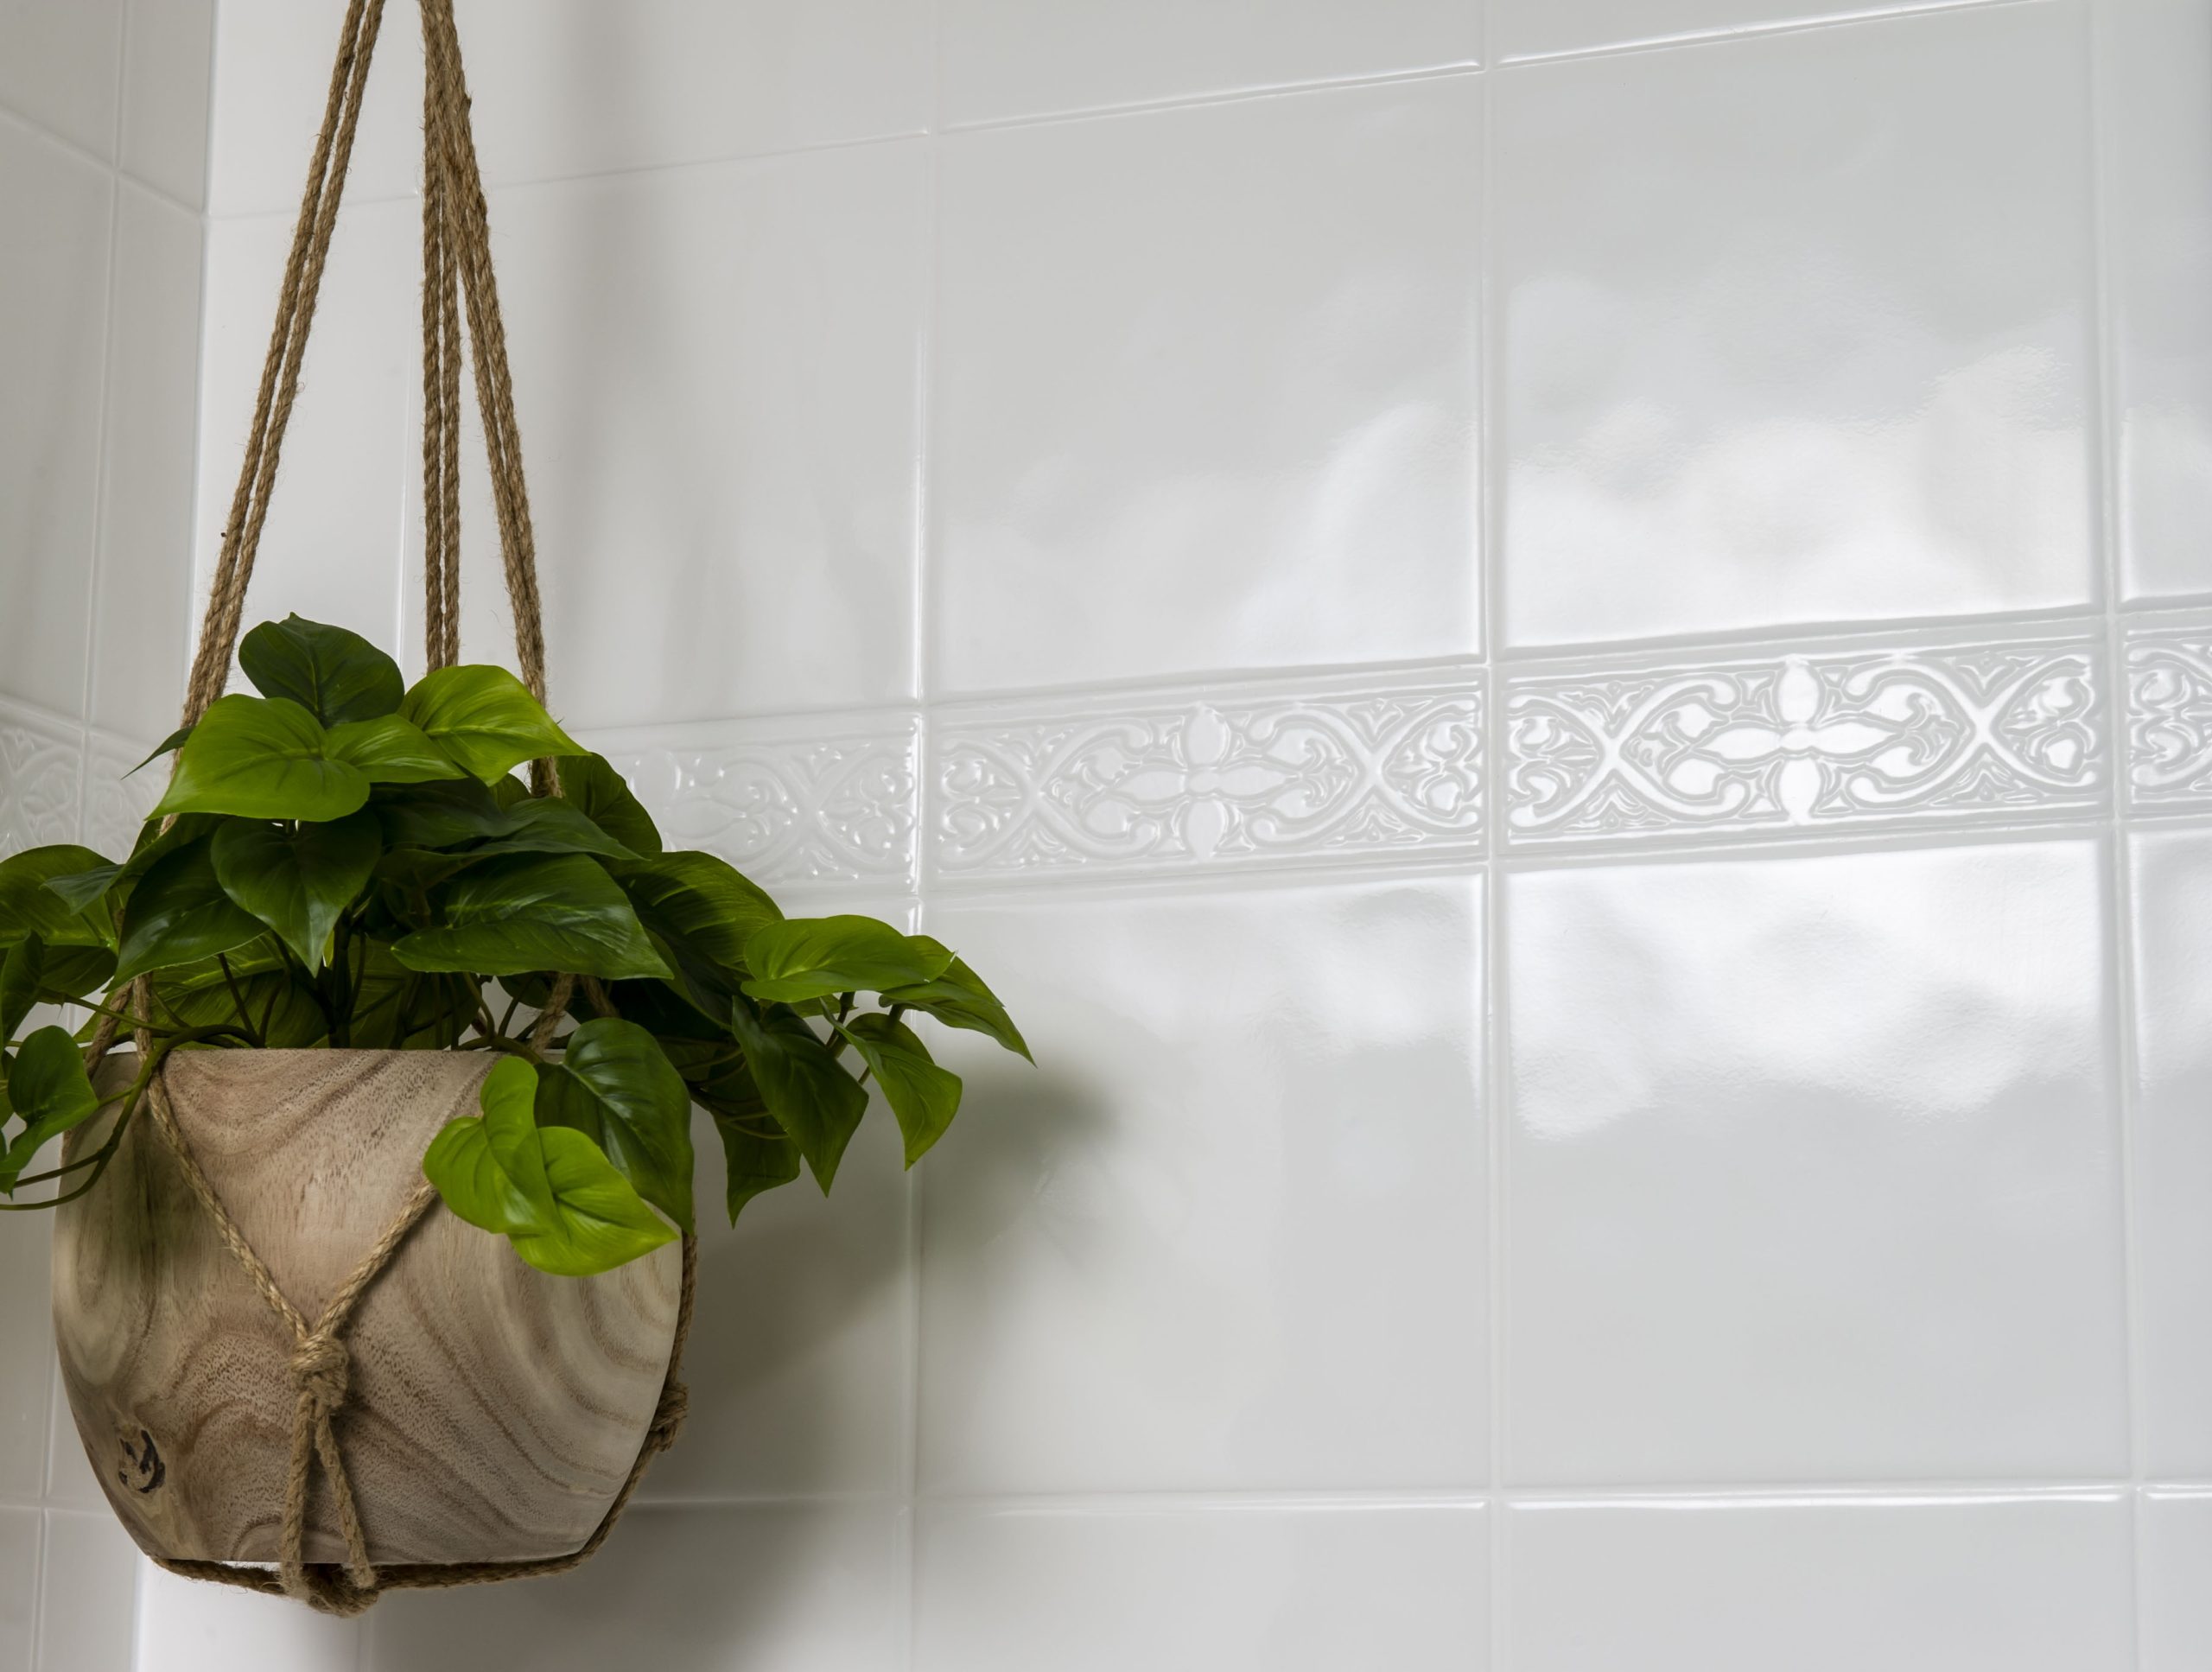
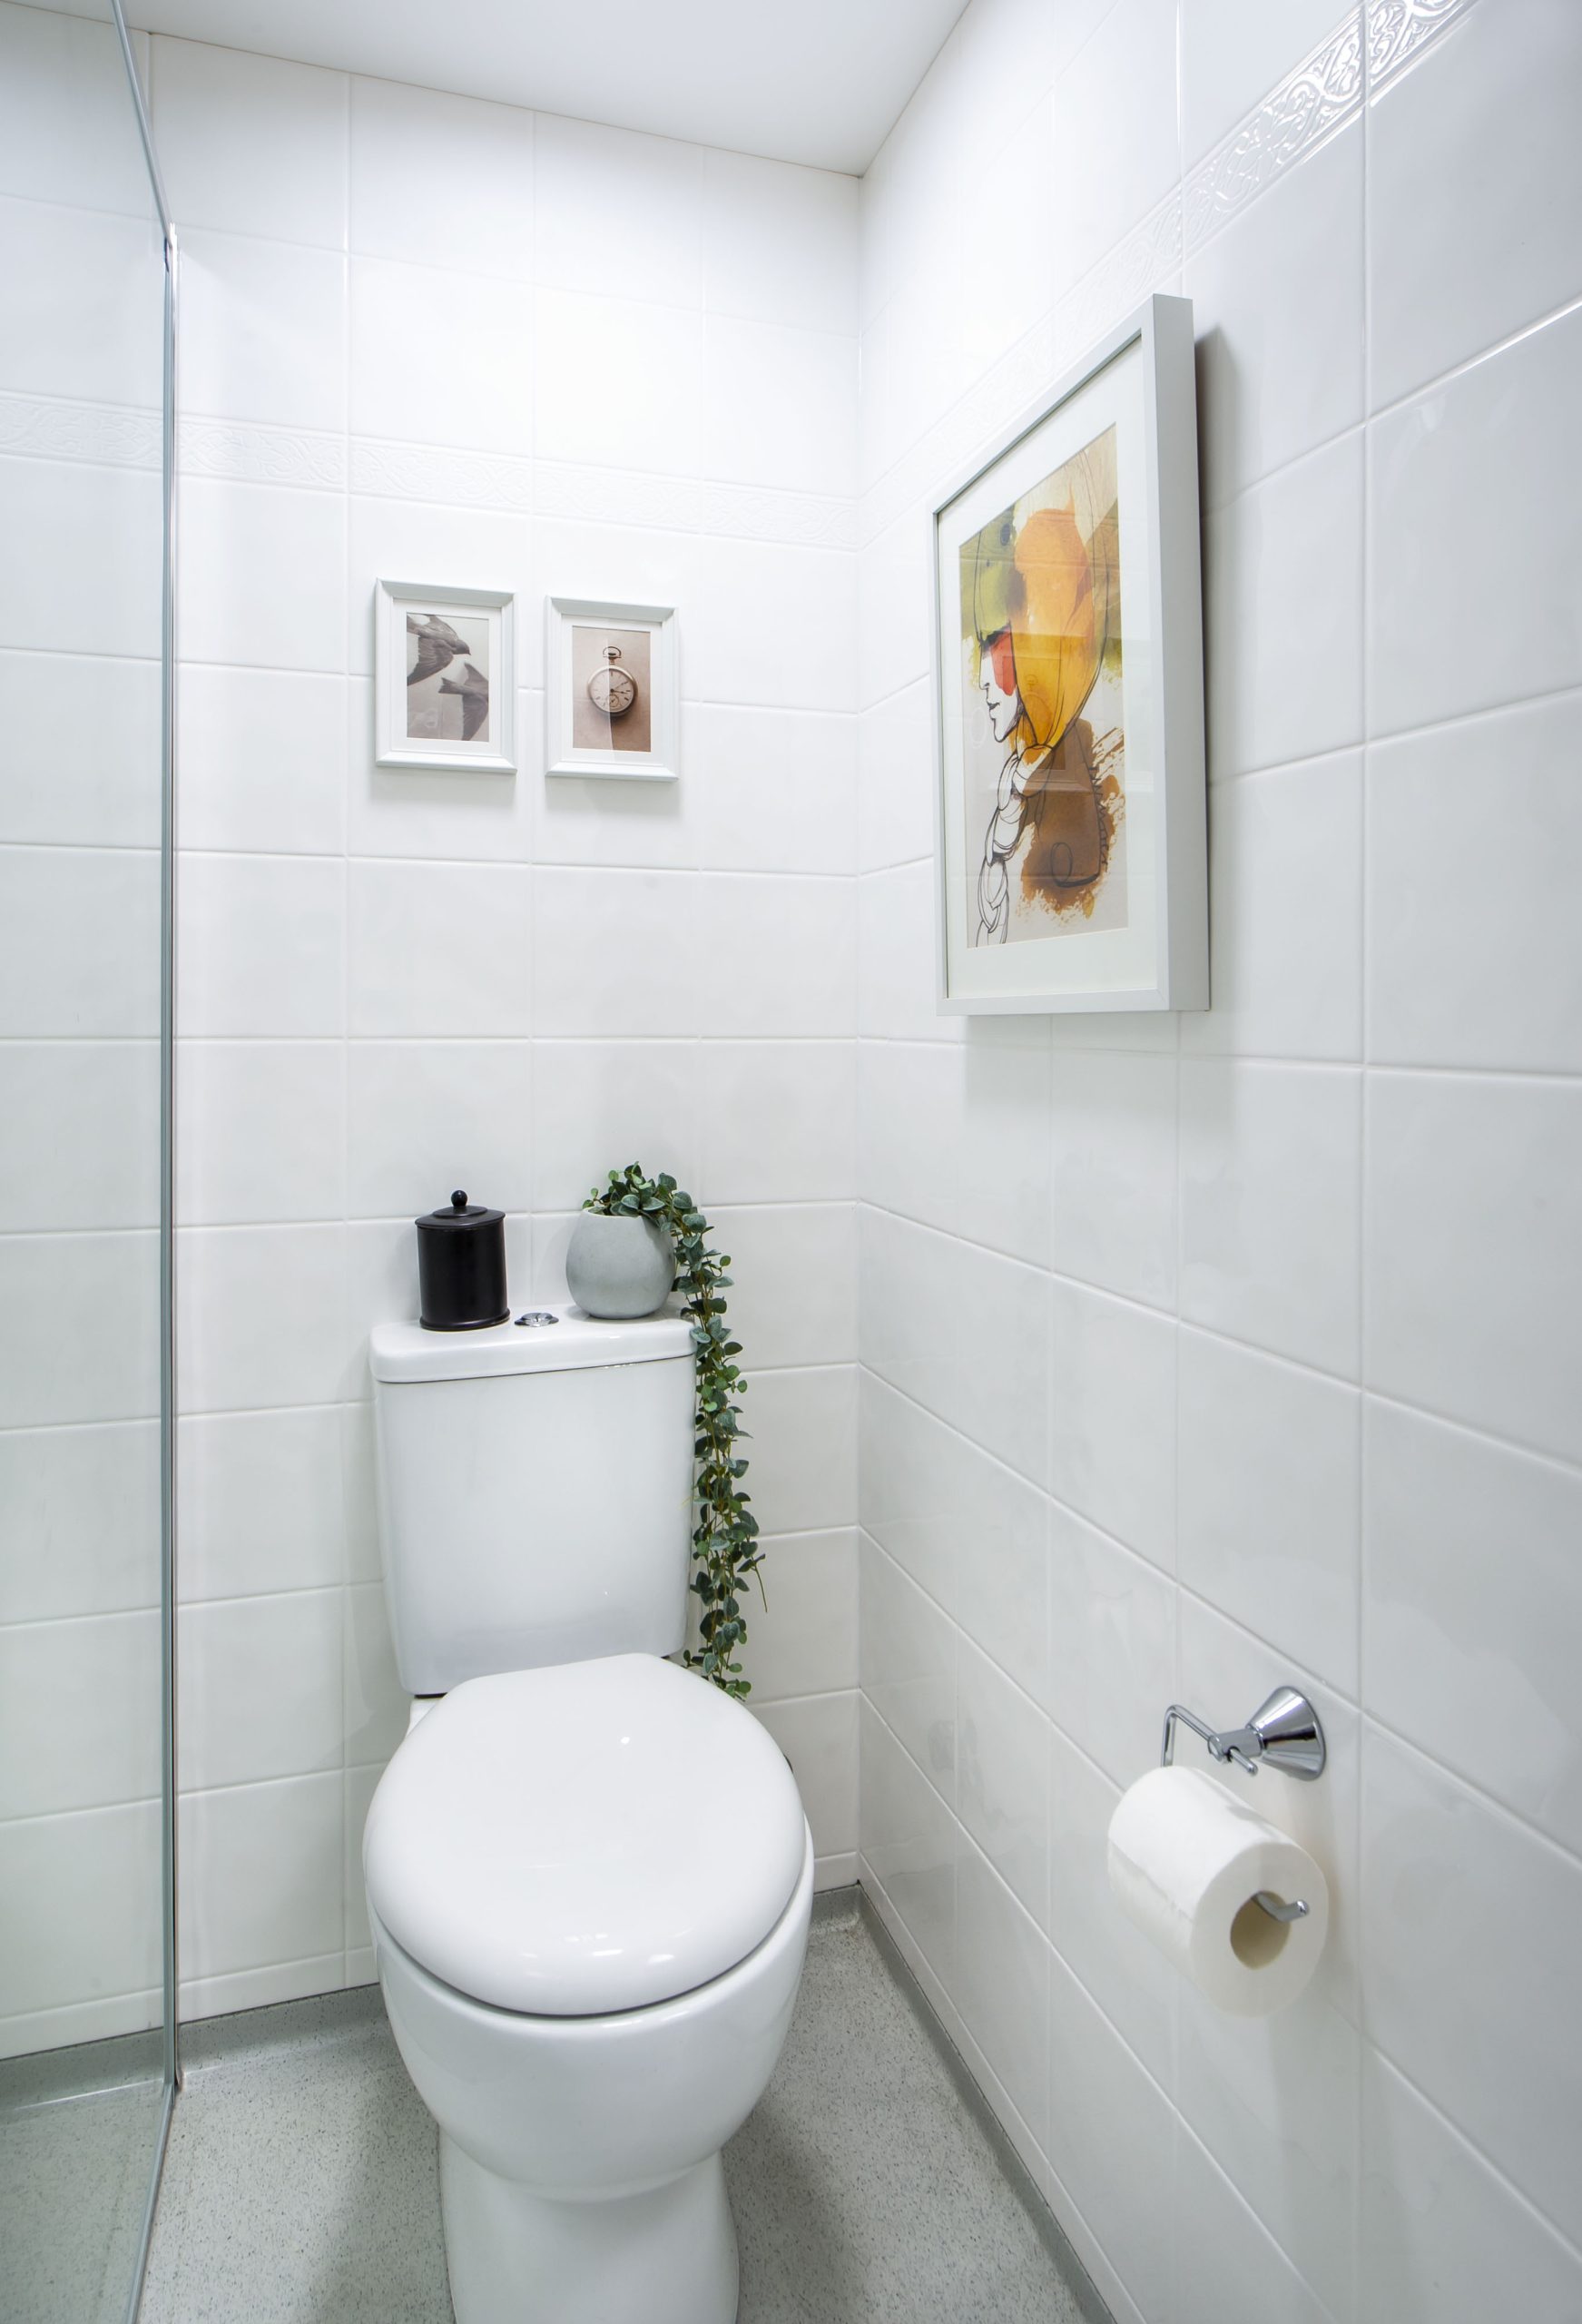
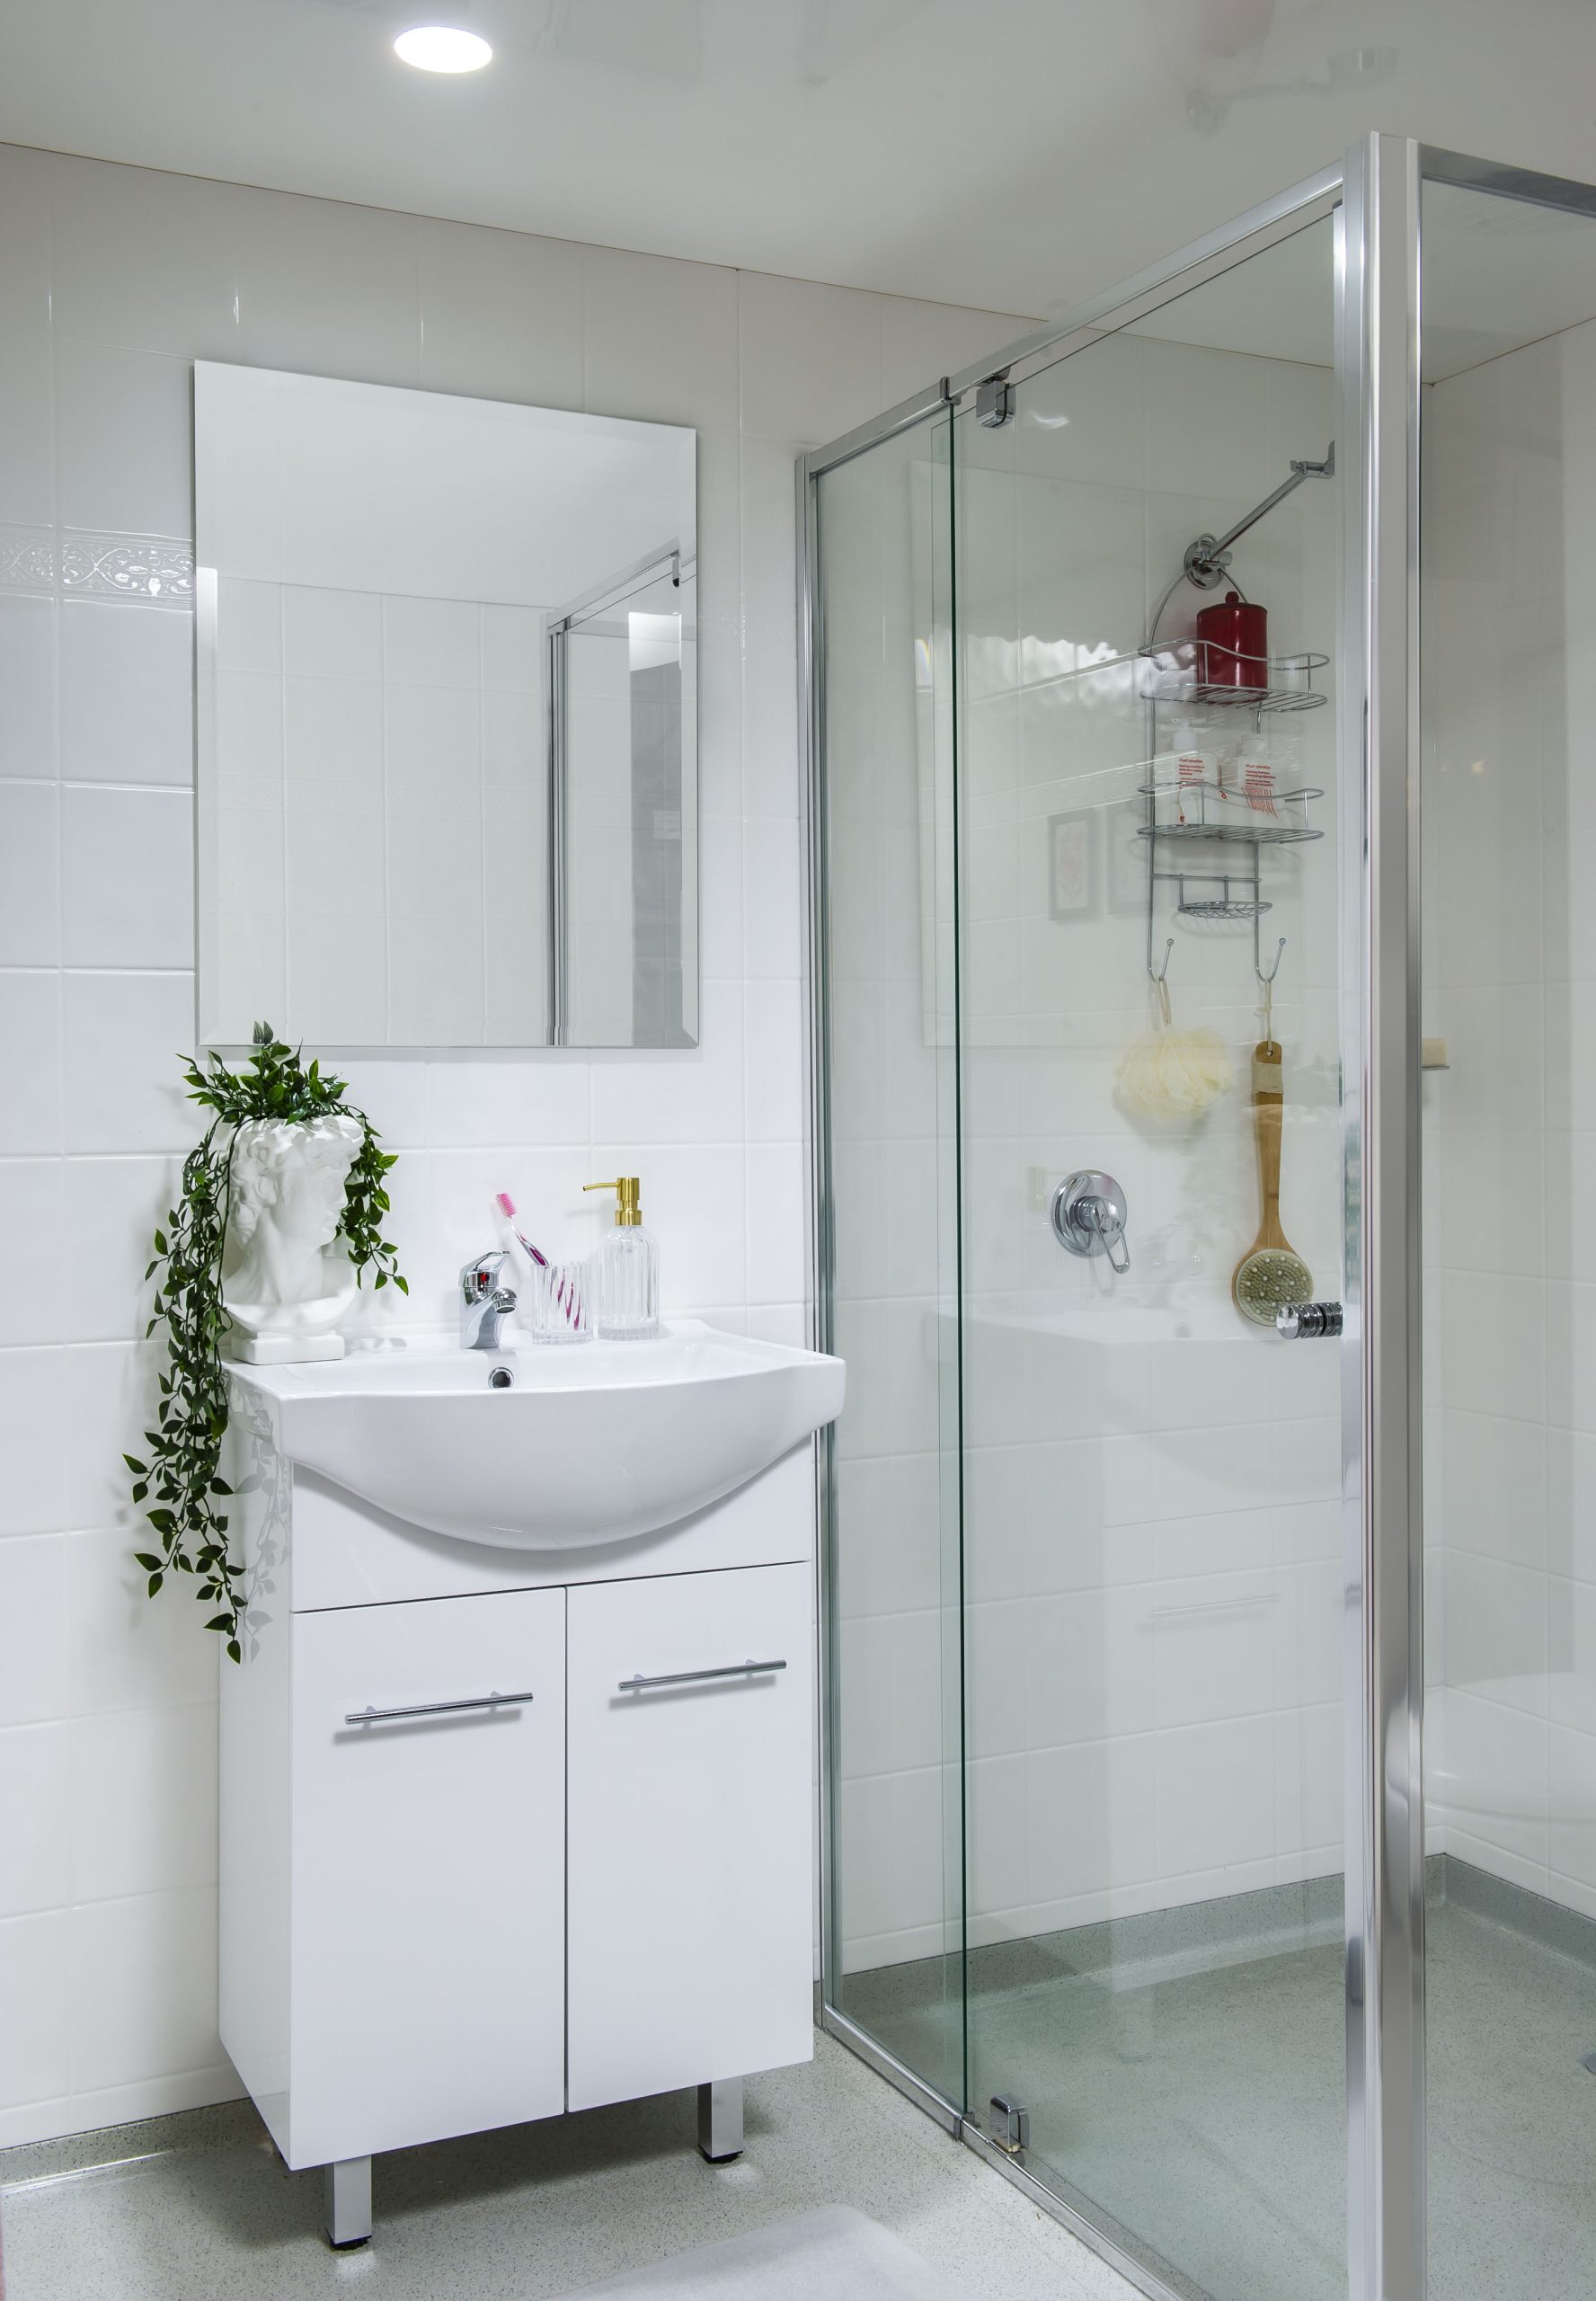
- interior wall finished look: The main 2 options here are the large tiled look or the square tiled look.

Suggestions
While you could technically build all of the bathroom pod yourself (2-3 people is more than suffice), we do highly recommend a relevant tradie to install the service connections. This is primarily for building codes, council, and insurance purposes. If it isn’t signed off by a registered tradie and something goes wrong, it is on you.
To save on callout fees, get the tradie to install other plumbing or electrical connections at the same time. This can be anything from lights to power outlets, kitchen connection to wastewater.
if going down the DIY route, interior walls can be very simple to build (YouTube can be your friend here). Here are 2 bunnings DIY videos that may help you.
How to plasterboard a stud wall
Unless you are building a mezzanine or loft space above your toilet, these walls do not need to be structural/load bearing. Just make sure that it is fastened to your deck or slab correctly to avoid it tipping over.
