" Skip to main content

Building your King Dome

Building your King Dome is a rewarding experience. To make it as easy as possible, we have created a step-by-step guide to building your King Dome. Please note that you will still receive an instruction manual specific to your dome.

The process for building your king dome:

Step 1)

Build dome frame

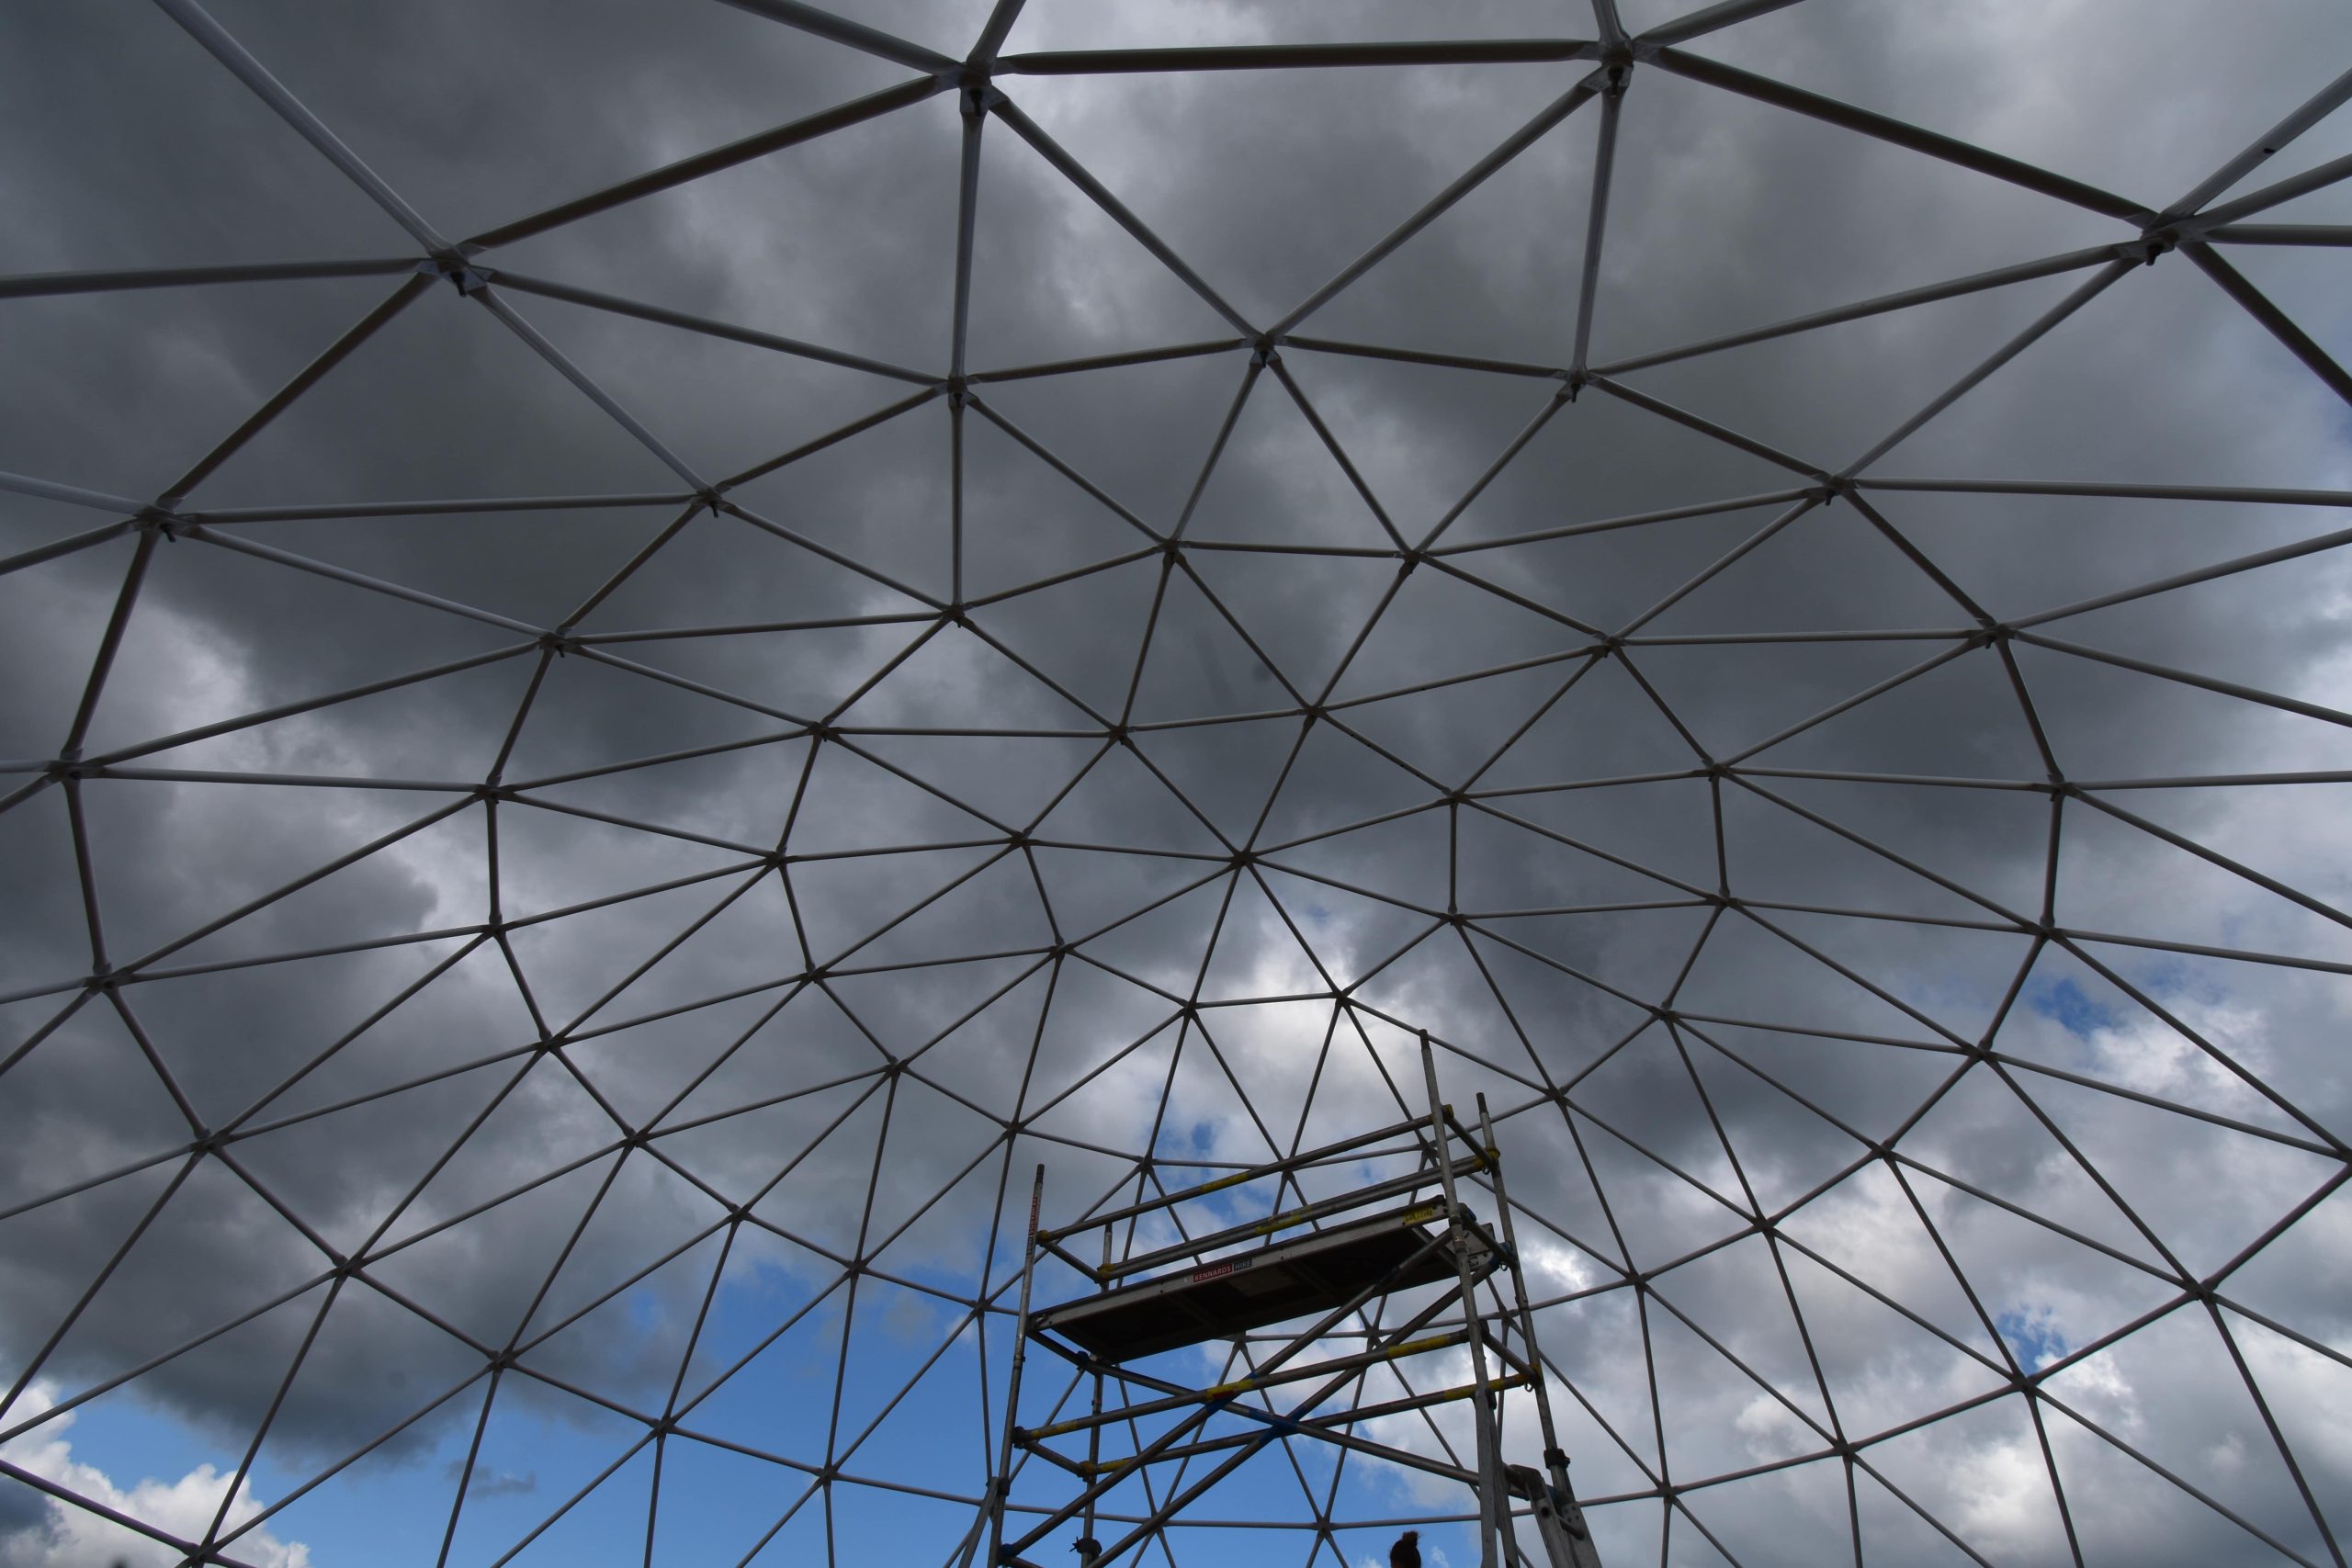
start with working out the centre point of your dome. This will be an important and time saving task to ensure that your King Dome is perfectly rounded (not ovular). Using the plans we provide to you, measure out and position the main door frame (temporarily anchor it down for safety) and build your King Dome level-by-level until the frame is complete.

Building your King Dome

Step 2)

Anchor the frame to your foundation

Whether on a slab or a deck, the dome will still need to be anchored to the platform that it sits on. The reason why it needs to be anchored to something structural, is to ensure the dome can withstand ultra-high winds. The first section to fail in extreme weather is the connection from the frame to the foundation (the frame itself is really bloody strong because of the spherical shape consisting of a bunch of triangles).

Building your King Dome, Building your King Dome

Step 3)

Install the cover

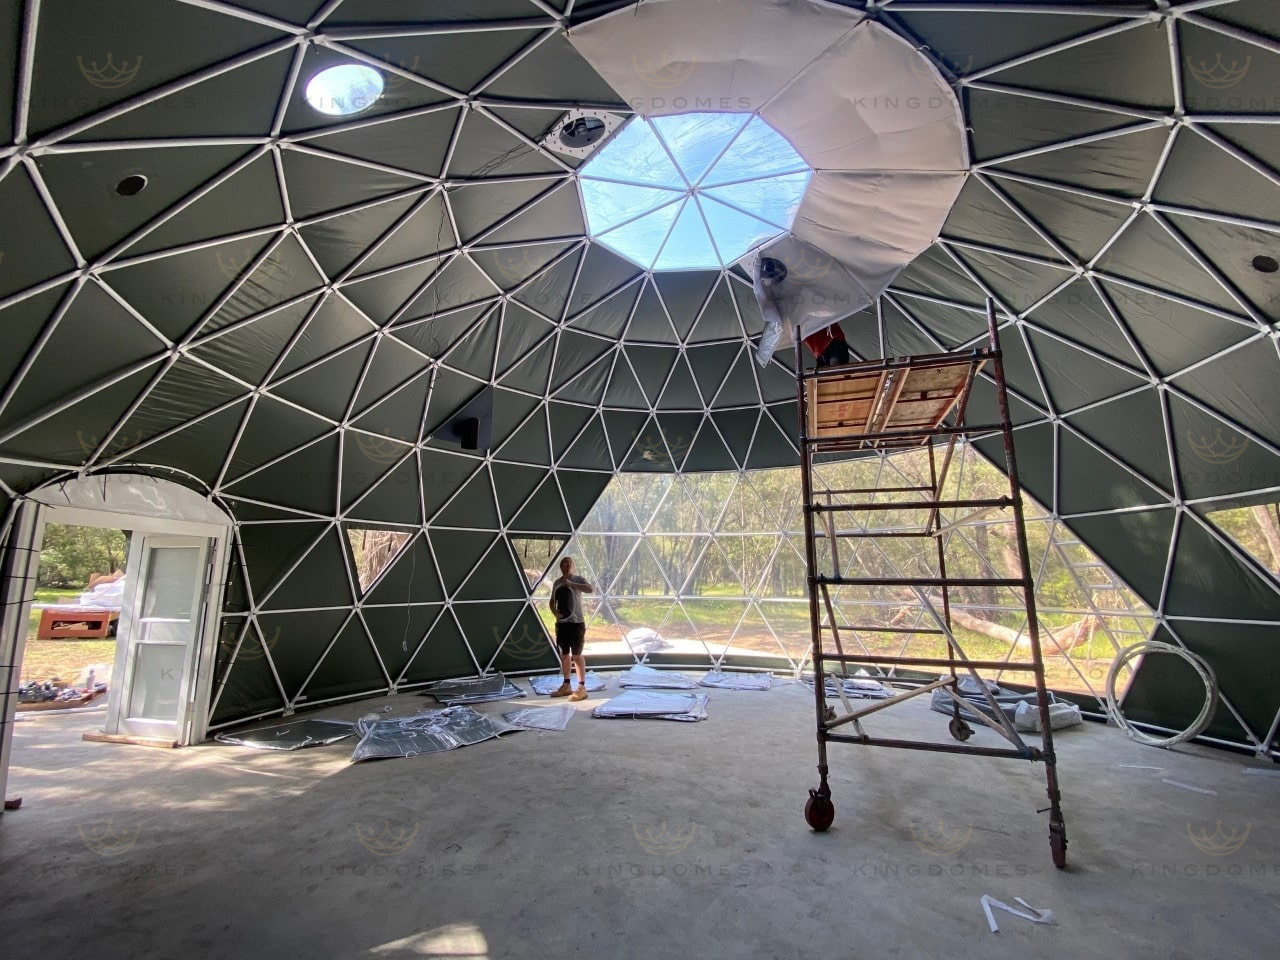
this part is the most labour intensive section of the King Dome build. We recommend getting as many people as possible for this task (unless you are going to use machinery to assist). As the cover is all 1 piece, this needs to be pulled/placed over the frame.

Please remember to use safety precautions to undertake this section such as ropes, safe use of scaffold/elevated platforms and ladders etc.

We recommend pulling the cover over from where the bay window is situated on the frame (this is because the clear section tends to grip onto the frame more-so than the coloured section). Before pulling the cover over, ensure the cover is not inside-out and that the bay window is at the bottom of the cover pile (basically not the section that is being pulled over).

Once the cover is 80% of the way over, start adjusting it to the correct position. Use the door position, bay window, mesh windows (if any), ventilation ports, holes for the solar fans and central skylight as references to find the sweet spot. Spending time getting this correct will ensure the next process is easier as well as making everything lining up better and more uniformed.

Building your King Dome, Building your King Dome

Step 4)

Tension Bars

Feed the tension bars through the sleeve located around the lower perimeter of the dome’s cover (internal) and bolt the J-hooks to your anchor plates (a sleeve is welded into the inside perimeter of the cover). The most practical way to do this is with 2-3 people.

  1. Have 1 person on either anchor point. Both of these people will pull the cover up (from the outside) from the base to expose this sleeve.
  2. The 3rd person will then cut vertically down this sleeve from its base to allow the tension bar to bed fed through. (we recommend cutting between 200-250mm from the outside of the anchor point to allow for play when tensioning the bars.
  3. Once both end have been cut, the 1st person will begin feeding the tension bar through the sleeve. The 2nd person will assist with this process to minimise the tension bar scratching the internals of the sleeve. This will also make it easier for the 1st person to feed the tension bar through (if only 2 people, the 2nd person will be cutting as well).
  4. Feed the tension bar through until the hole in the tension bar lines up with the relevant hooking point of the anchor bracket.
  5. Once you inserted all tension bars, it is time to hook them to the anchor plates. From the inside of the dome, grab a J-hook and feed the hook into the anchor plate hole.
  6. Then, grab your nut and washer and feed the other end of the J-hook through the hole in the tension bar before screwing the nut and washer onto it. You do not have to tension down just yet (it will become harder to feed the J-hook through with too much tension). Just have enough tension on it that the J-hook does not become loose.
  7. Continue until all the J-hooks are secured.
  8. There are O-rings around the doorframe (on the cover) . Cable ties will be fed through these rings and attached to the vertical bars of the frame (just outside the door frame itself).
Building your King Dome, Building your King Dome

Step 5)

1st round of tension

Once you have installed the tension bars, do a round of tensioning. We do not recommend tensioning all the way in the 1st round as it will simply stretch the bottom section of the cover instead of tensioning the entire cover. We normally do 3 tensions over the course of the build (if it is colder weather, we recommend to do another tension after a few weeks to give the cover enough time to settle and iron out the wrinkles). This process is more effective when a 2nd person can assist by pushing the cover out (from the inside) around top of the first tier (the row above the tension bar) while it is being tensioned to ensure that the cover is not simply stretching at the lower levels.

Step 6)

 Install the door (optional at this point)

this is typically only if the weather isn’t on your side. As there is more materials that need to be brought in, you risk scratching the door. If the weather isn’t the greatest, it is more important to protect your flooring as well as the insulation/curtains. Just be more cautious when bringing materials through the doorway. (Details on how to install in point 10)

Building your King Dome, Building your King Dome

Step 7)

Install the solar fan/s

This section is better with 2 people (1 on the inside, 1 on the outside). Remember that you are now working at heights so please be careful and practice the appropriate safety methods when undertaking this section. A ladder can lean on the frame/cover (we recommend placing soft material between the cover and where the ladder makes contact to avoid rubbing as you climb the ladder). We have created a video that better explains the installation process. This can be found here. 

Building your King Dome

Step 8)

Install the chimney port plate (if purchased)

The Chimney port plate is relatively straight-froward to install. It may take some persuasion to get it onto the bolts (with some loosening of the bolts around the area in some circumstances) but once it’s in, it’s staying in.

  1. refer to your assembly plan to ensure that you are installing it in the correct place. If the frame has been installed correctly then you will have 2 bars that have holes in them. These holes will line up with the holes that run down the side of the porthole window. You will want the larger “tube section” of the plate to be facing you (you will be installing this from inside).
  2. If you haven’t already, feed the bolts through these holes to essentially have them ready. You do not need to place the nut and washer on this just yet.
  3. hang the chimney port off the top bolt (or top 2 depending on which position the chimney port is in) with a nut and washer. This is to ensure it does not fall on you or others while fixing the rest of the plate to the frame.
  4. tighten off the bottom hole/s with a nut and washer. Ensure that the middle 2 bolts (in the bars mentioned in point 1) have also fed through the respective holes. tighten these off as well.

Essentially that is it. We have created a video showing this process which can be viewed here.

Building your King Dome, Building your King Dome

Step 9)

Install insulation to the 2nd tier from the bottom

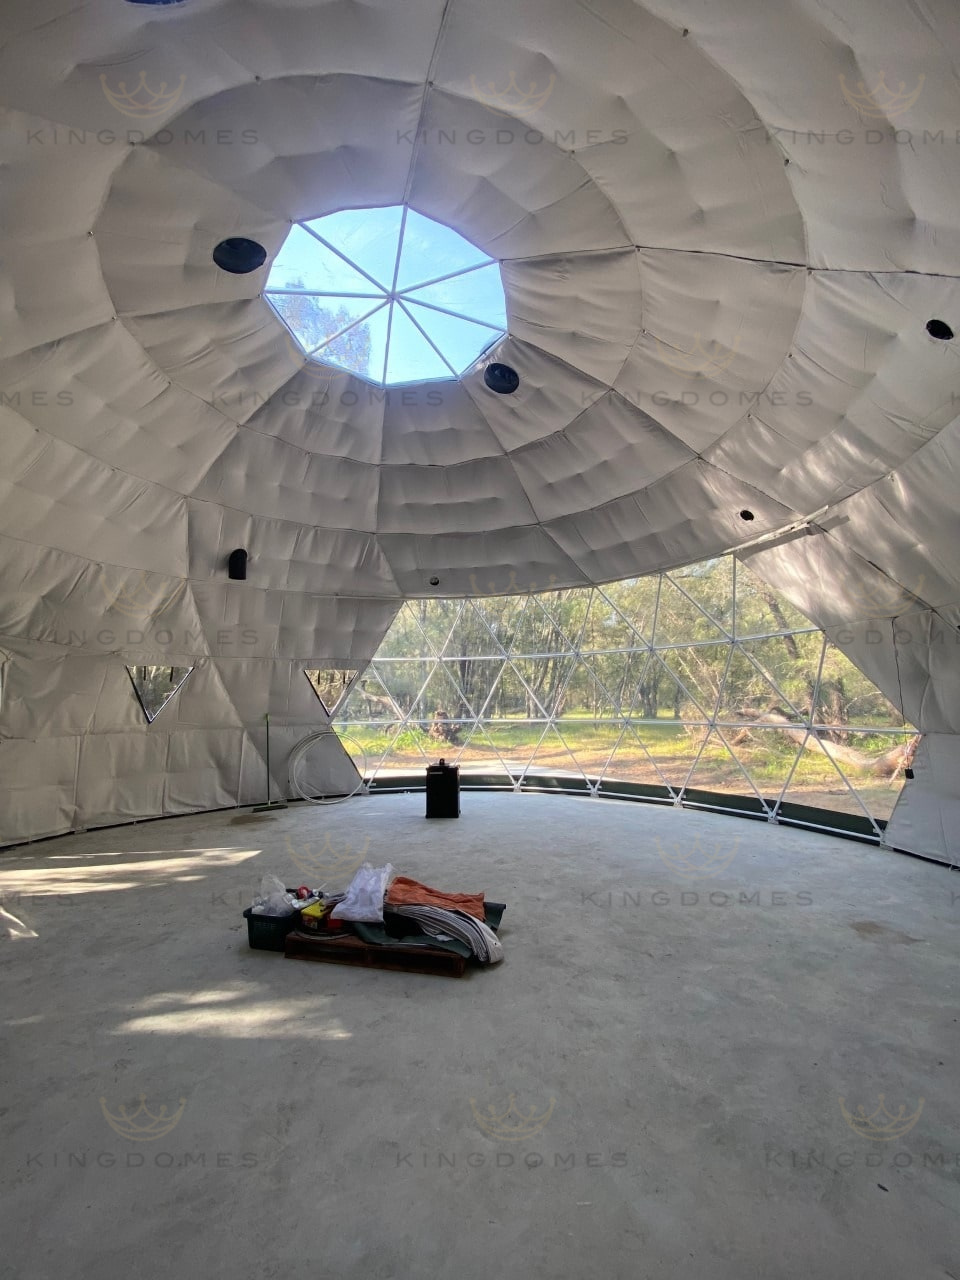
the process starts from the centre at the top (if you have a skylight then it will be the next level down from that). Every insulation panel has a number on it. The 1st number is the level it is on, the 2nd number is the specific placement within that level (this will make sense when you see your assembly plan) On the insulation you will see some Velcro (top, bottom, back and front. Where the Velcro is on the front (the soft material side) that will be the direction that you will install the insulation. There are plastic caps (we call Nobby bits, thanks to my partner Ash) that will screw off the insulation to the bolts that connect the frame together. There will also be ropes that are sowed to the back of the insulation to minimise sagging of the insulation. This will become self-explanatory when installing. Once you get down to the 2nd tier from the bottom (the number on the insulation will change depending on size of dome) install this level only at the top. This is so that you can install the porthole windows (if any) using the hole in the insulation panel as a reference without it getting in your way.

Building your King Dome, Building your King Dome

Step 10)

Install porthole window/s (if purchased)

this process is a little time consuming so take the time to be careful as this step requires you to make a penetration through the outer cover to fit the porthole window. The process to installing:

  1. the porthole windows will have 3 steel bars that will be specific to the porthole window. Each will have a number on it. Reference your assembly plans to work out the configuration.
  2. (working from inside the dome) Once you have worked this out, bolt these to the section that was laid out in your assembly plan (for the larger domes, the 2 vertical bars where the porthole fits between should have holes in them. Reference which way these 2 bars are installed using the assembly plans as this hole is not drilled centre of the bar).
  3. Take care when taking the porthole window out of the box. Rest it down on a surface that won’t scratch the glass or aluminium frame. Remove the openable section of the window from its frame as well as the ring that is attached to it (remember to keep all hardware from the window as you will be using them later). This is to ensure a watertight installation and minimal errors. Feed the 3 bolts through the window’s frame (these will be pre-cut for your convenience) and bolt them to the bars noted in point i). Ensure that the rubber seal of the porthole frame is facing you throughout this process.
  4. Once the porthole frame is screwed to its bars, temporarily attach the insulation panel to its place to ensure that the frame is centred in the insulation hole. Adjust the bolts depth to get an even finish (screwing the bottom bar tighter will bring the window down for example).
  5. Once it is in position, grab a sharp Stanley knife (grab a fresh blade for every porthole window you are installing, trust me, you do not want to mess this step up) proceed to the outside of the dome, find the porthole window, trace the interior wall of the porthole’s frame (the inner lip of the open section, where the rubber seal sits). Ensure that a 2nd person is on the inside, pushing the entire frame out towards person 1 to make it easier to identify (ensure your fingers are not in direct line to where person 1 is making the cut).
  6. Begin tracing this inner line with the Stanley knife using the frame as a stencil to avoid any slippages (be mindful of the 3 bolts used to screw the porthole window to the frame).
  7. Head back inside and unscrew the porthole frame from its bars.
  8. Take the porthole’s frame outside and proceed to slot it into the new hole with the rubber seal still facing you (out of the dome). Person 1 keeps it steady while person 2 begins screwing the bolts back into the porthole window.
  9. Use point iv) to reposition the window again, this time will be its final resting point.
  10. (back again on the inside) Grab the ring that came with the porthole window and begin attaching it to the porthole frame by penetrating the cover for the bolts to feed through (from the outside) and screw them off with the nut (from the inside). We recommend placing the first half of the ring on top of the porthole window rather than left and right to minimise any potential for leaking.
  11. Silicone around the outside perimeter of the porthole frame (from the outside) to provide a seal. Let it set for a bit before reattaching the porthole window (the opposite to how you took it off).

For a video tutorial, feel free to click here. 

Building your King Dome, Building your King Dome

Step 11)

2nd round of tension

before finishing off the insulation, it is good to get another tension in.

Step 12)

Finish the insulation (except for around doorway and bottom skirt)

 install the last 2 levels of insulation, leaving the bottom of the last tier to allow space to do the final tension.

Building your King Dome, Building your King Dome

Step 13)

Install door (if not done already)

The door is fairly straight-forward to install (especially compared to other conventional doors). Our door frame has threaded inserts which line up with our door’s frame hole section.

Please note that there is the door frame which is bolted to our dome’s frame and the door’s frame which is attached directly to the door to allow it to swing.

  1. ensure the door frame is bolted firmly and square to the foundation. (for convenience, bolt it down according to point ii). We usually just bolt the inside of the doorframe to 897mm and play with the external side once the door is secured (or at least the 897mm measurement has been achieved).
  2. measure horizontally both the top and bottom distance (where the door will go) and ensure you get 897mm (in our experience, this seems to be the optimal number for minimal headaches). If the top section is too wide/narrow, loosen the door frame bolts and tap to the desired width before tightening again.
  3. with 2 people, grab either end of the door (making sure the keyhole is facing outward). Make sure to carry it upright if installing our glass door as carrying it flat puts unnecessary strain on the glass.
  4. the person walking with the bottom of the door will be the one walking into the dome. Place the door roughly where threaded inserts are positioned on the door frame. proceed to hold the door to prevent it sliding while the other person lifts the door into position.
  5. The aim is to have the door flush to the top of the door frame. This may have to be achieved by placing packers underneath the door to prop up. Once this has been achieved, while one person holds the door steady, begin feeding the bolts through the door frame (from outside, in) into the door’s frame from top, down (this is so that you don’t need to constantly hold the door while screwing the bolts in. No need to tighten yet, just focus on getting the bolts to catch the thread.
  6. Screw the rest of the screws in. Now start from the top and hand-tighten the bolts. Using power tools or overtightening can cause the threaded inserts to break and spin endlessly.
  7. Test the door open/closing/locking. Loosen/tighten accordingly. In the rare occasion, the plate for the locking mechanism may not line up perfectly, this may have to be repositioned. The screws used for this plate are self-tapping screws so no need to pre-drill.
  8. Silicone the gap between the door’s frame and door frame both internally and externally to ensure an air/water tight seal.
Building your King Dome, Building your King Dome

Step 14)

Tension around doorway and final tension of cover

give another tug on the cable ties around the door frame to tighten up the cover. Then (provided you have nice warm weather), do the final tension as pointed out in point 3). While you are down there, finish off the insulation.

Building your King Dome, Building your King Dome

Step 15)

Install Press Bars

The press bars are what help to seal around the perimeter of the dome. This process is best done with 2 people:

  1. Starting at one side of the doorway, locate the anchor point and the door frame. Once this is done, pull the outer cover up to expose an inner skirting (welded to the outer cover). This is what you will be clamping the press bars to the foundation.
  2. Person 1 and 2 will stand on either end of the press bar and work out the even spacing between the anchor point and doorway (we typically use fingertips for ease and speed. i.e. :I have 4 fingertips on my side.” “Well i only have 2 so let’s share it 3 and 3.”)
  3. Person 2 will hold their end of the bar to avoid moving/bending while person 1 will begin screwing the press bar down through the cover and into the foundation. Person 1 should ensure that the cover is sticking outside the press bar to know for sure that it is clamped down properly.
  4. You will find that the inner skirt is more taught than the outside cover. This is intentional to allow for a small slit to be cut to the centre of the outside of the anchor plate. This will be done by person 2 as you work your way around the perimeter. Do not cut past the outside of the anchor plate as you risk jeopardizing the weathertightness.
  5. Repeat the steps, working around the perimeter to completion.
Building your King Dome, Building your King Dome

Step 16)

Finish Around Doorway

Final tension around doorway: do a final pull of the cable ties around the door frame.

Install press bars around doorway: now it is time to seal around the doorframe. This is best done with 2 people (1 to install the press bars, the other to pull the excess material of the cover to make the cover around the doorframe as neat as possible). You will notice on the front of the doorway, there are little holes. These are to allow the press bars to seal the cover to the doorframe. Using the same tactics as the press bar installation around the bottom perimeter, install the press bars around the door. Start with the vertical press bars before doing the top one.

Trim around doorway: using another new blade on your Stanley knife, run the blade down the inside perimeter of the doorframe (between the doorframe and press bar). Avoid cutting into the steel frame as this will penetrate through the powder-coating and cause rusting over time. If moving the dome regularly, i’d recommend not to cut this as re-tensioning this with a cut trim is very difficult to clamp and waterproof.

Clamp outer press bars onto the press bar plates around doorframe: place the top outer bar before the vertical ones so that you can line up the position better for a cleaner spacing between the vertical and horizontal connection (these press bars will have a 45° cut at the ends which will butt up to each other.

Install insulation around doorway: now that the doorframe is sealed, you can now seal of the inside with the remaining insulation panels around the doorframe.

Building your King Dome

Previous/Next Section

Decking or Building your Interior.

Previous Section

Building your Deck

Next Section

Building your Interior